DIY Kitchen made of Cardboard Boxes
Our DIY cardboard kitchen was one of the best grandkid creation I have ever made. The directions are below. It was durable, lasted through the first batch of grandkids and I am sad to see it go. Our second youngest granddaughter, Madi, is ready for a wooden play kitchen and Gammie is finally ready to retire the DIY Cardboard Kitchen that I made 6 years ago. So this week when she and her brother came for a visit I surprised them with a red wooden kitchen that we bought on Facebook marketplace. The new kitchen was a hit but brother Garrett could not understand why we had to say goodbye to the original DIY one I made. I would highly recommend this project because it was fun and our family made many wonderful memories together playing with it for years.
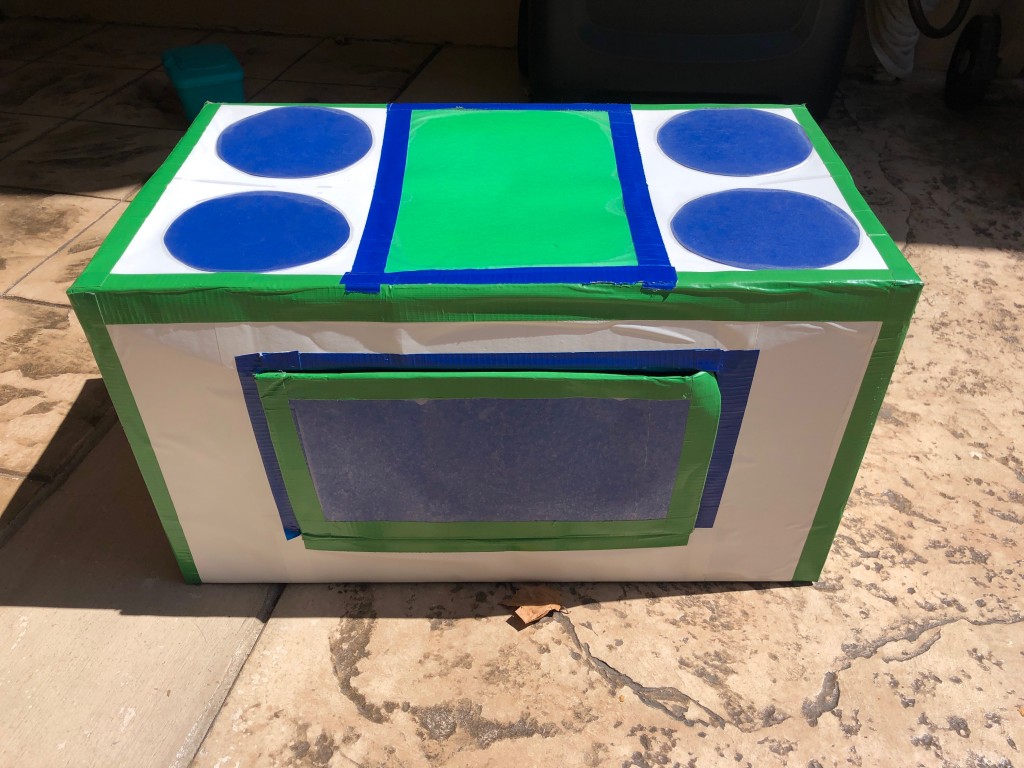
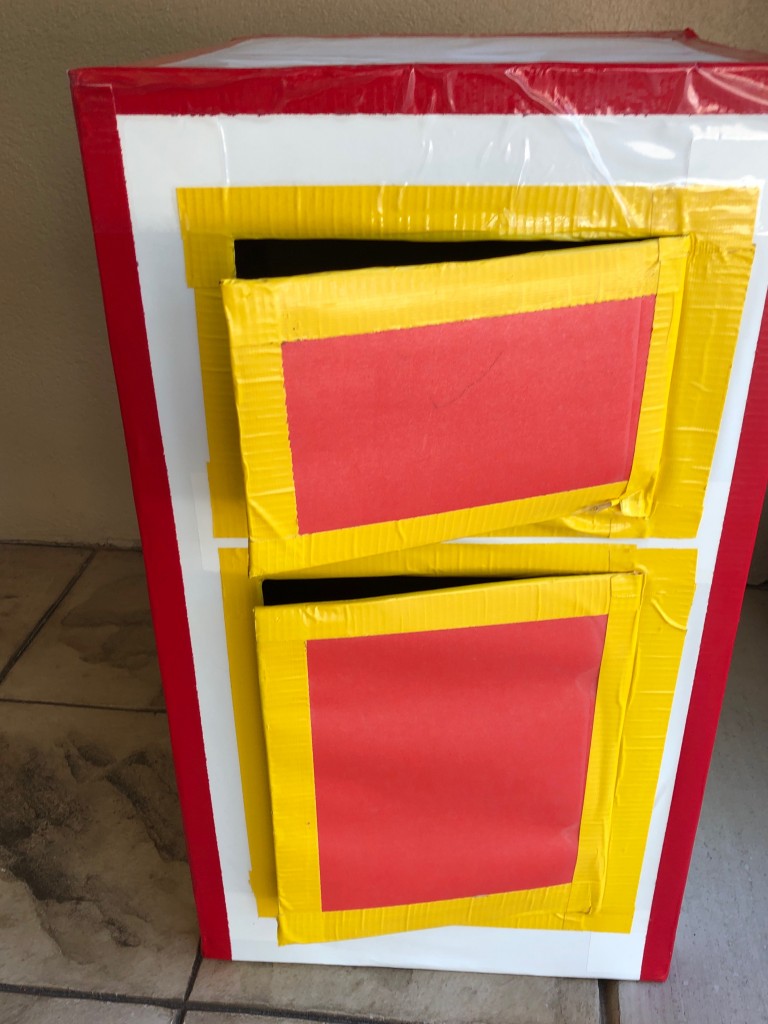 The refrigerator, stove and sink after 6 years of fun with Jorde, Reese, Zeke, Calvin, Ellie, Hanna and Mikah.
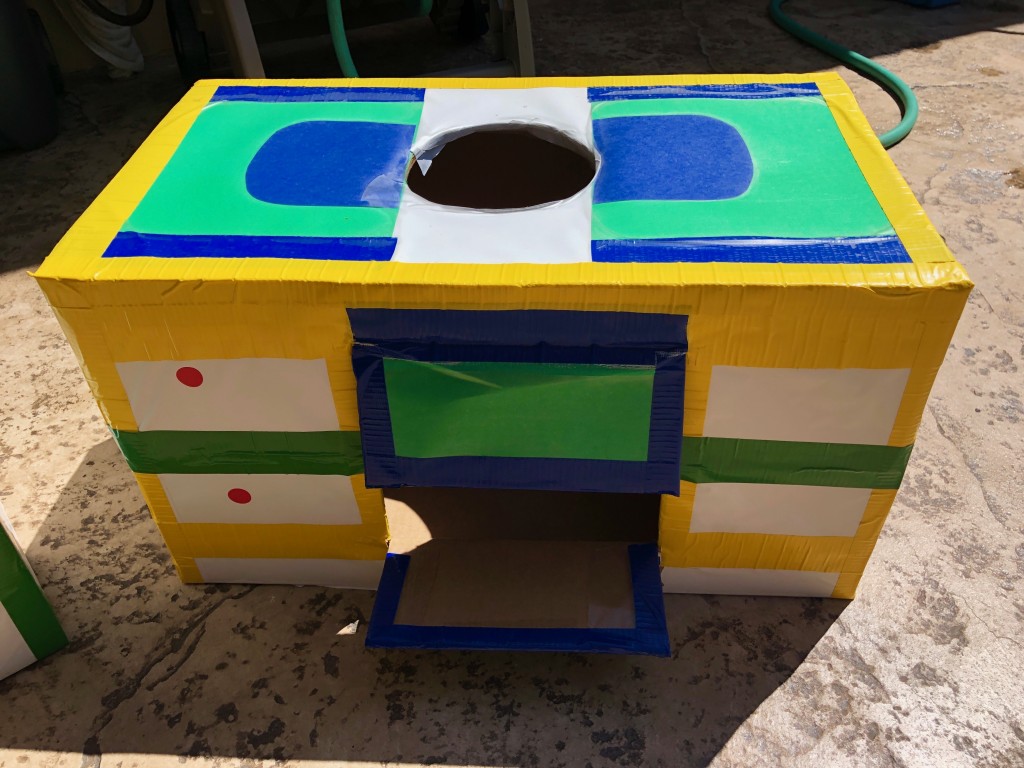
Here is the new kitchen, ready for the second batch- Garrett, Madi, Sophie, Hezi and Selah!!!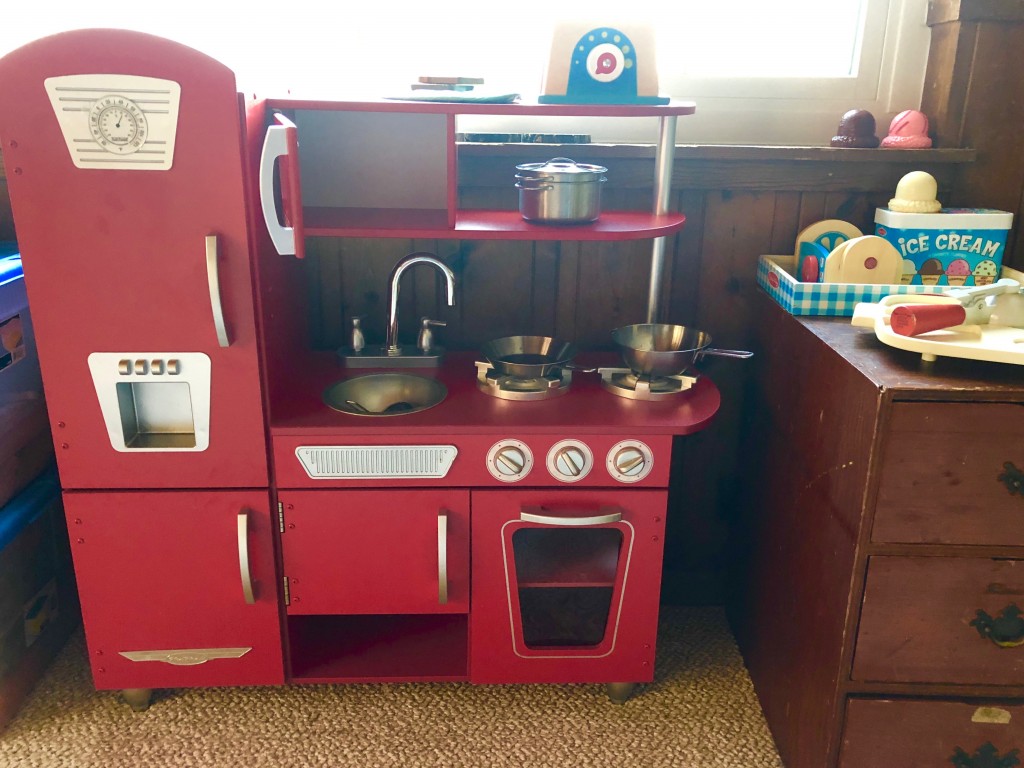
DIY Cardboard Kitchen
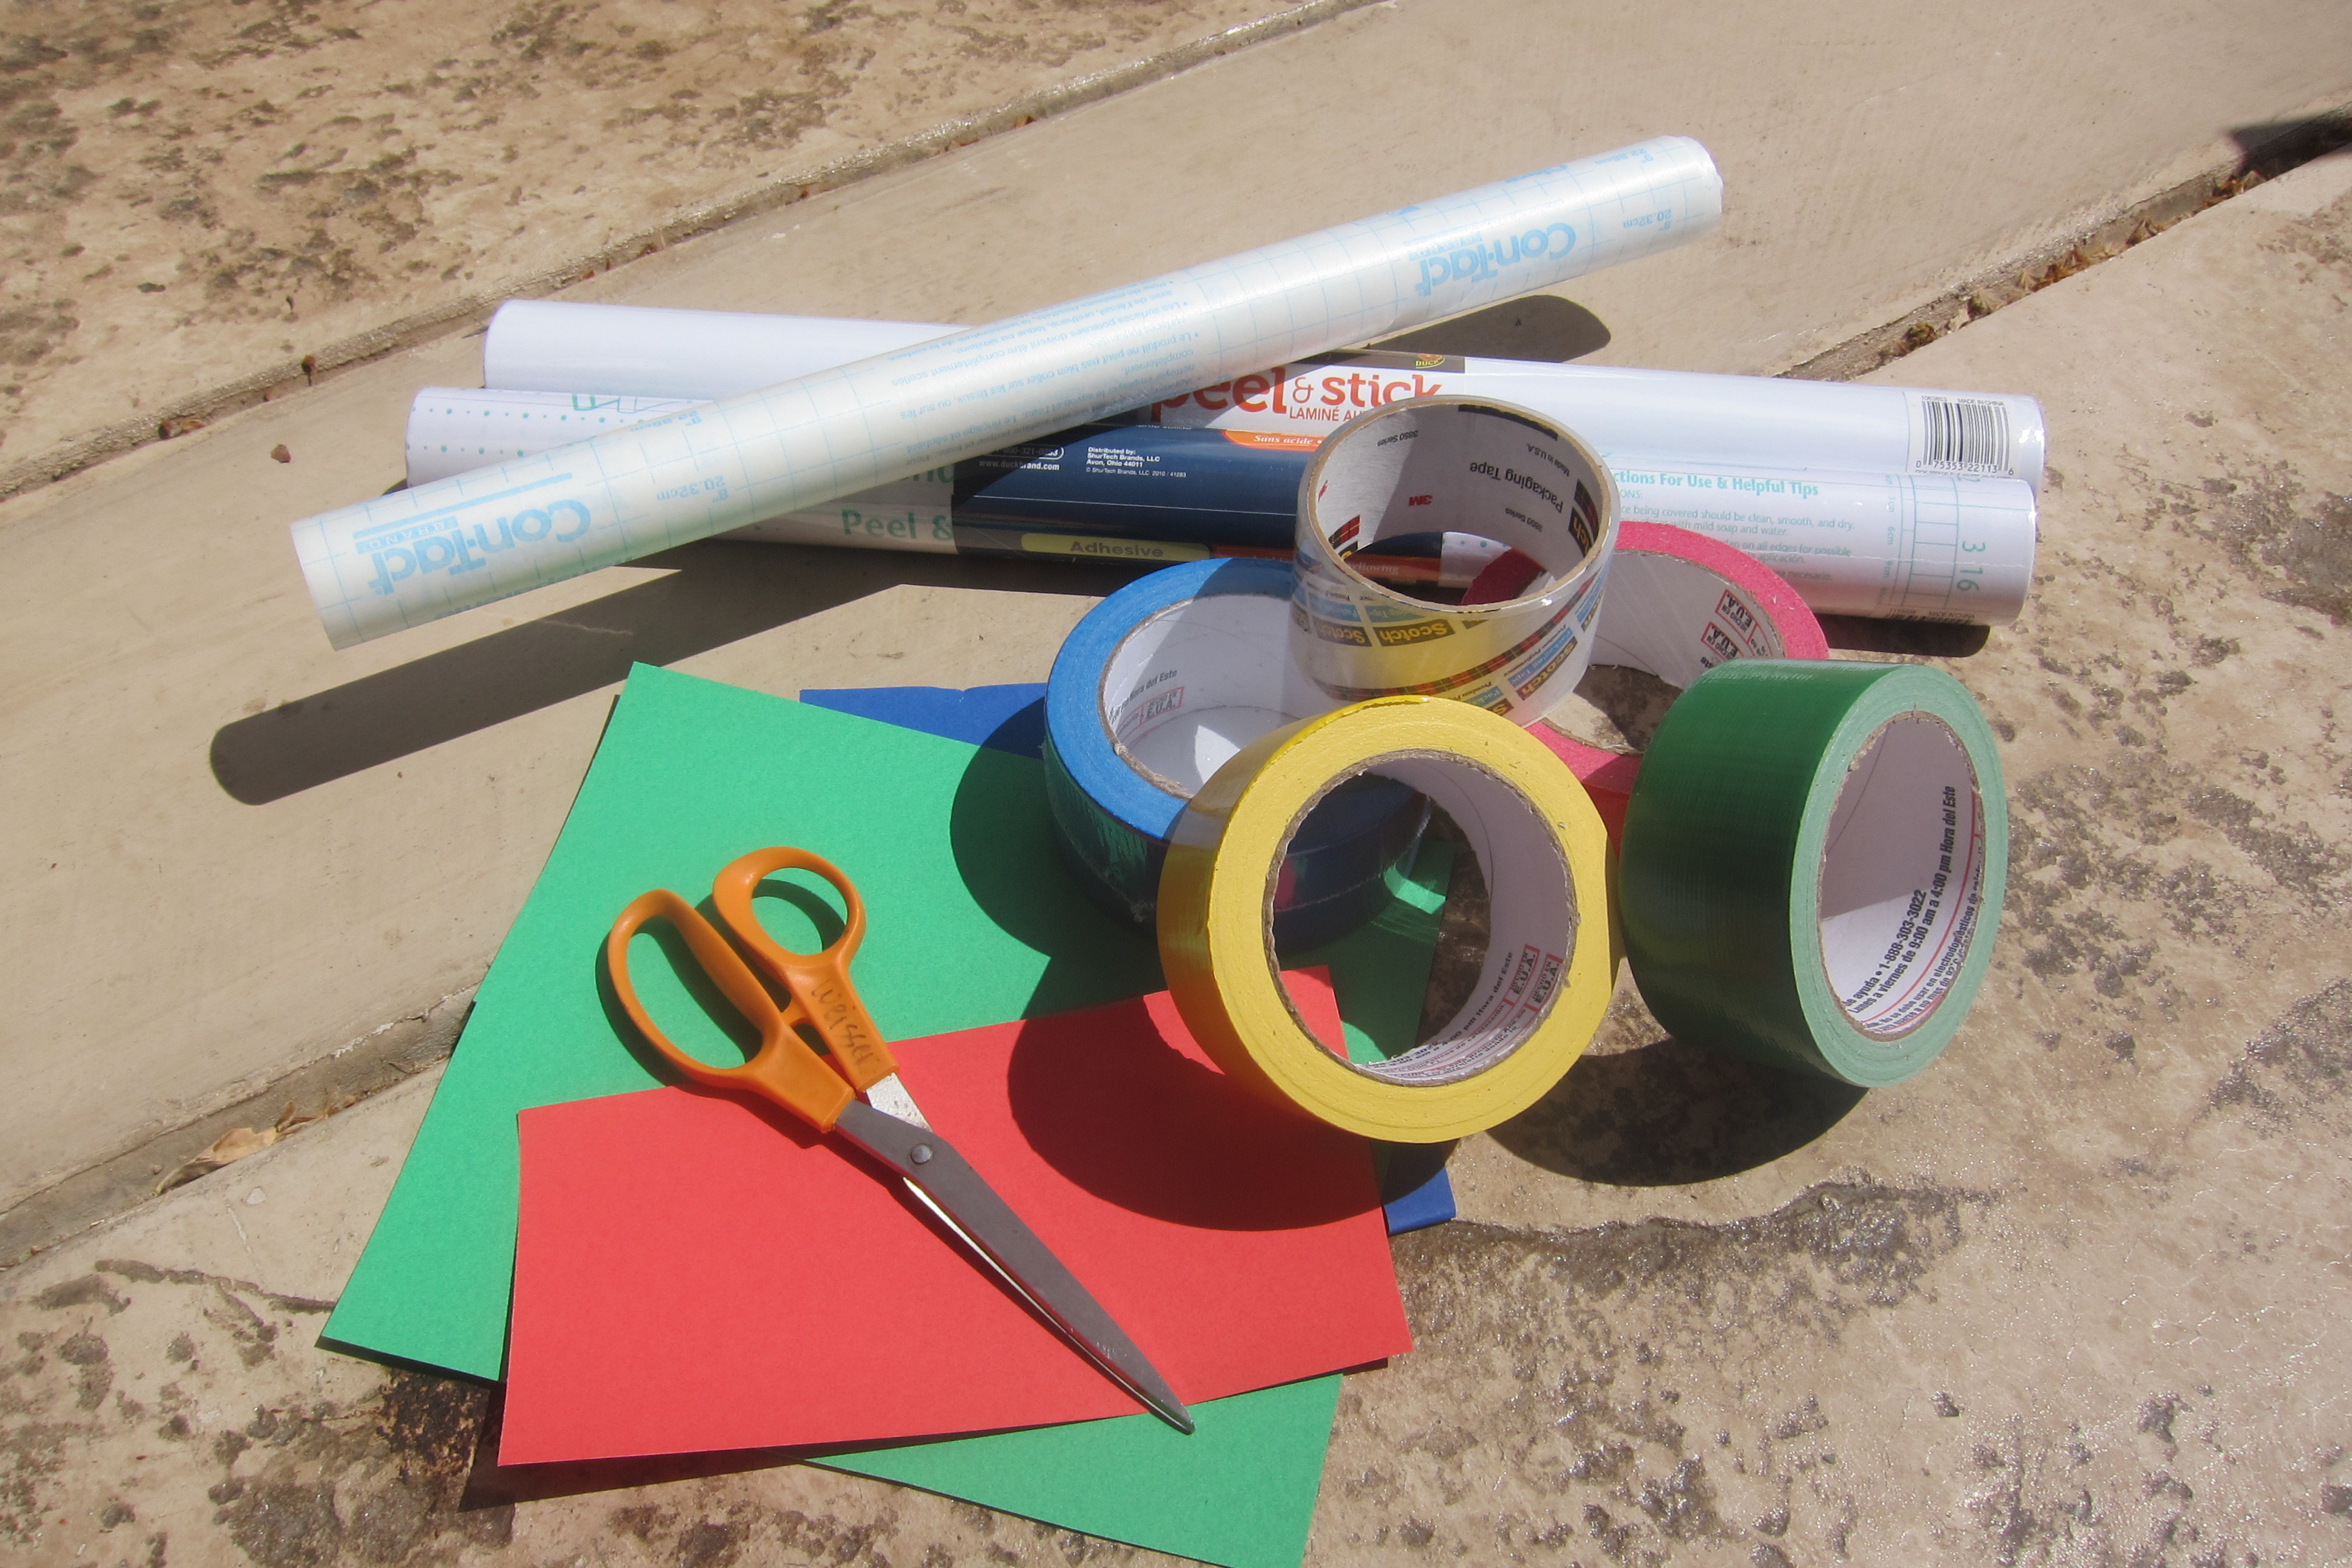
3 Large sturdy boxes (whatever number of appliances you choose to make)
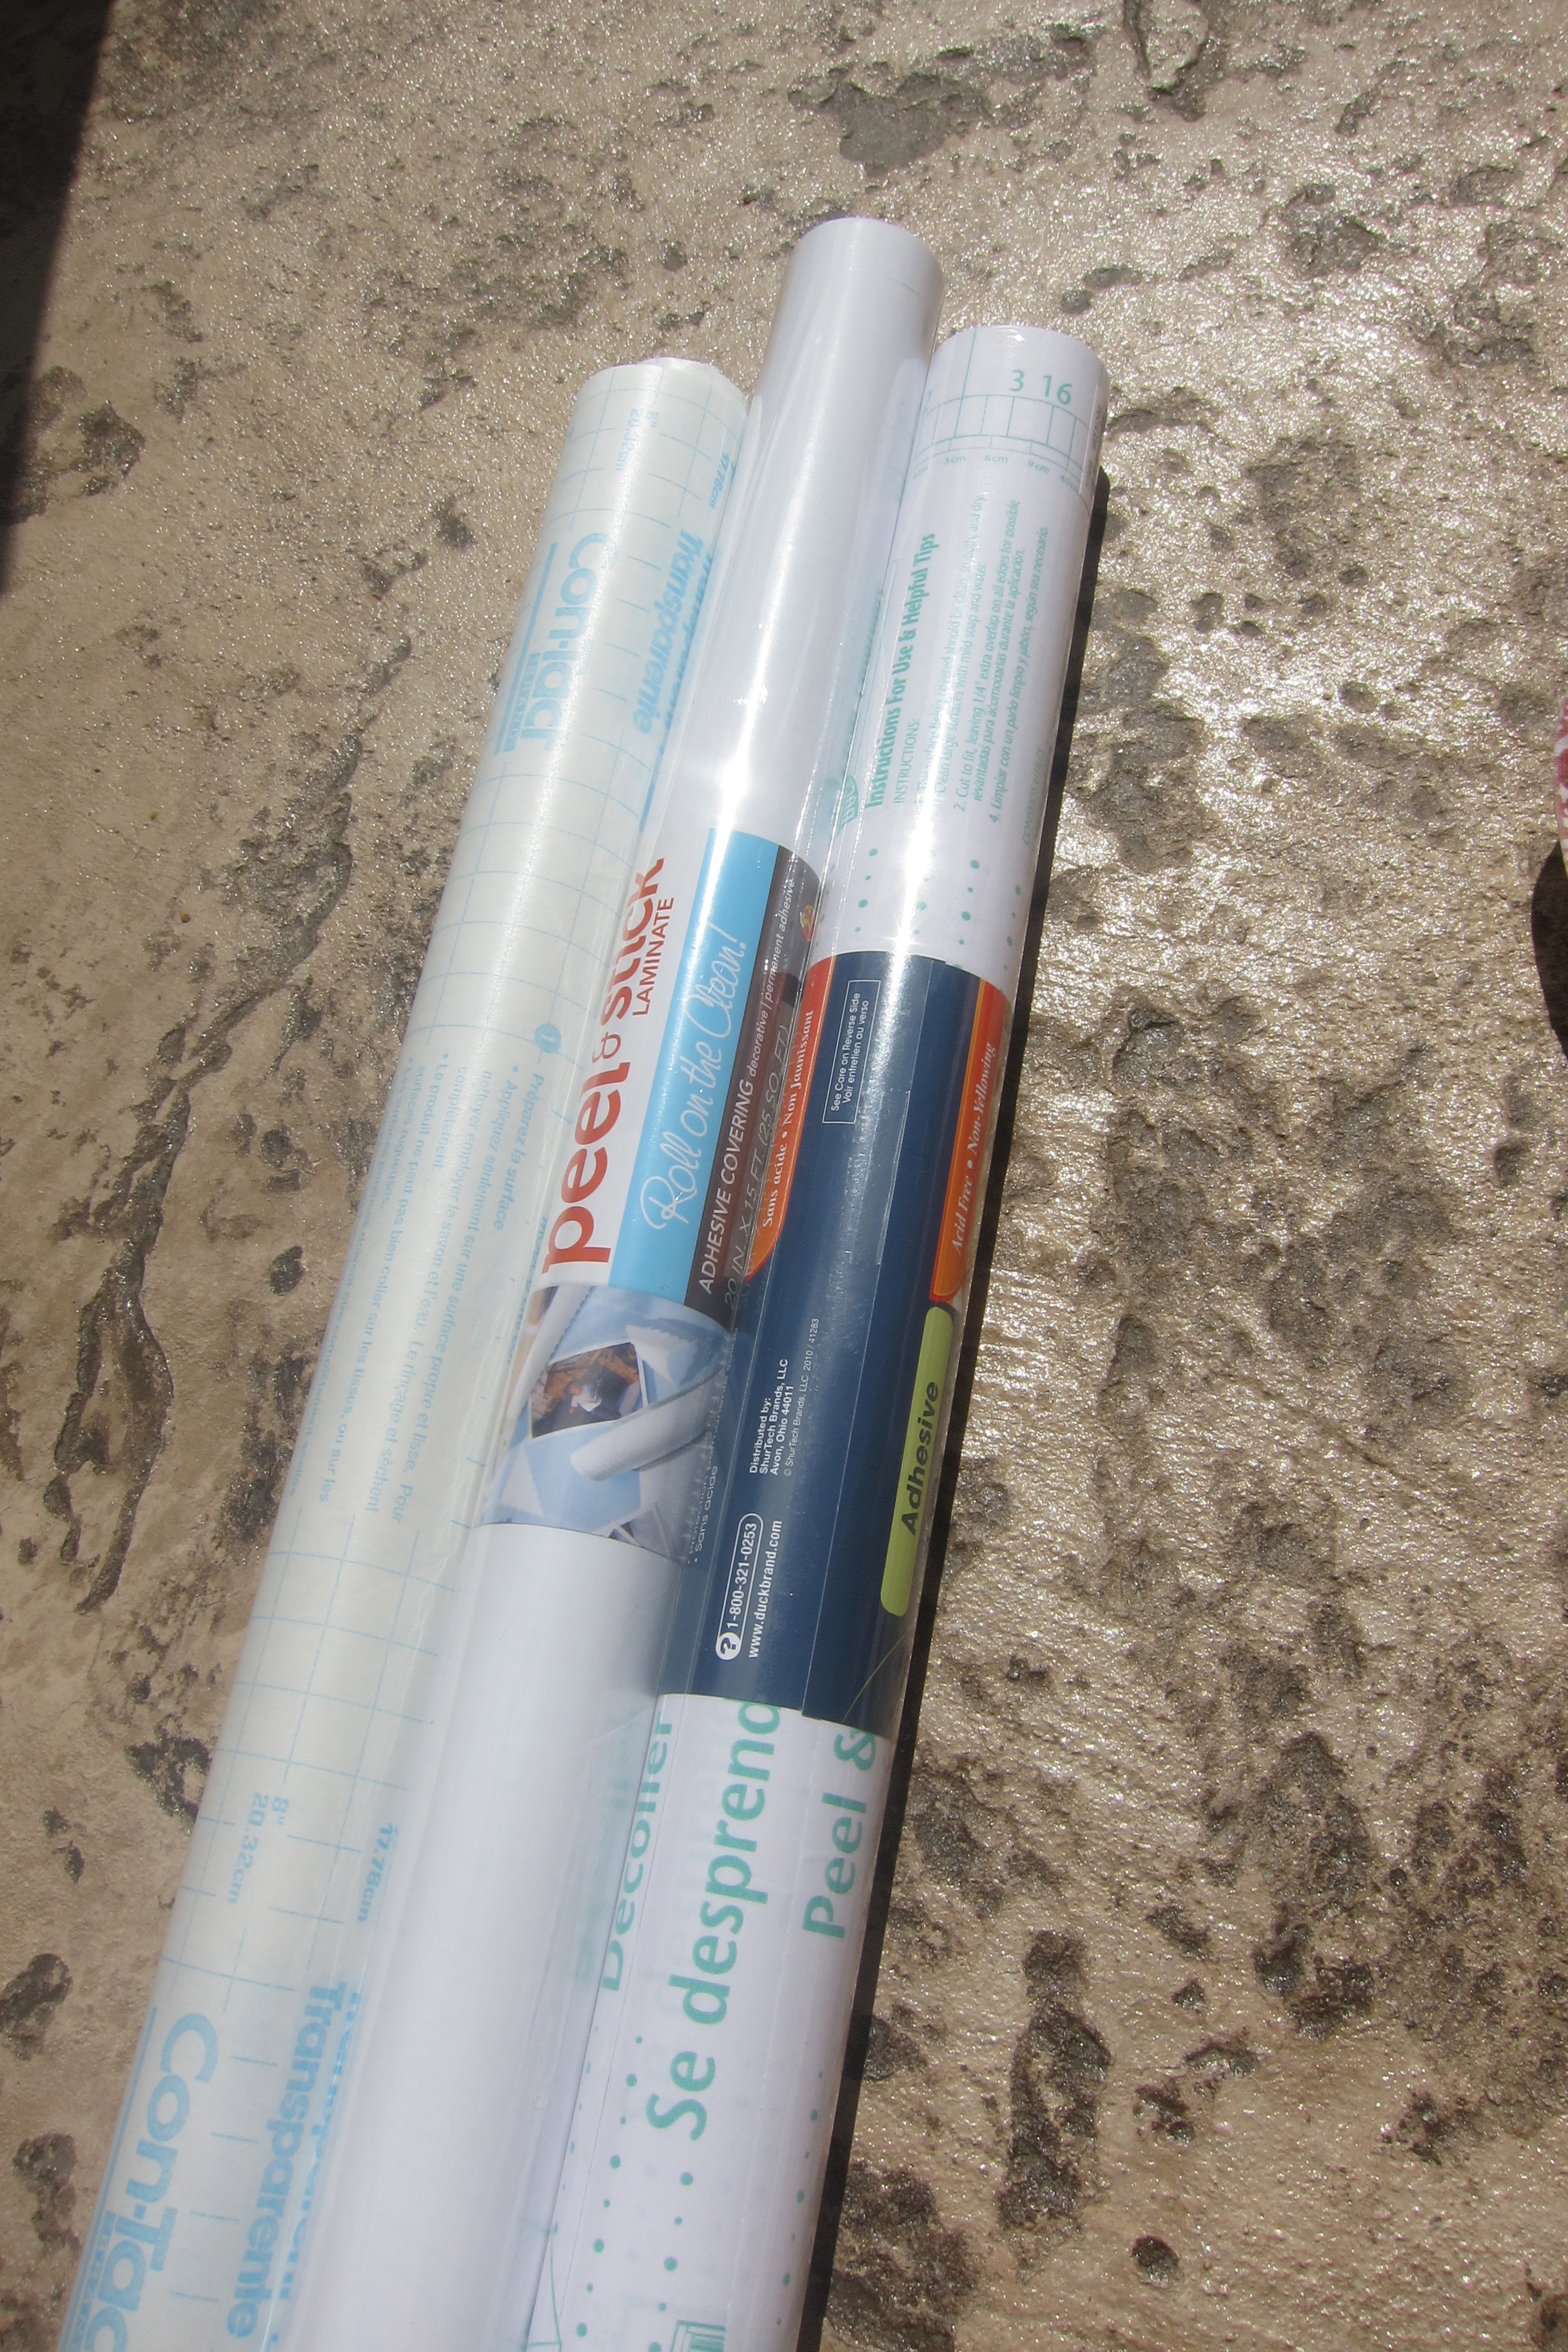
2 rolls white contact paper
2 rolls clear contact paper
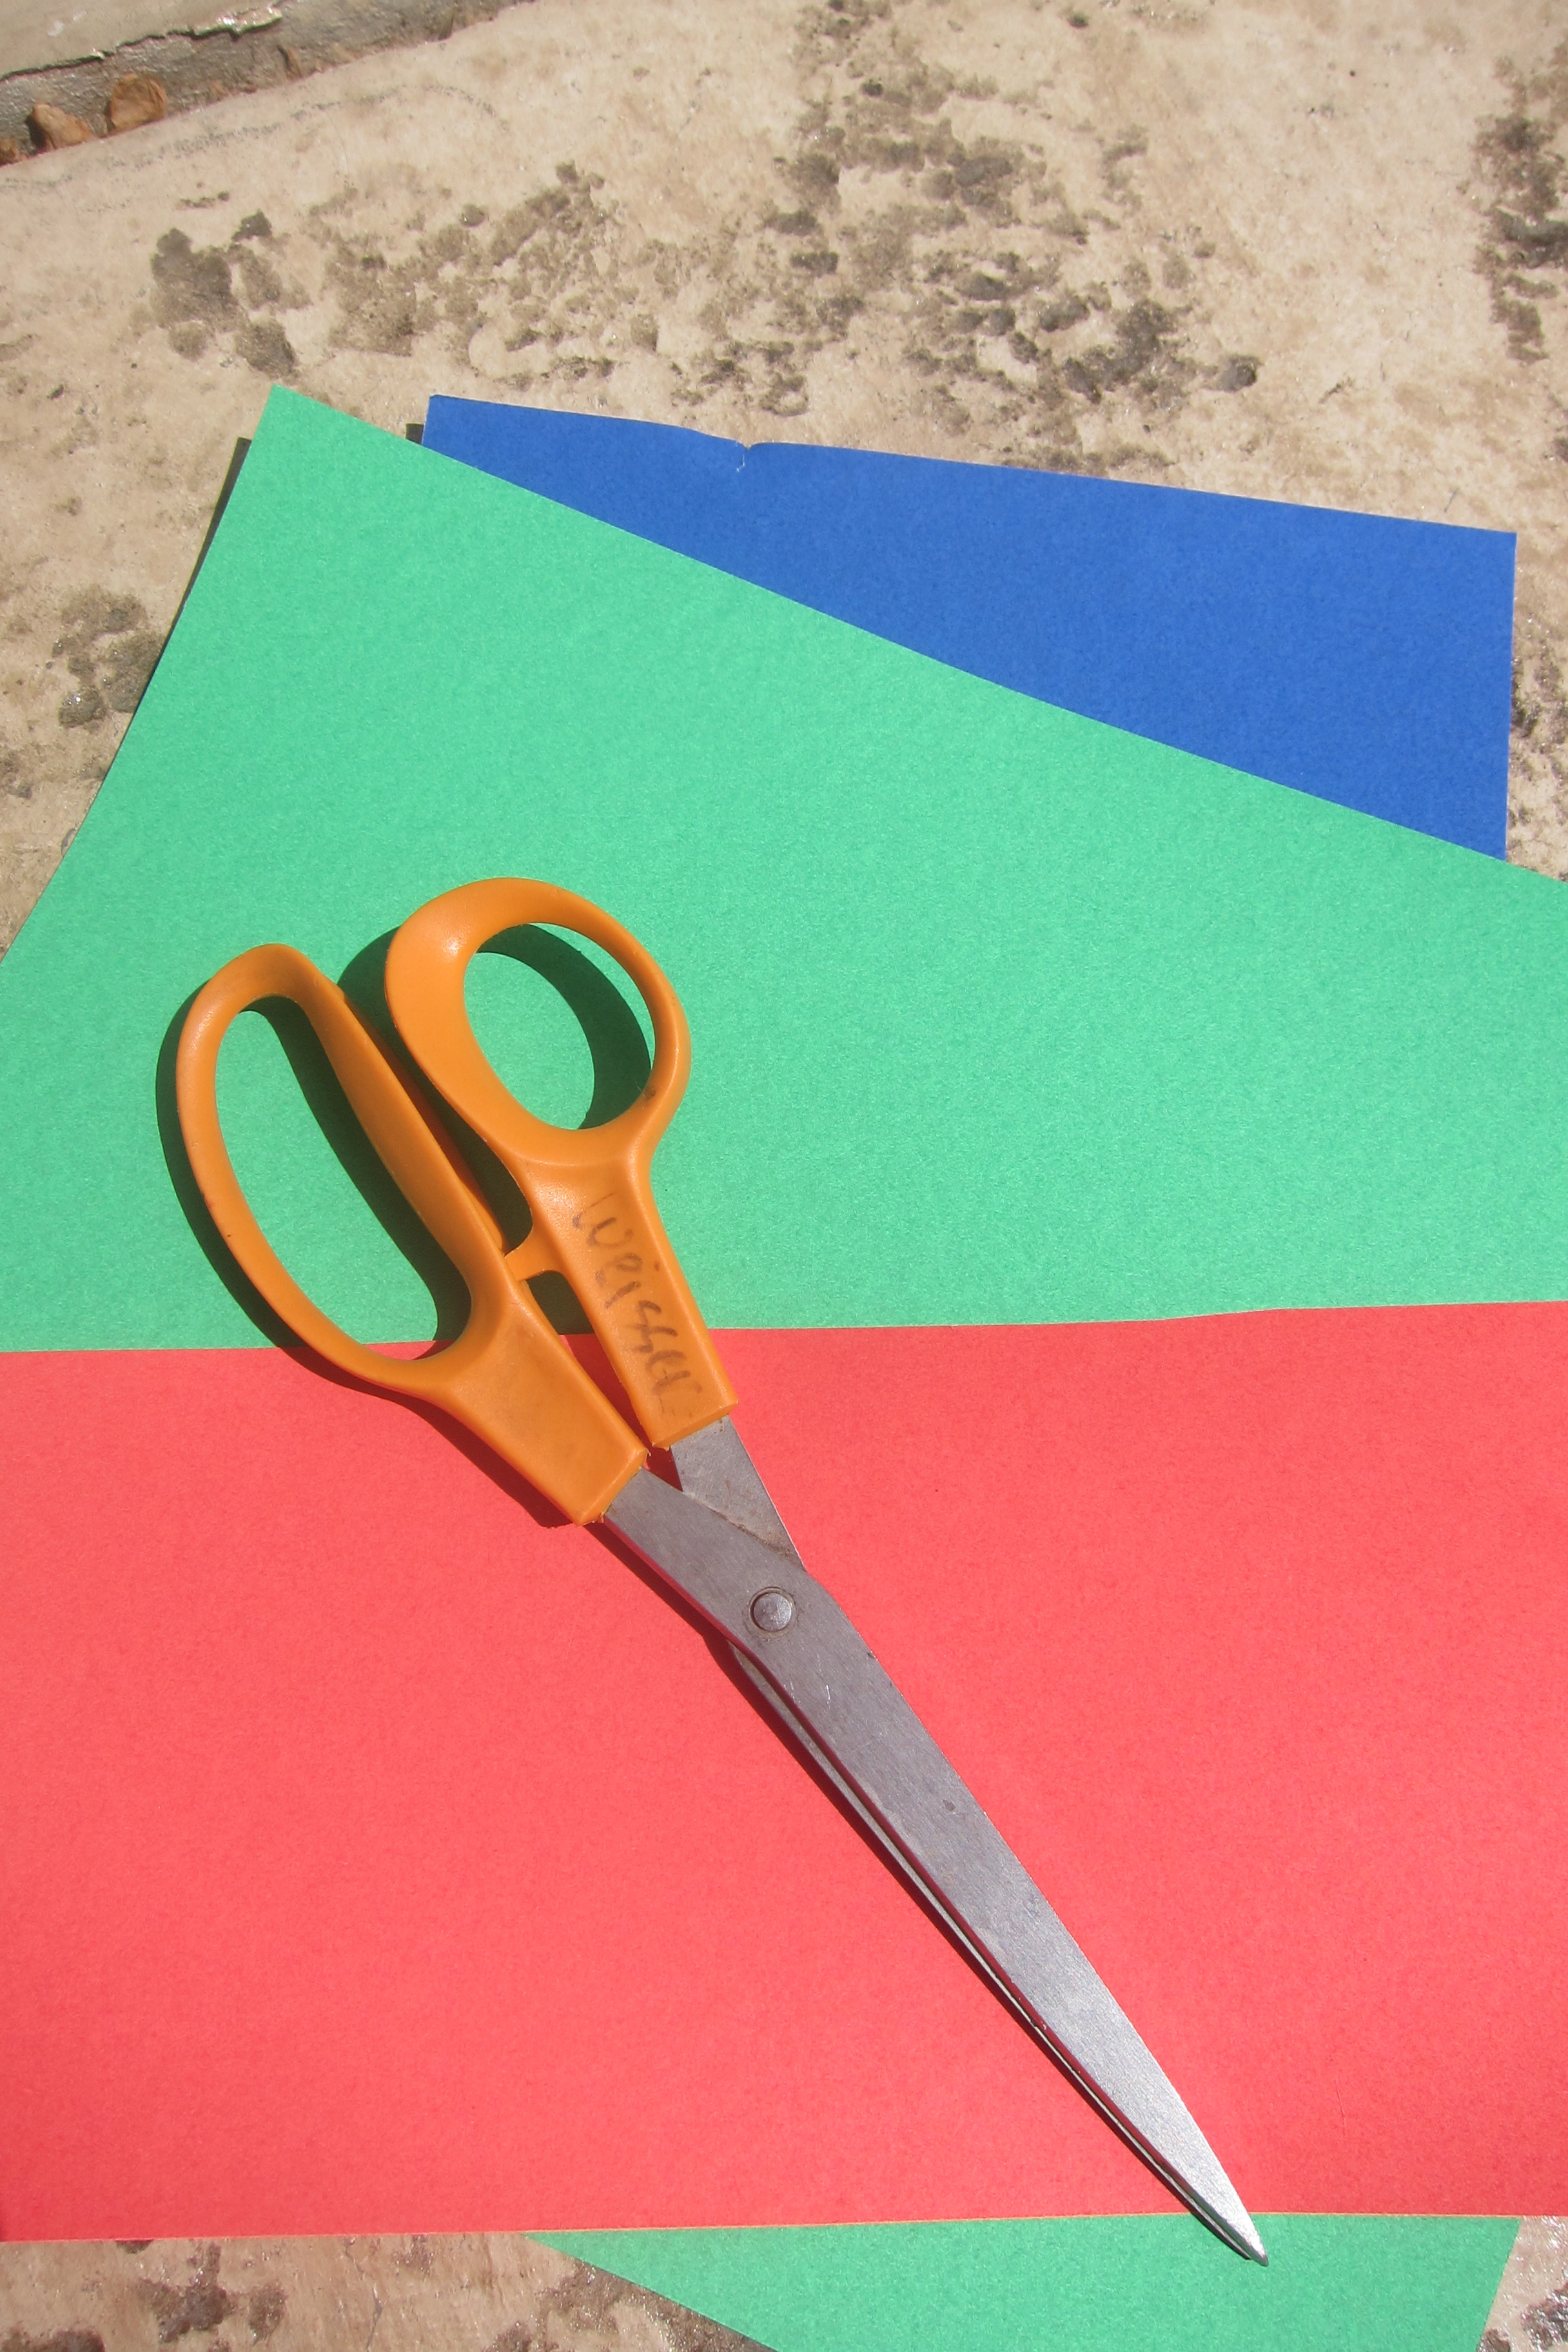
3 colored poster boards – 1 red, 1 blue, 1 green (choose any colors that go together)
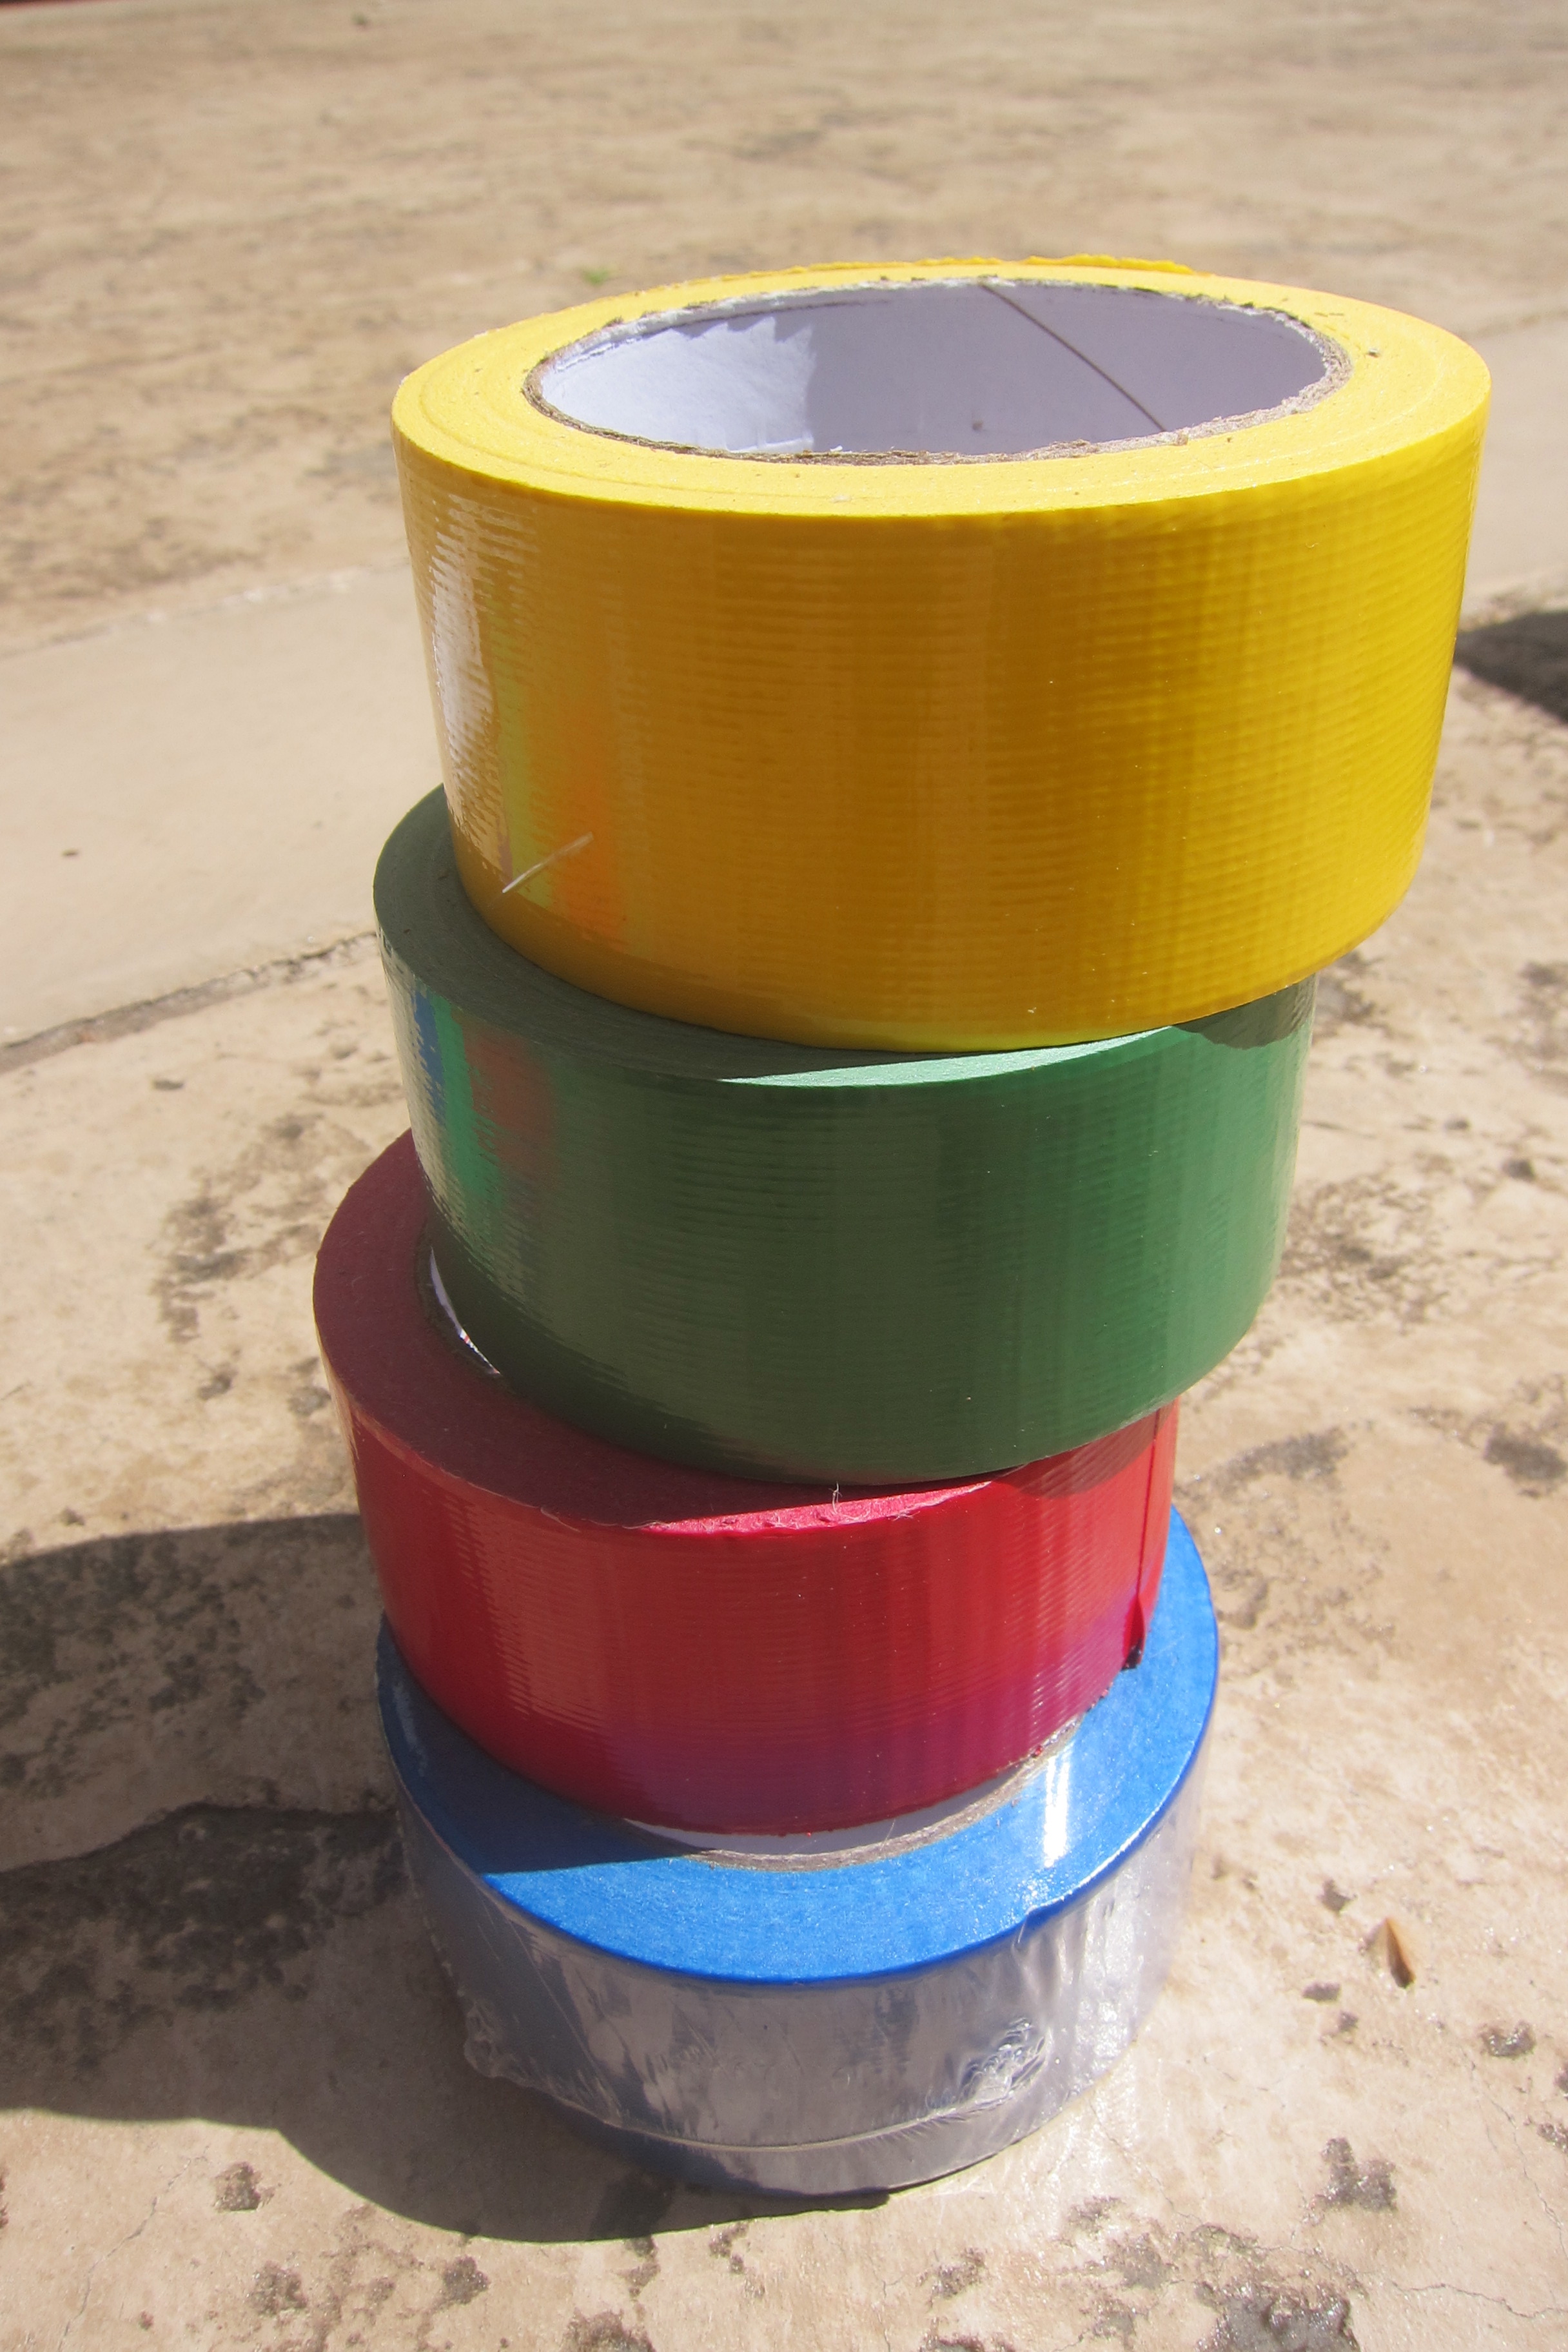
3-4 rolls colored duct tape – 1 red, 1 blue, 1 green, 1 yellow ( choose coordinated colored tape)
clear packing tape
scissors
exacto knife or retractable box cutter blade
plastic glad/ziplock/tupperware disposable round container with lid
pen or pencil
There is no right or wrong way to design and construct your cardboard kitchen so just have fun! I am blessed to have 3 grandsons and 3 granddaughters. Two of the granddaughters are 18 and 20 months-just the perfect age to start playing make believe and both of them love to pretend that they are cooking and baking. So instead of spending a lot of money buying a wooden or plastic kitchen, I decided to try this project so that their play kitchen will be ready for them when they come for a visit this summer.
Collect three sturdy boxes, any size will do and then decide which box you want to use for your refrigerator and which one for the sink and stove. Use the pen or pencil to design where you want the doors on the refrigerator, oven and cupboard under the sink. Use an exacto knife or box cutter blade and a straight edge ruler if you have one to cut out the openings for the doors. Decide where you want the sink and cut out a circle a bit smaller than the top dimensions of the plastic bowl you will insert to be used as the sink. (I used a plastic ziplock 8 inch diameter
I decided to construct a shelf inside the refrigerator by cutting a square of cardboard the dimension of the inside of the refrigerator plus two inches. I scored 2 inches in from the cut edges all the way around and folded the edges down, cutting out the small 2×2 inch squares on each corner so that the shelf would fit inside the refrigerator. I secured the shelf with duct tape.
Next I covered each door with colored poster board, taped in place, to add some fun flare to the appliances. You can use whatever colors or designs you want. If you have left over wallpaper or drawings that your kids have made simply tape them in place. Cover the doors with clear contact paper.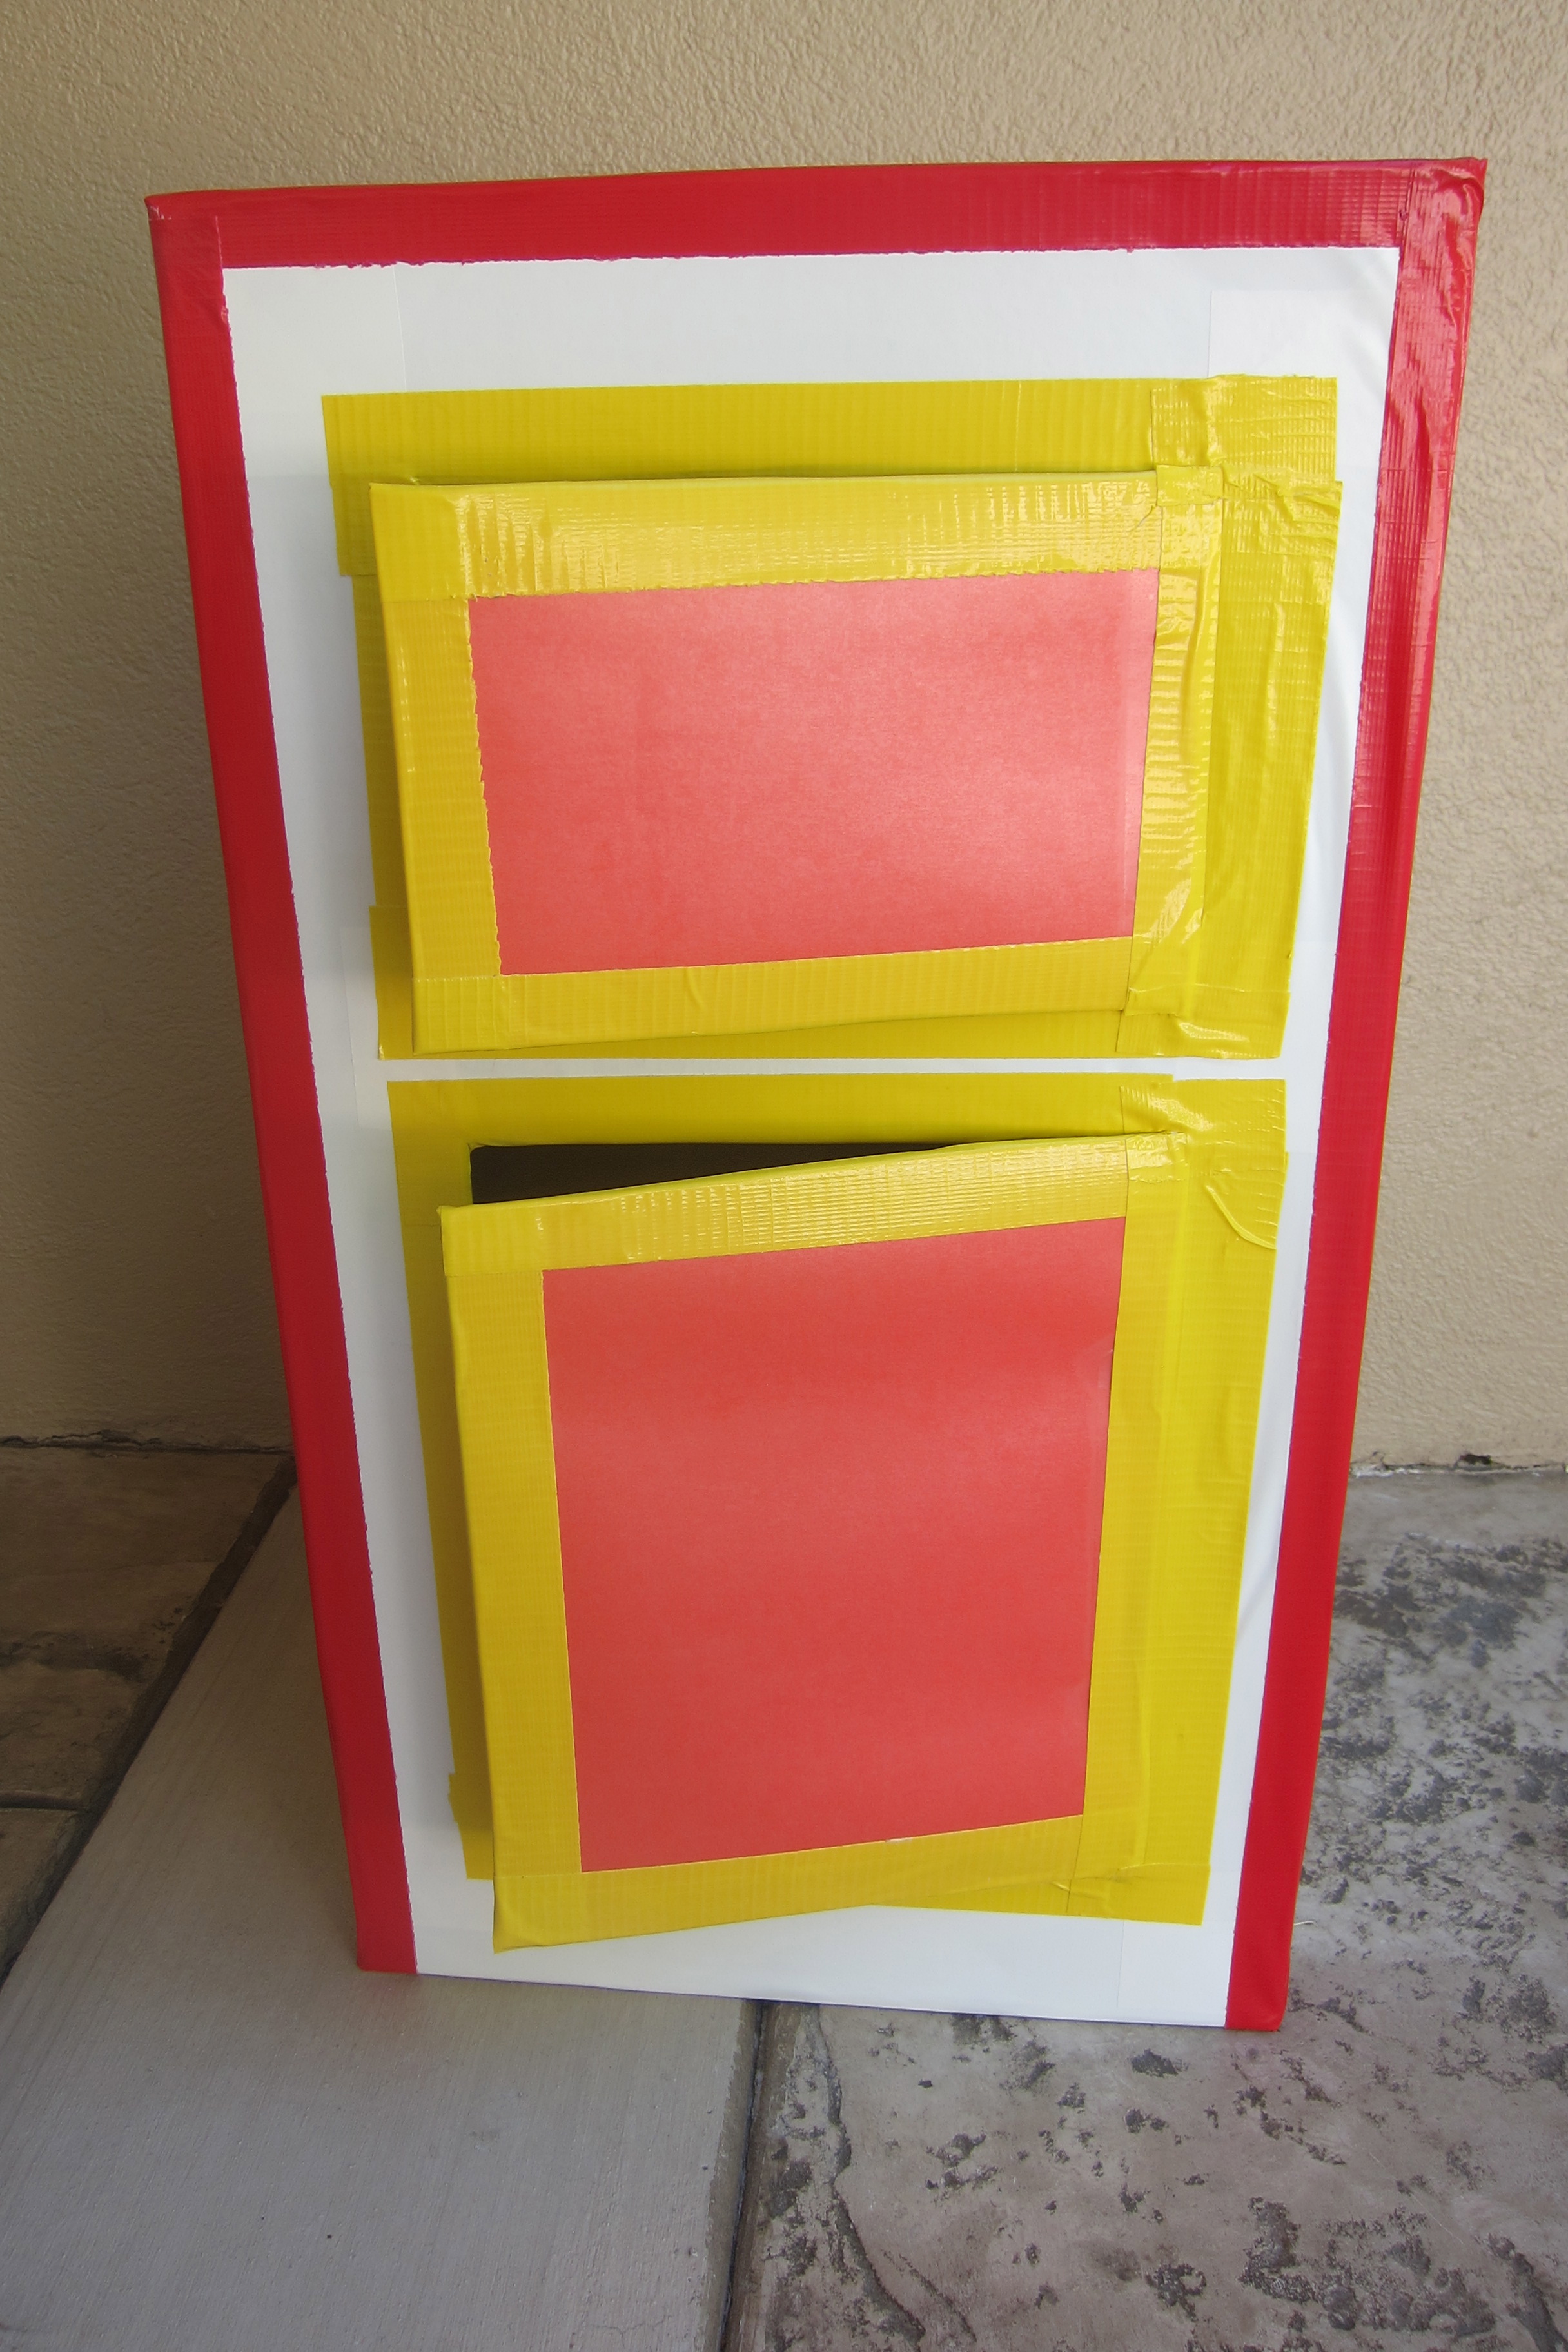
After all the doors are covered you can begin to cover every side of your boxes with white contact paper and decorate as desired. I made the burners on the stove top by tracing a circle and cutting them out of poster board and taping them on top of the white contact paper. I added other decorations in places that any markings showed through on the box and it actually added color and character to the appliances. Anywhere that you added decorations can now be covered with clear contact paper so that the entire appliance is waterproof and kid proof.
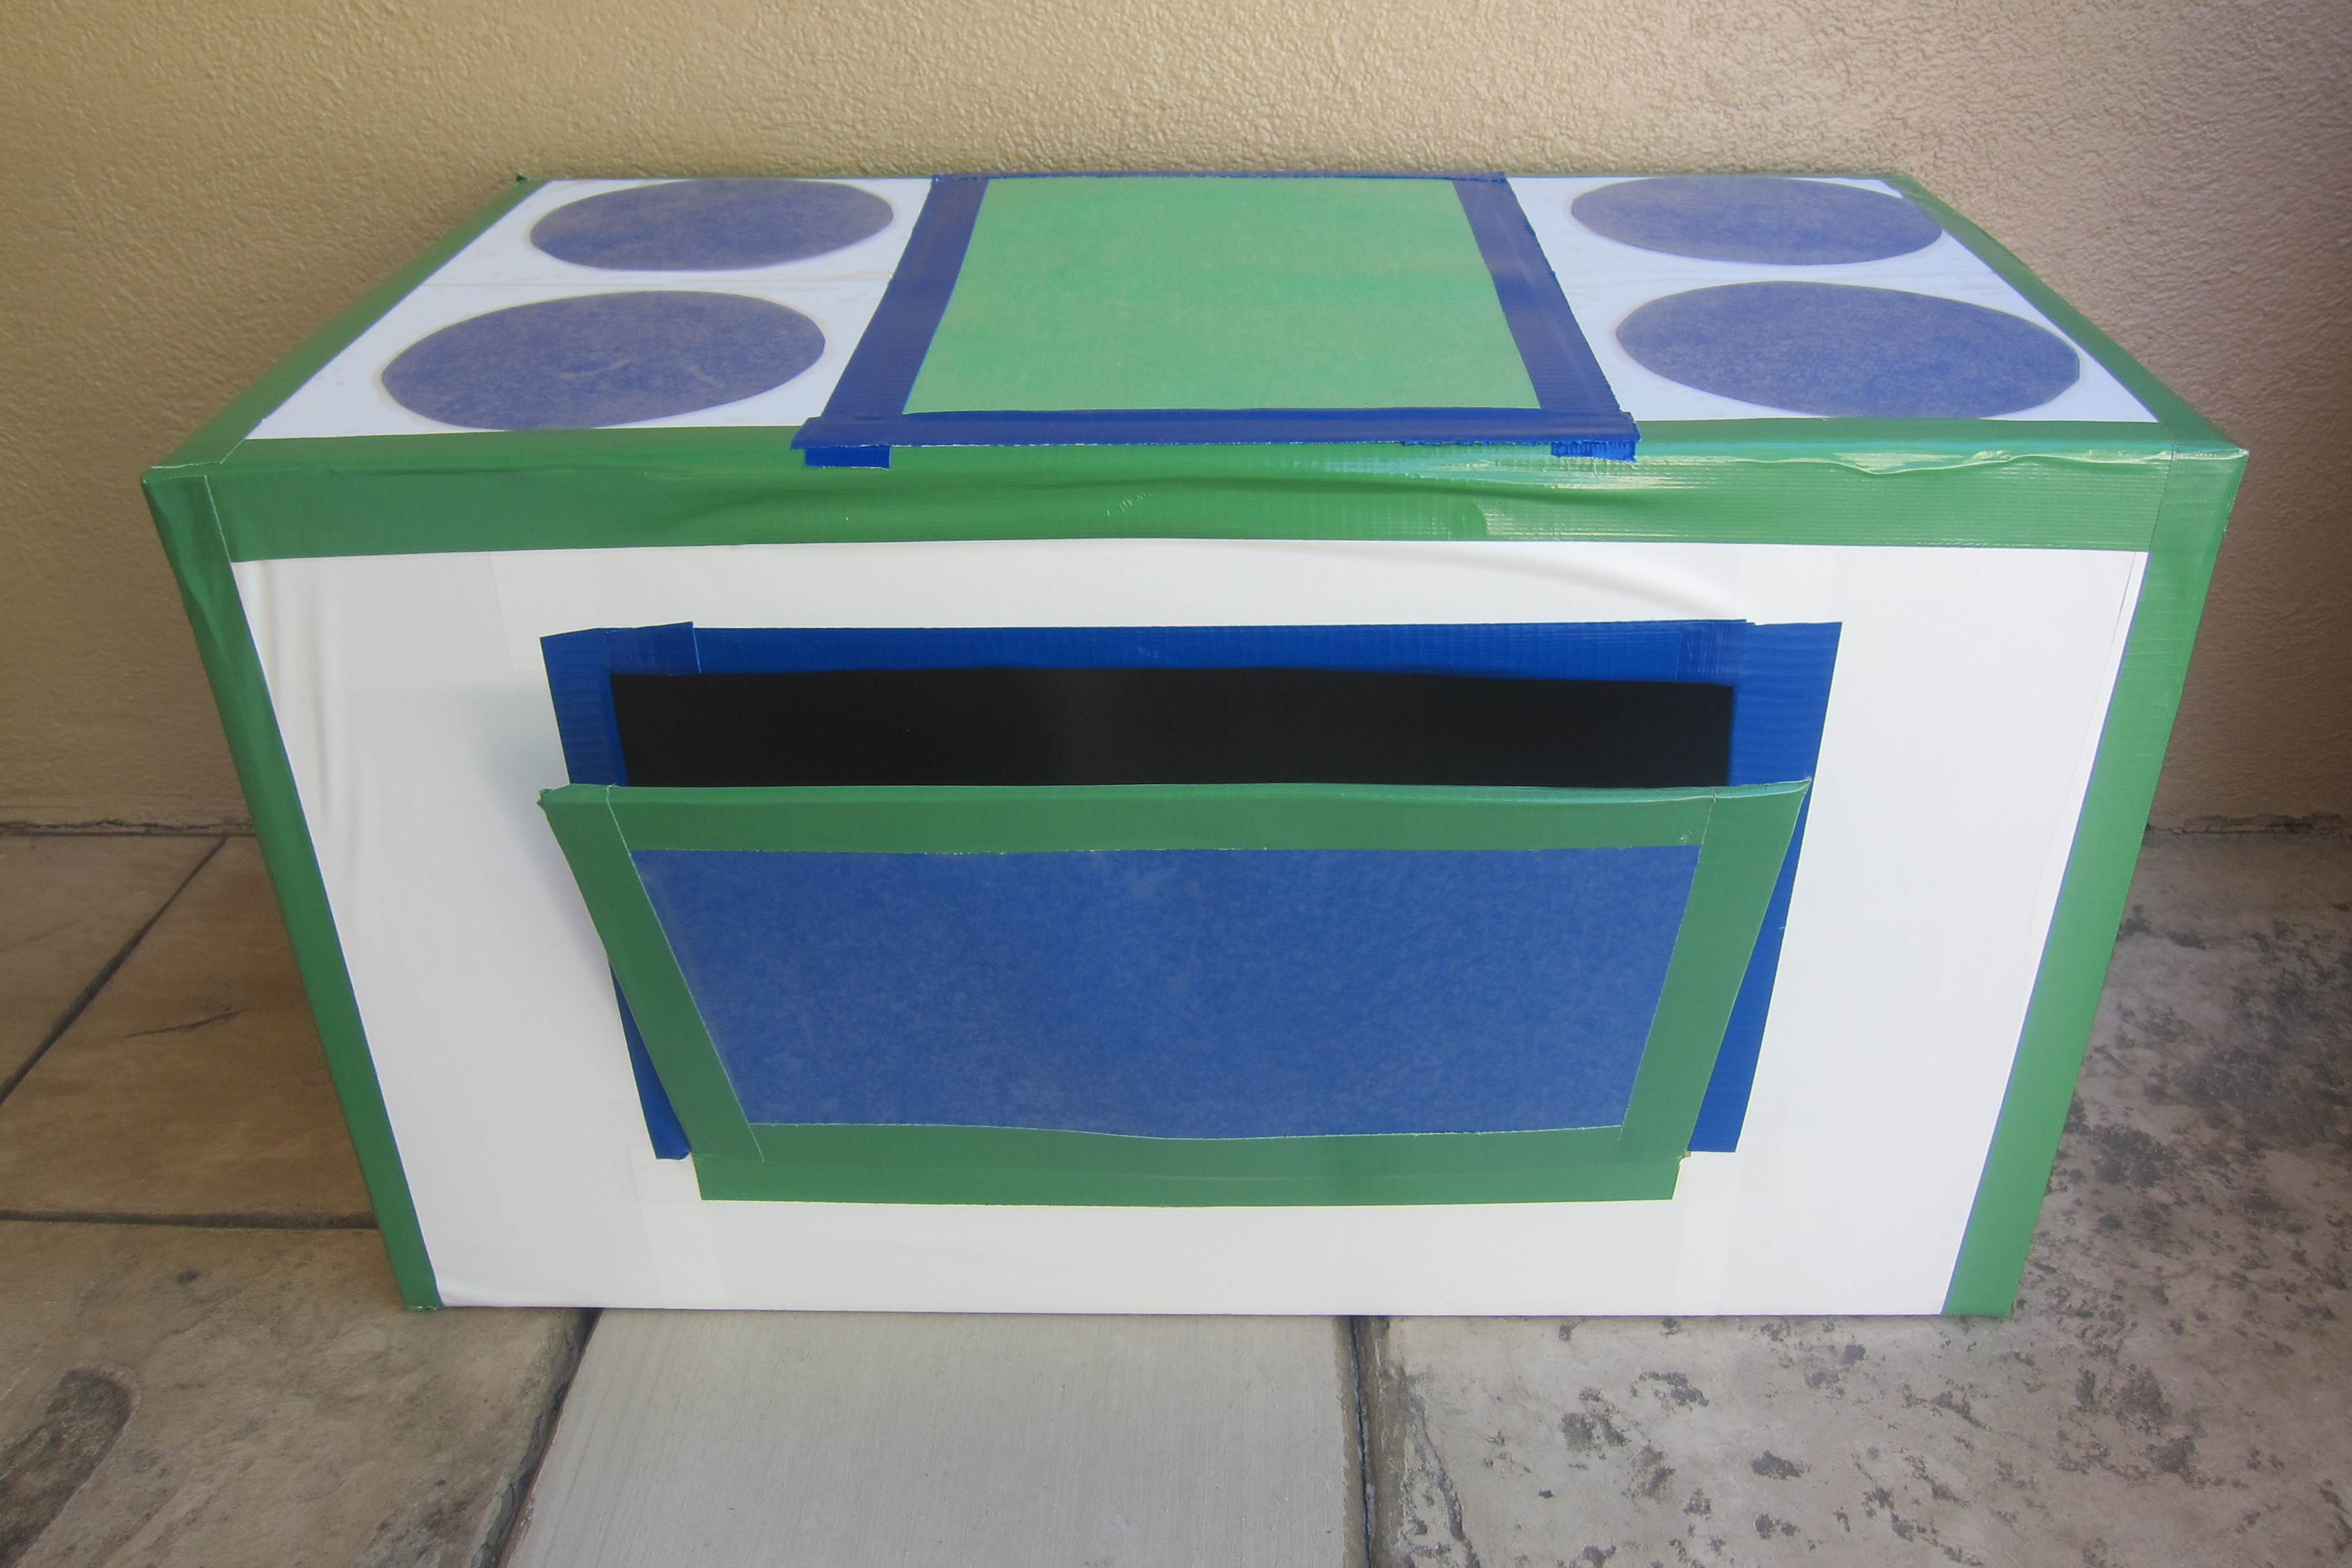
The last step is to take your colored duct tape and finish off all the edges of the appliances and any of the doors. Have fun, be creative and express your love by building a cardboard kitchen!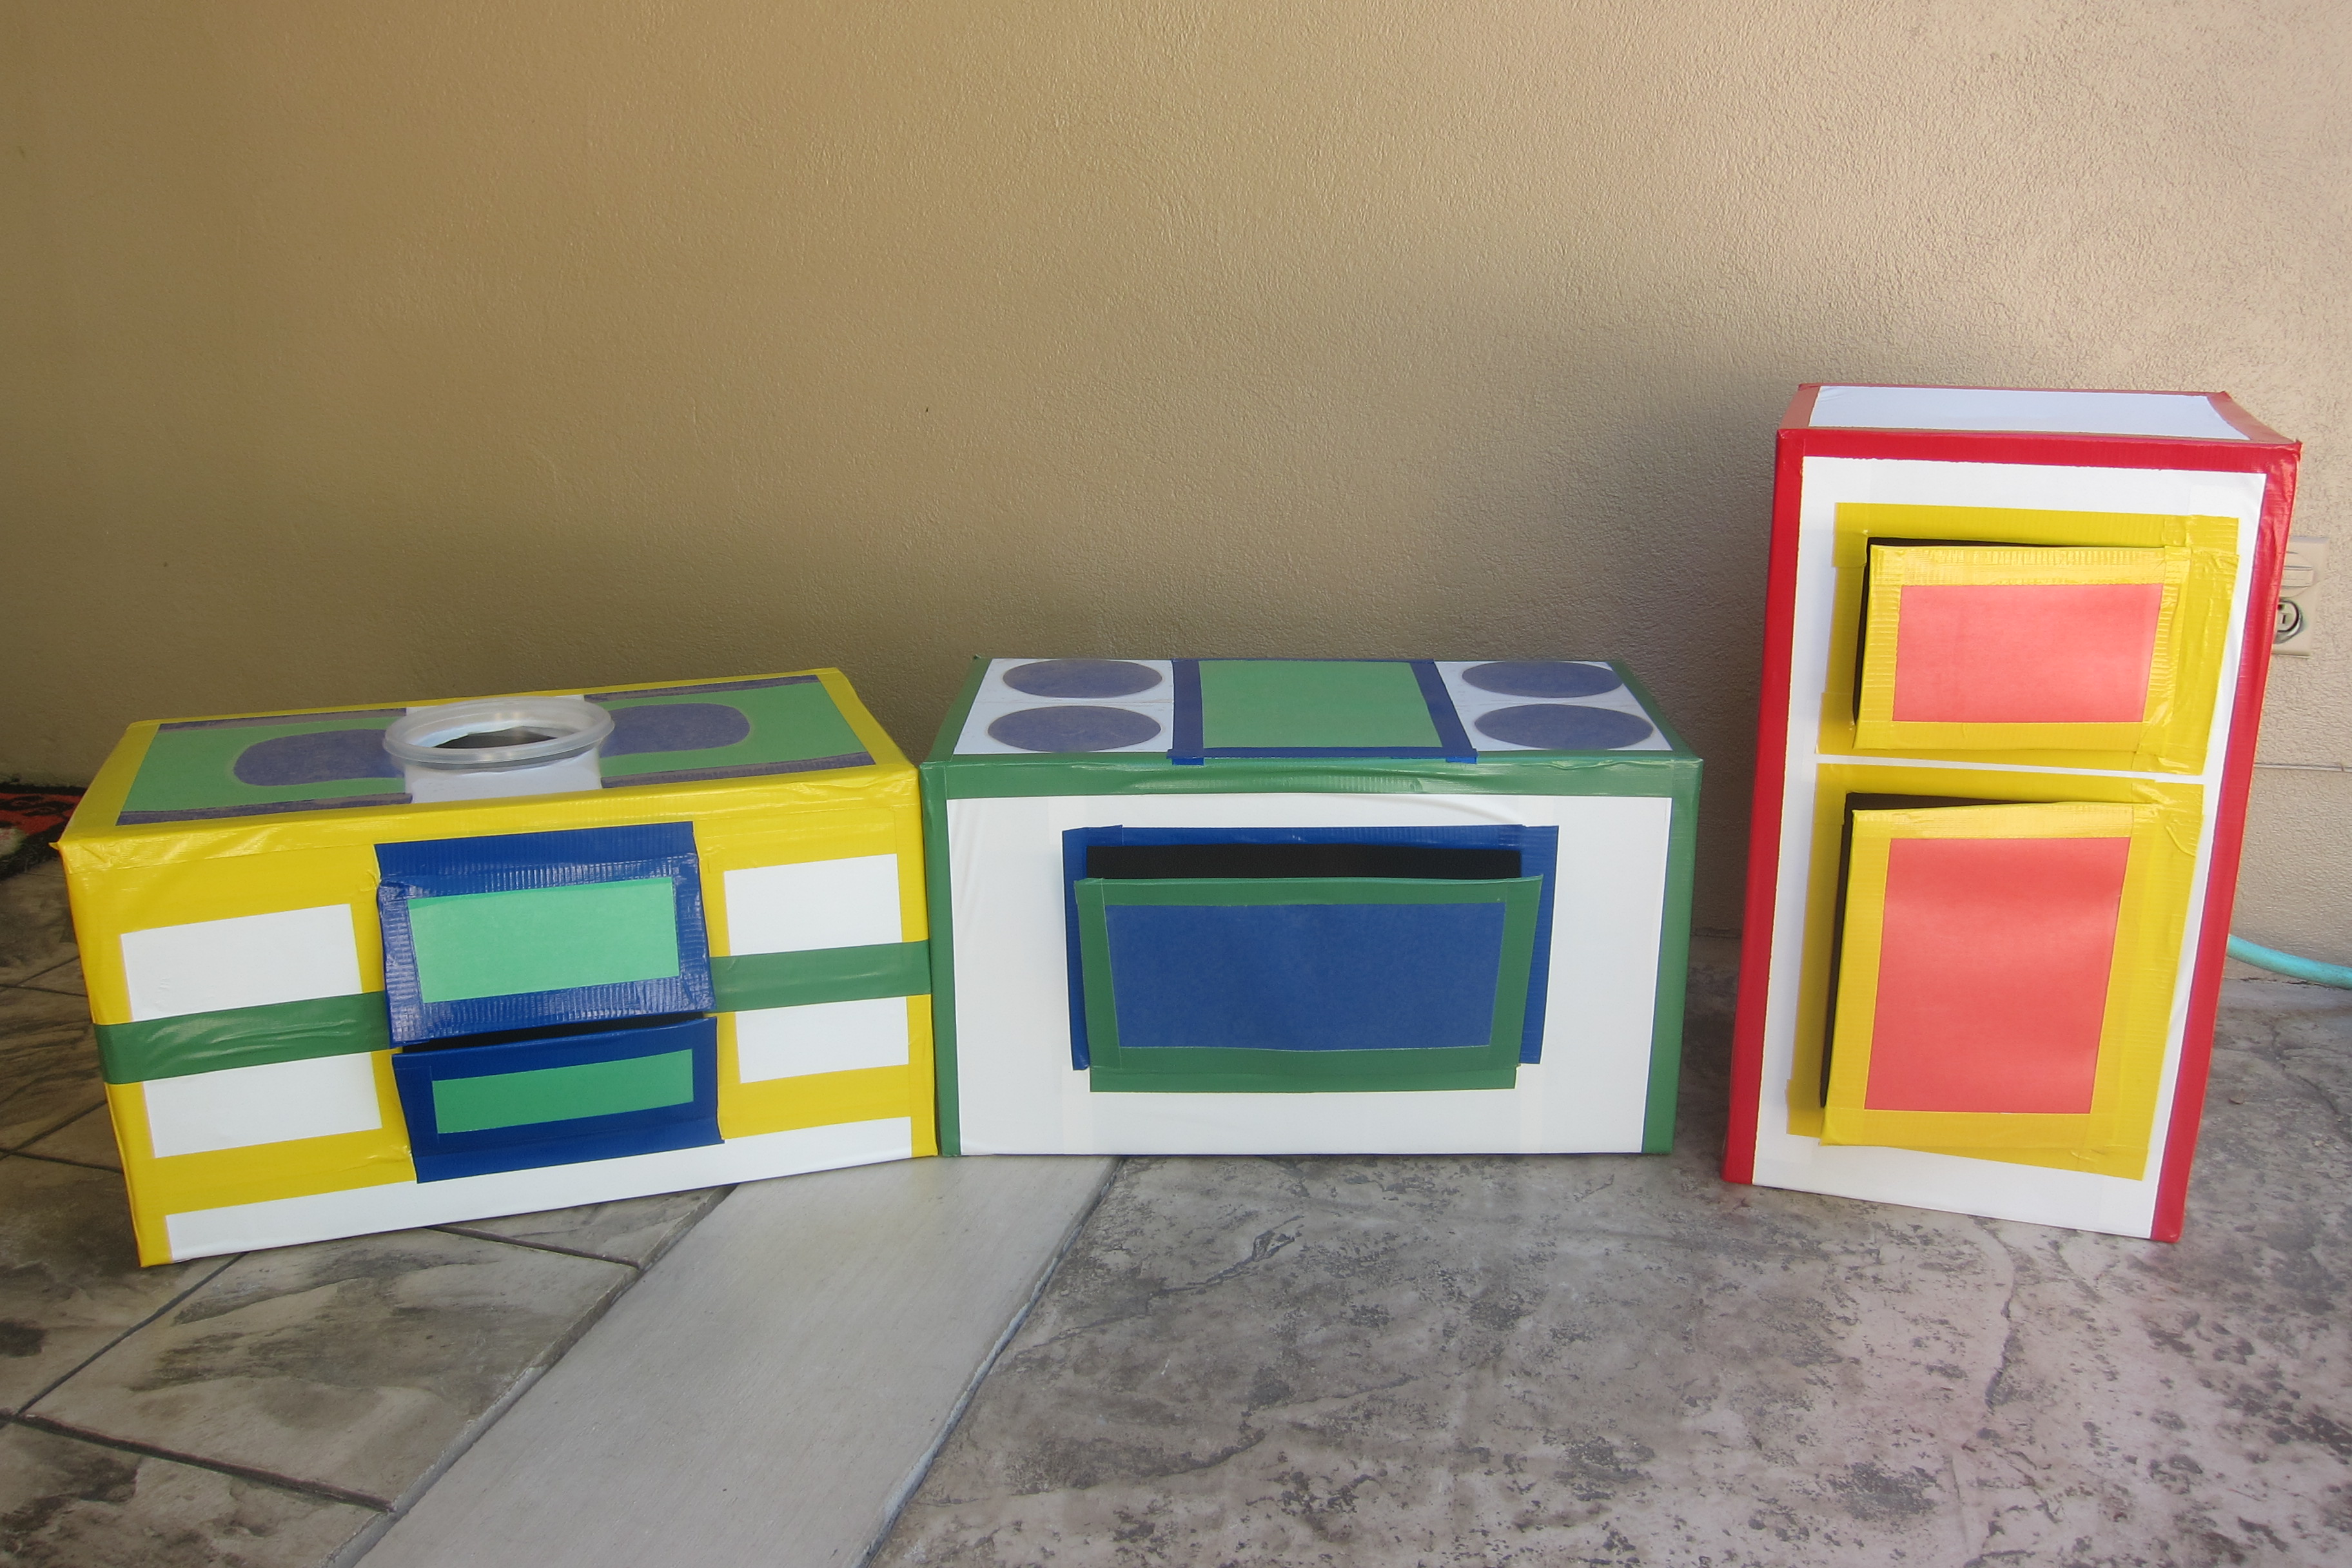

This is great! Since Maddie is only 2 months I have time to make it…lol