Porta Crib Organizer
This week I am going to post my pictures and the detailed description of how I made Rachel’s porta crib organizer. She will have to give us all feedback on how it is working to keep all her baby necessities in order.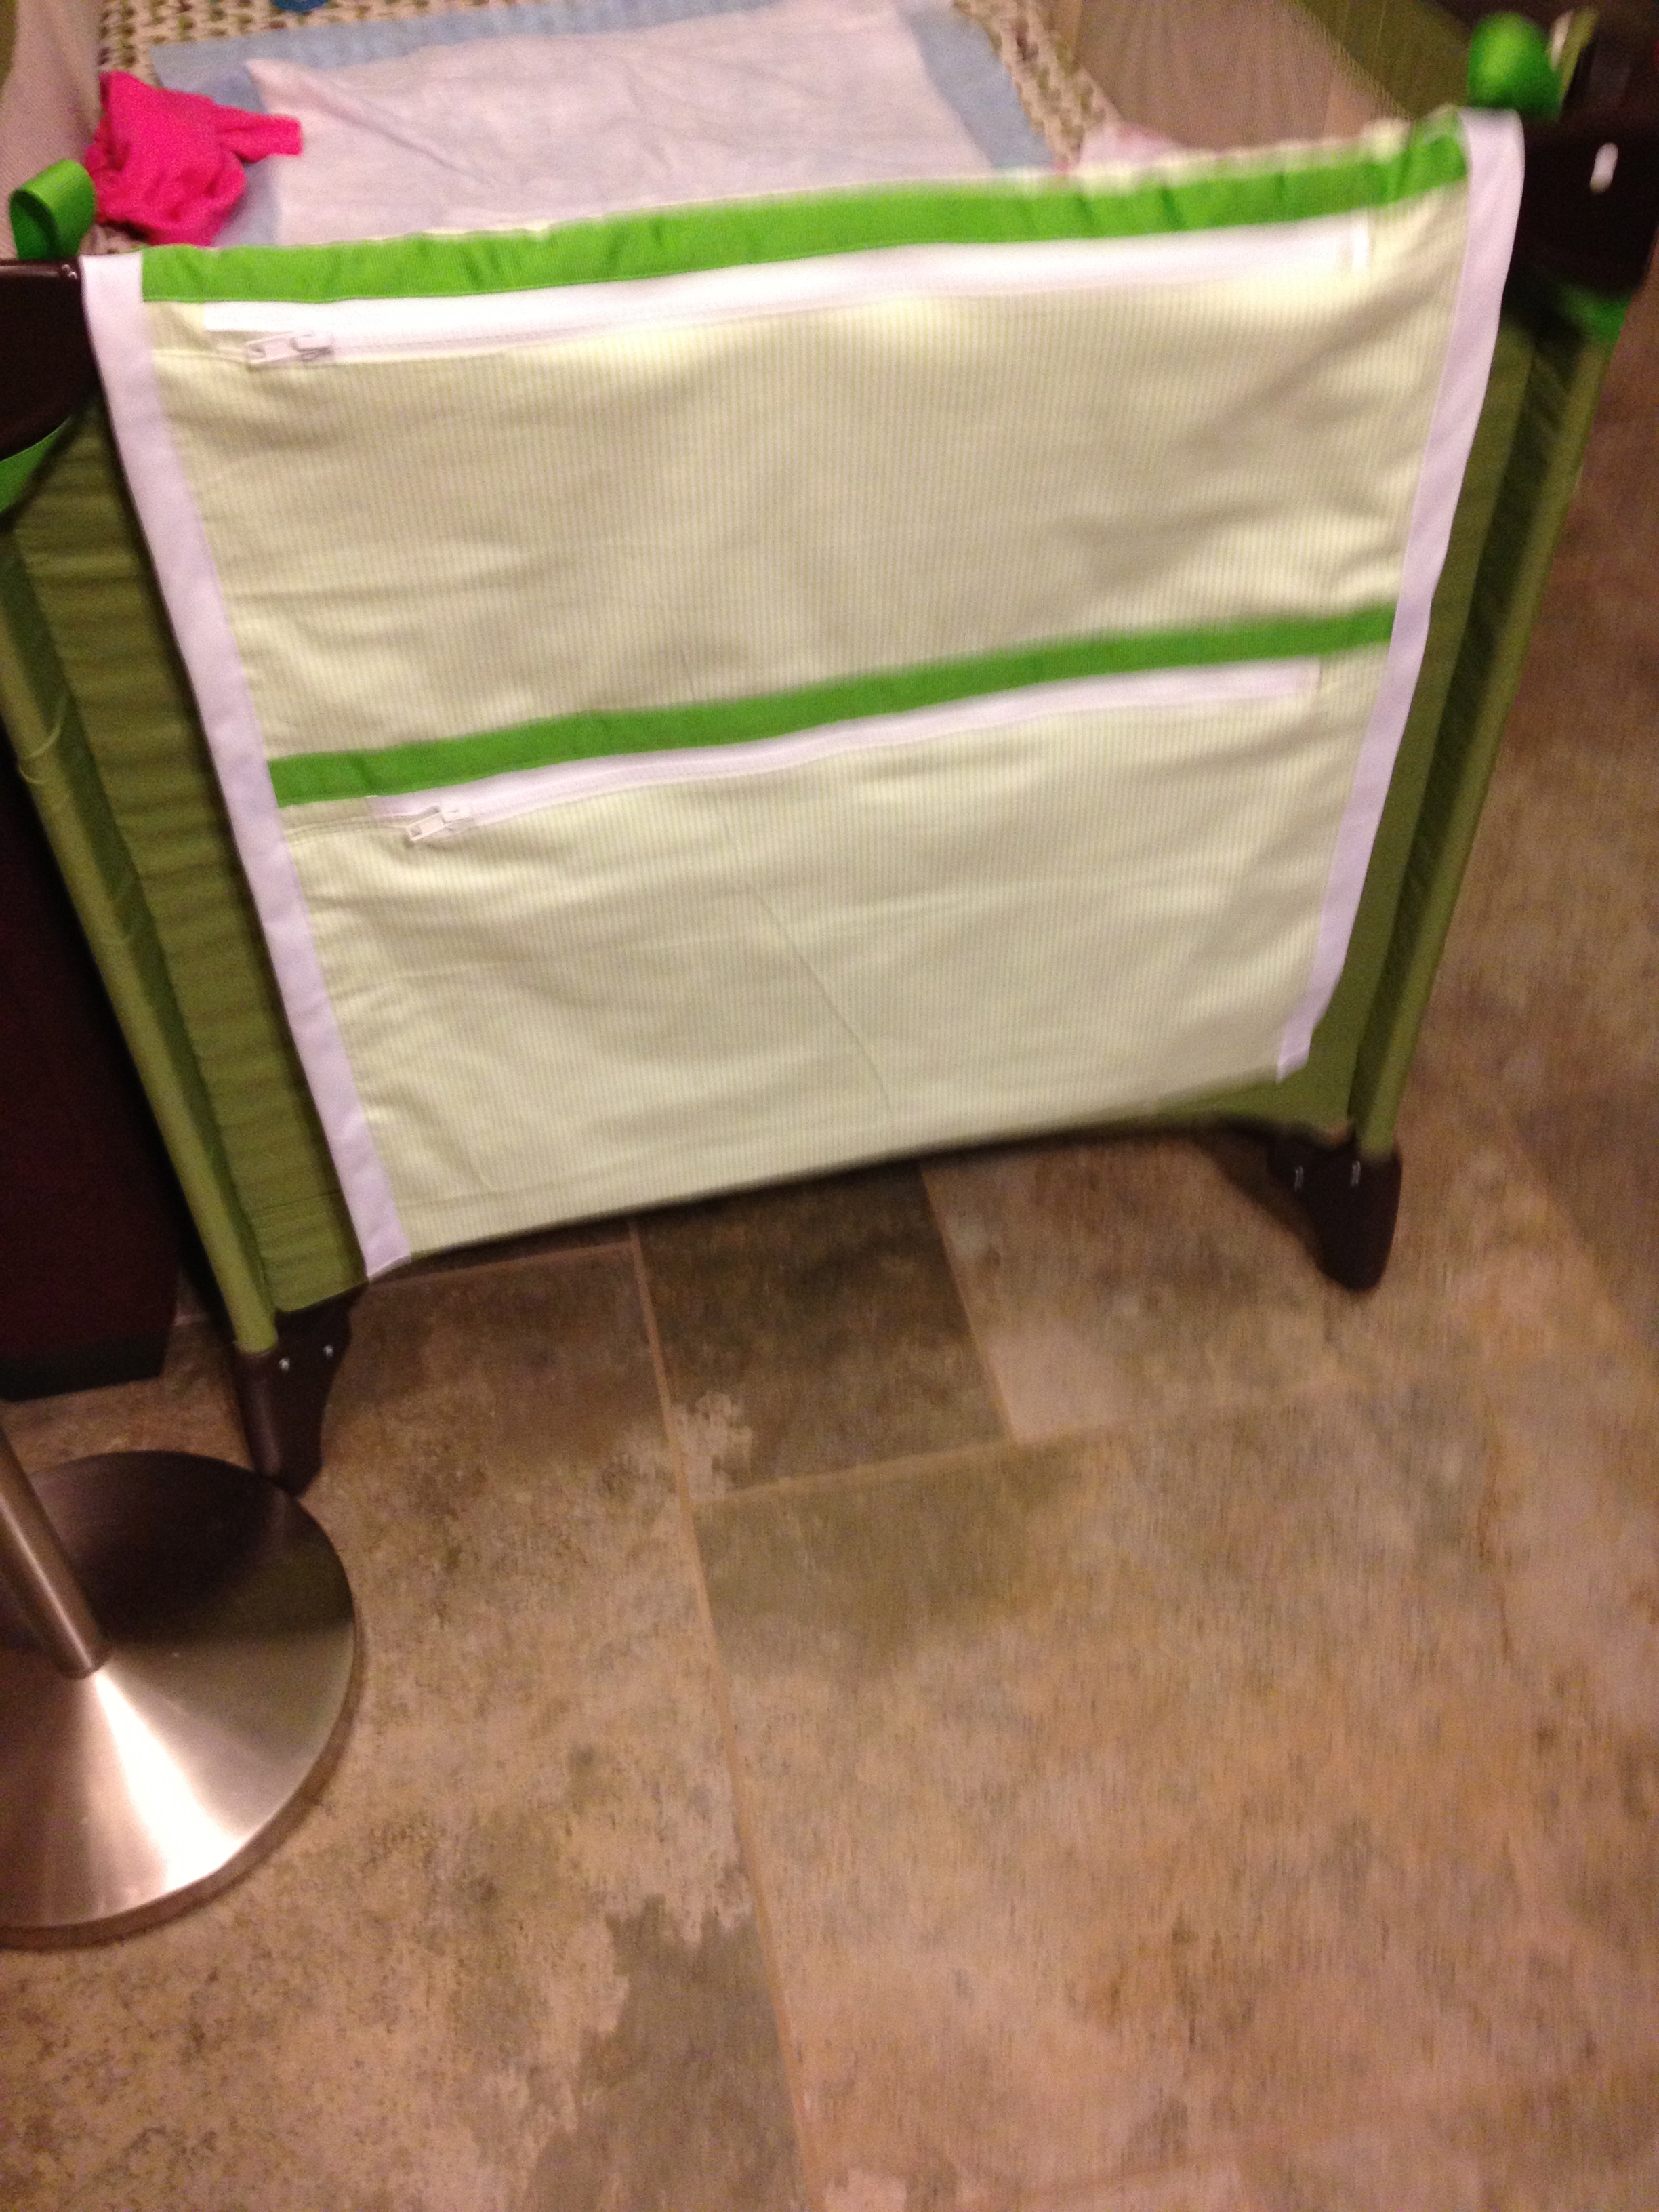
Take a piece of flannel fabric 64 inches by 44 inches and fold in half lengthwise.
Measure off, mark and fold fabric at 9 inches from the top making a 1 inch hem by ironing under unfinished edge. From the bottom measure off and fold up at 23 inches making a 1 inch hem by ironing the unfinished edge. There should be a 4 inch space between the top pocket and the bottom large pocket which will be divided into 2 pockets.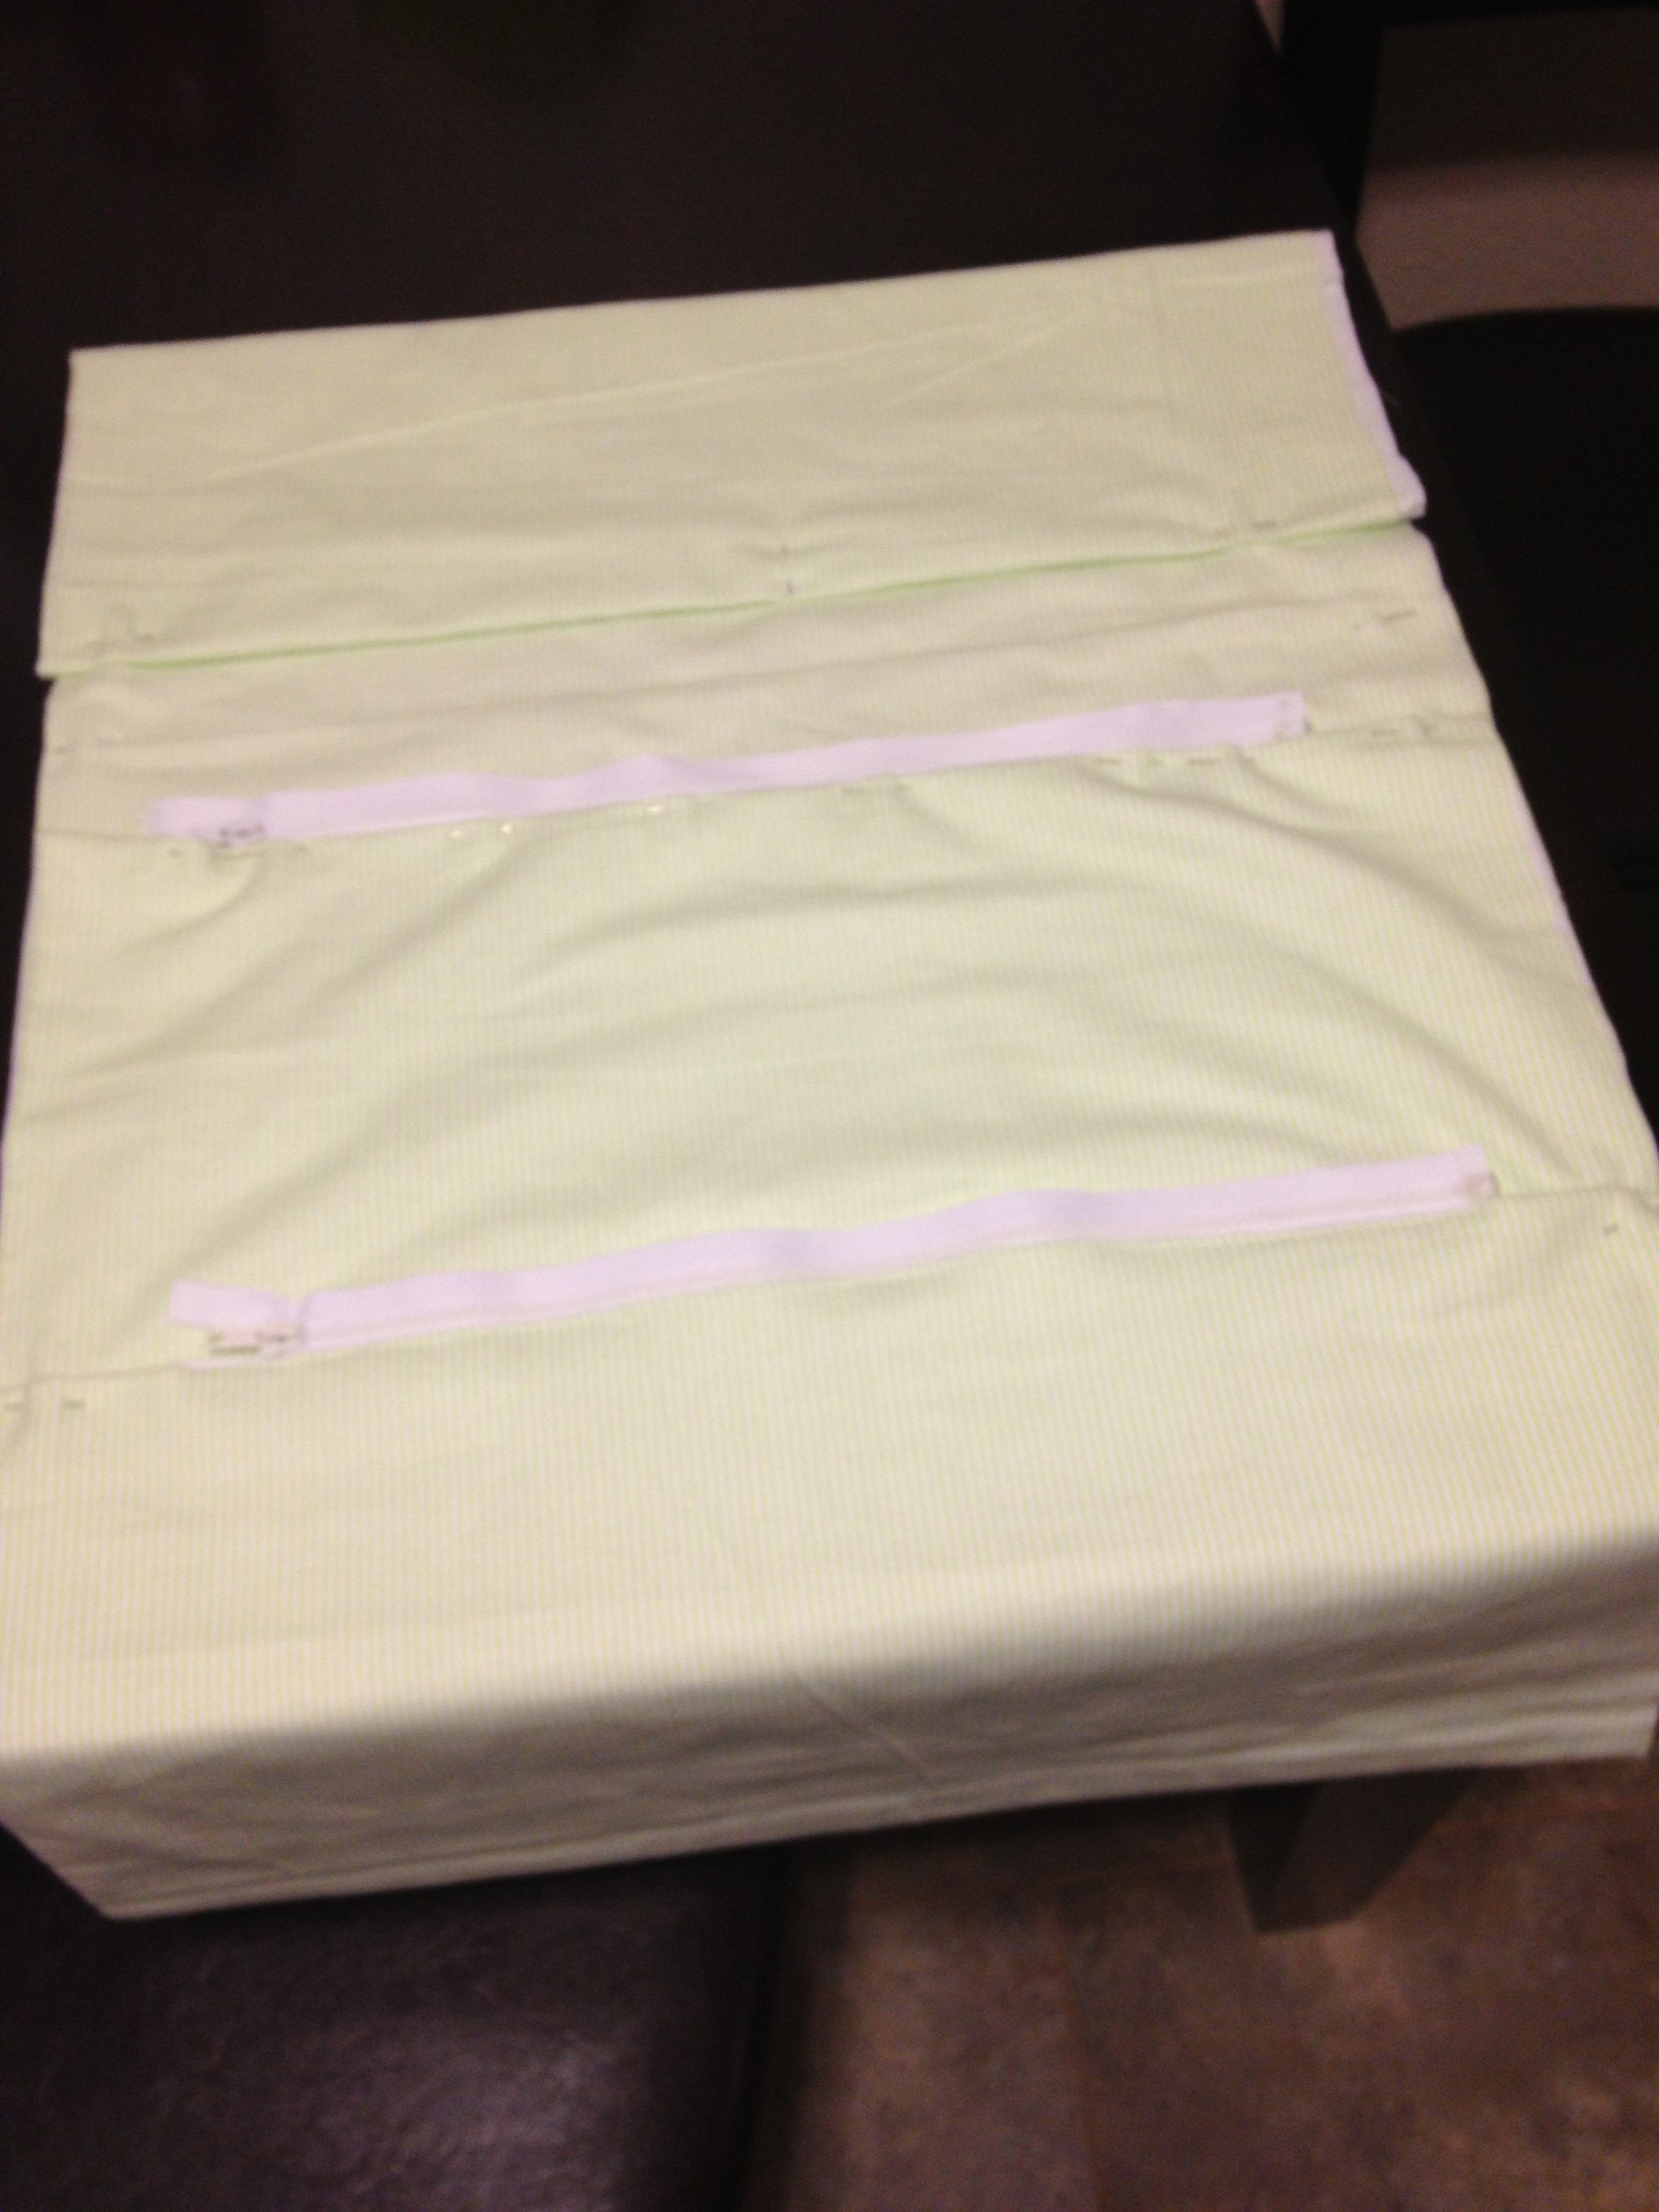
At the top edge of the large pocket, insert a large 16 in plastic zipper and pin in place-one edge pinned to top of pocket and one edge pinned to back of fabric.
Eleven inches from the bottom of the fabric fold make a horizontal fold 1 inch deep to make a casing for the second zipper. Cut horizontally at the bottom of this 1 inch fold. Slide the zipper under the 1 inch fold and pin in place and pin to the bottom of the top pocket. Unfold the top two layers from the bottom two layers and sew both zippers into place.
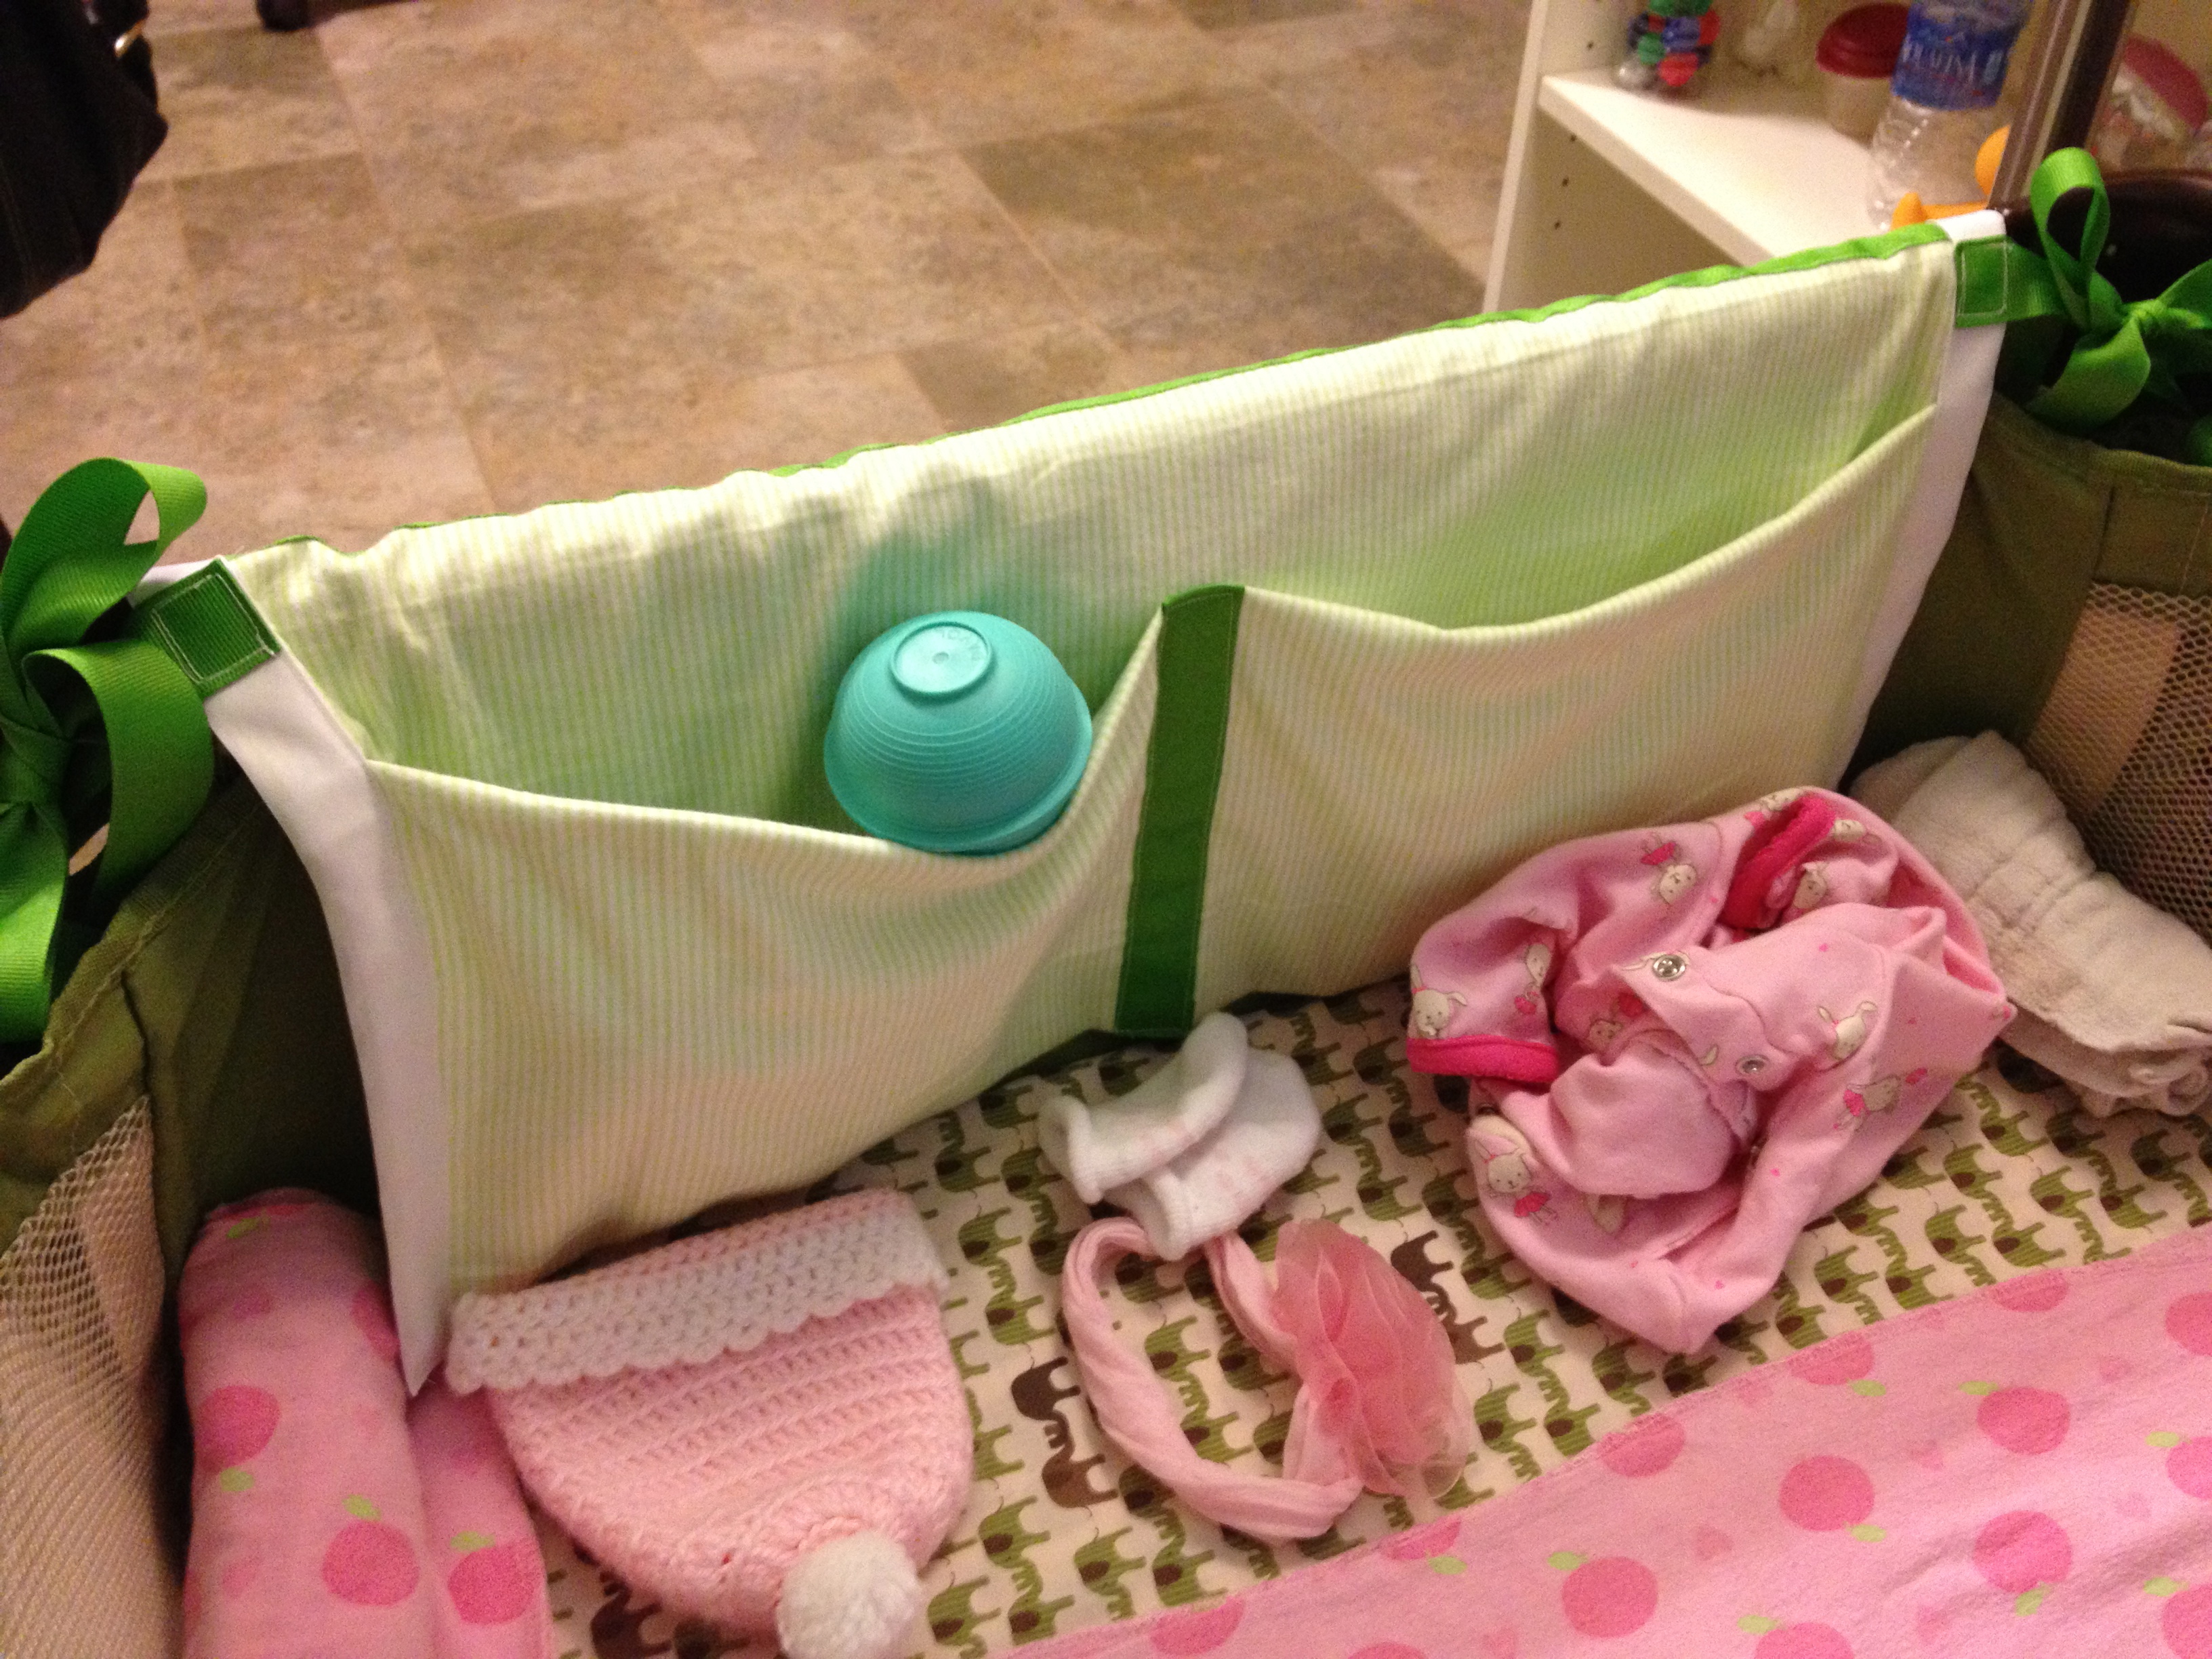
Make two pockets in the top small area by sewing a vertical seam in the middle of the small upper fold.
Sew Grograin ribbon over the top edge of each zipper and over the vertical stitching on the top pocket. Use wide seam binding to finish off both unfinished sides
Sew Grograin ribbon over the top edge of each zipper and over the vertical stitching on the top pocket. Use wide seam binding to finish off both unfinished sides.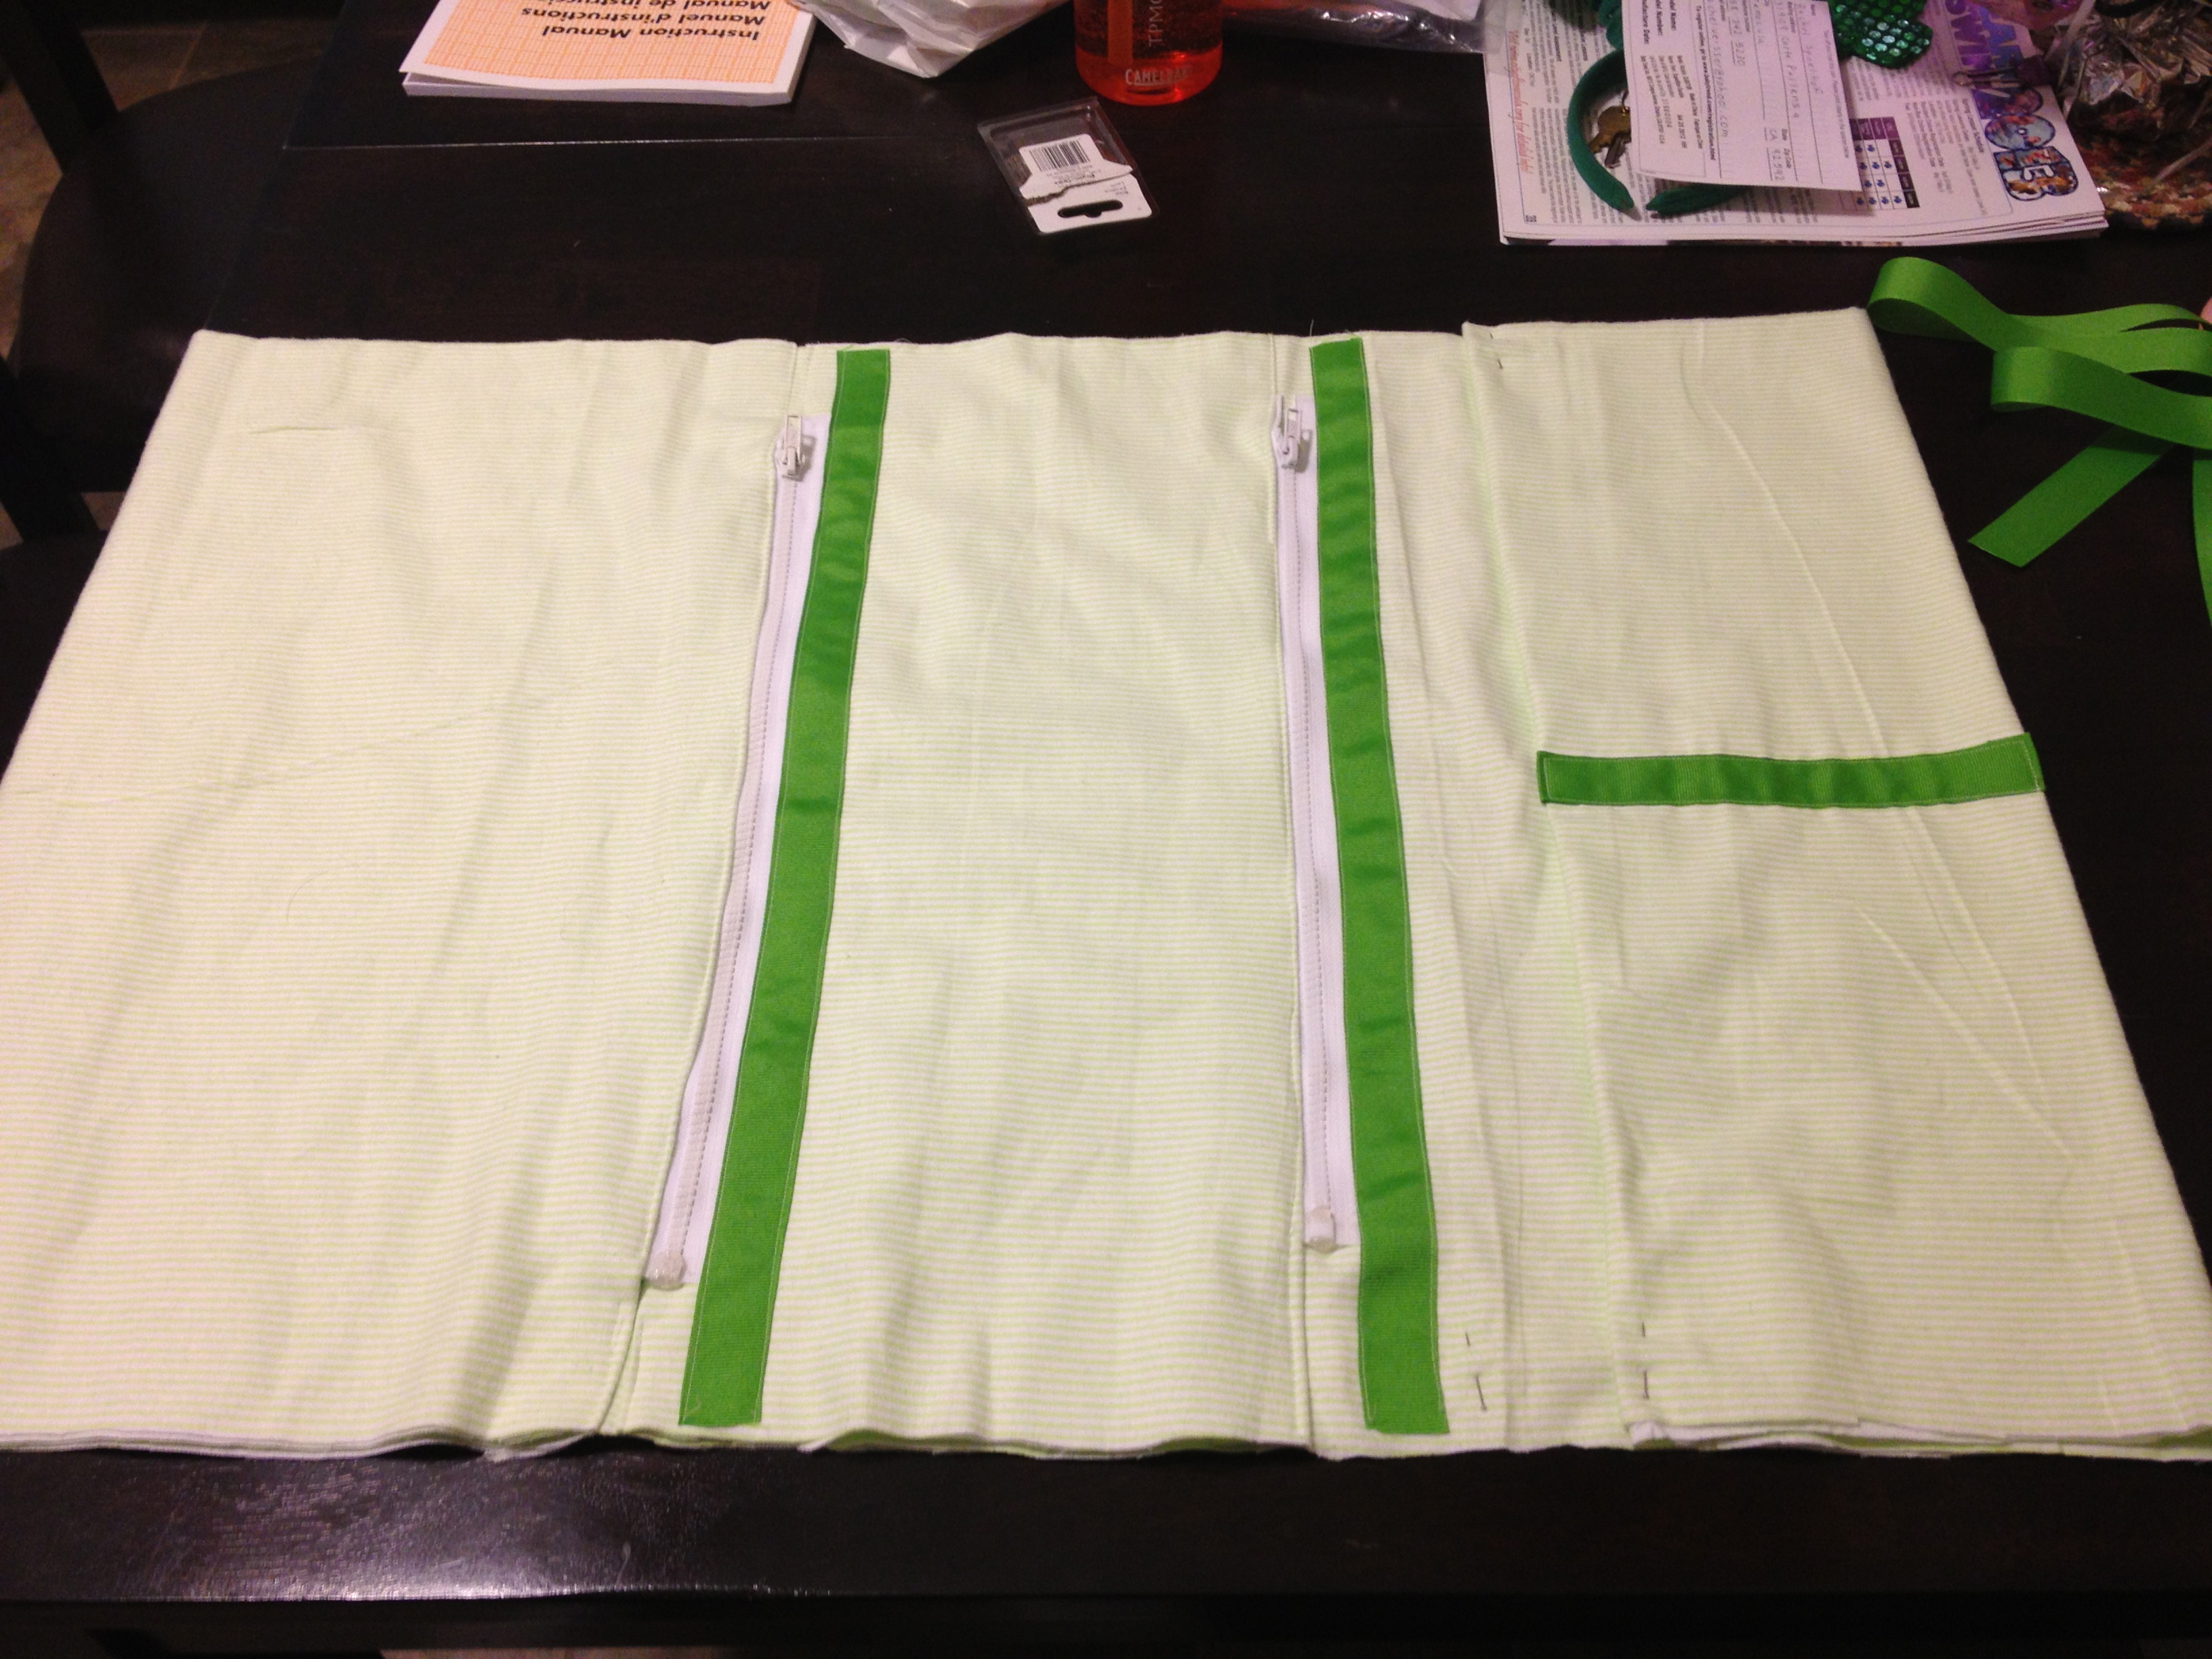
Sew 1 yard of grograin ribbon to each side between the top and bottom pockets so that when you fold the organizer the short side will hang inside the porta crib and the ouside arger 2 pockets will hang on the outside of the porta crib.