New Craft for an Old Thing…T-shirt Headband!
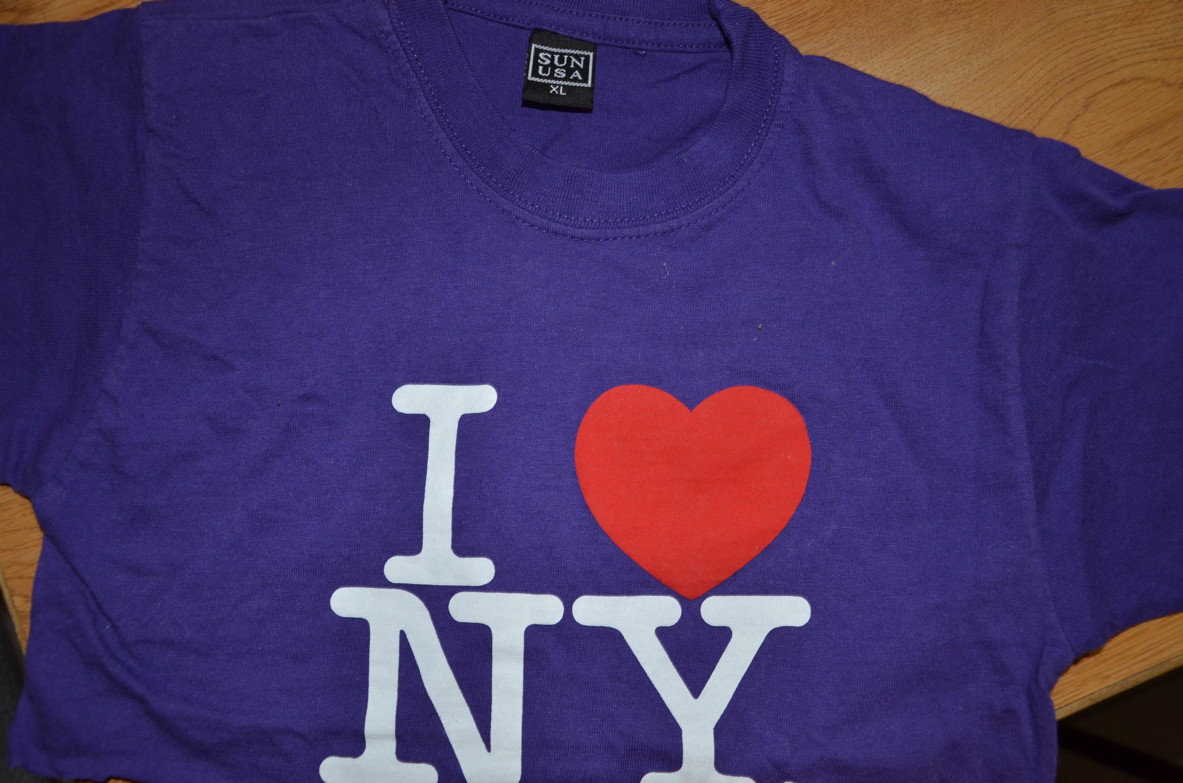
Crafting can be fun, but also expensive! I am going to try to be posting more crafts with old things you can find in your home! And the first item- An old t-shirt! Now, who doesn’t have an old t-shirt they have been meaning to get rid of?!? No one, right! And, now I am going to teach you how to take an old t-shirt and turn it into a HEADBAND! So here is what you need…
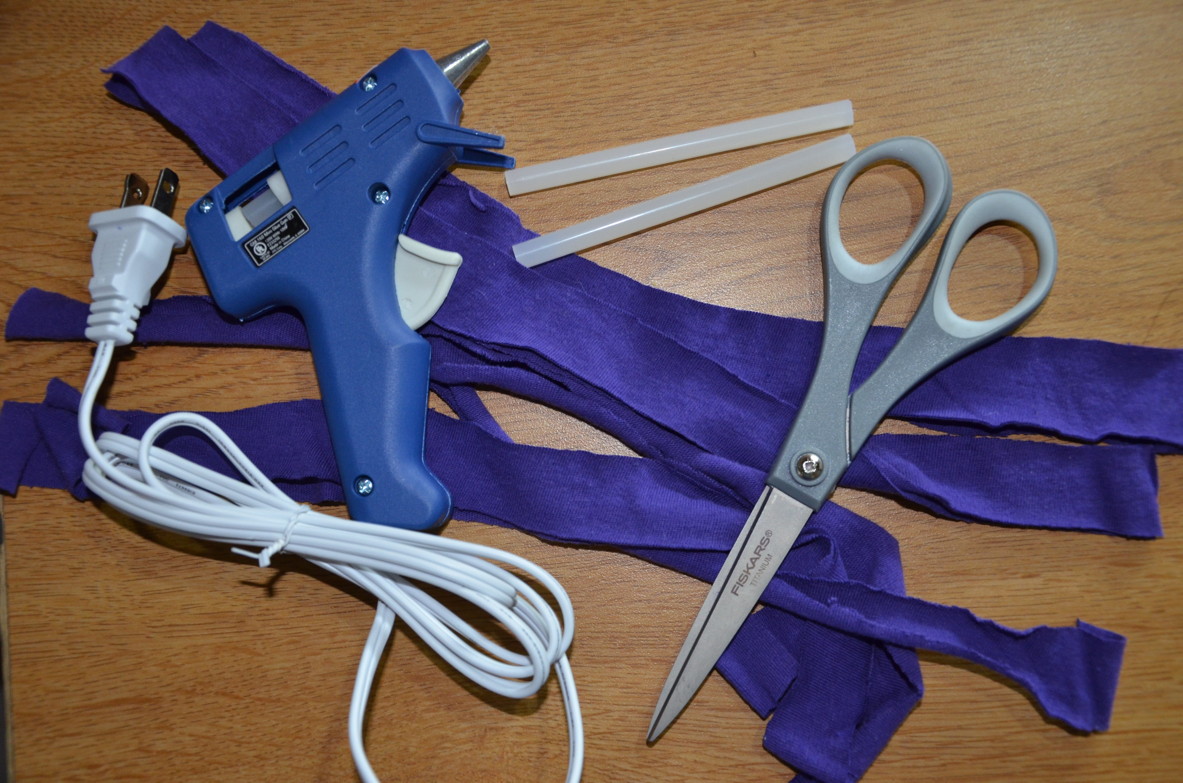
-A t-shirt
-Fabric Scissors
-A Hot Glue Gun
Before I begin with the instructions, I want to tell you that I used a small t-shirt so my pictures of the t-shirt strips will look smaller than yours. It is better to have the strips be longer than shorter because you can always trim them at the end to fit the head of whomever you are making the headband for!
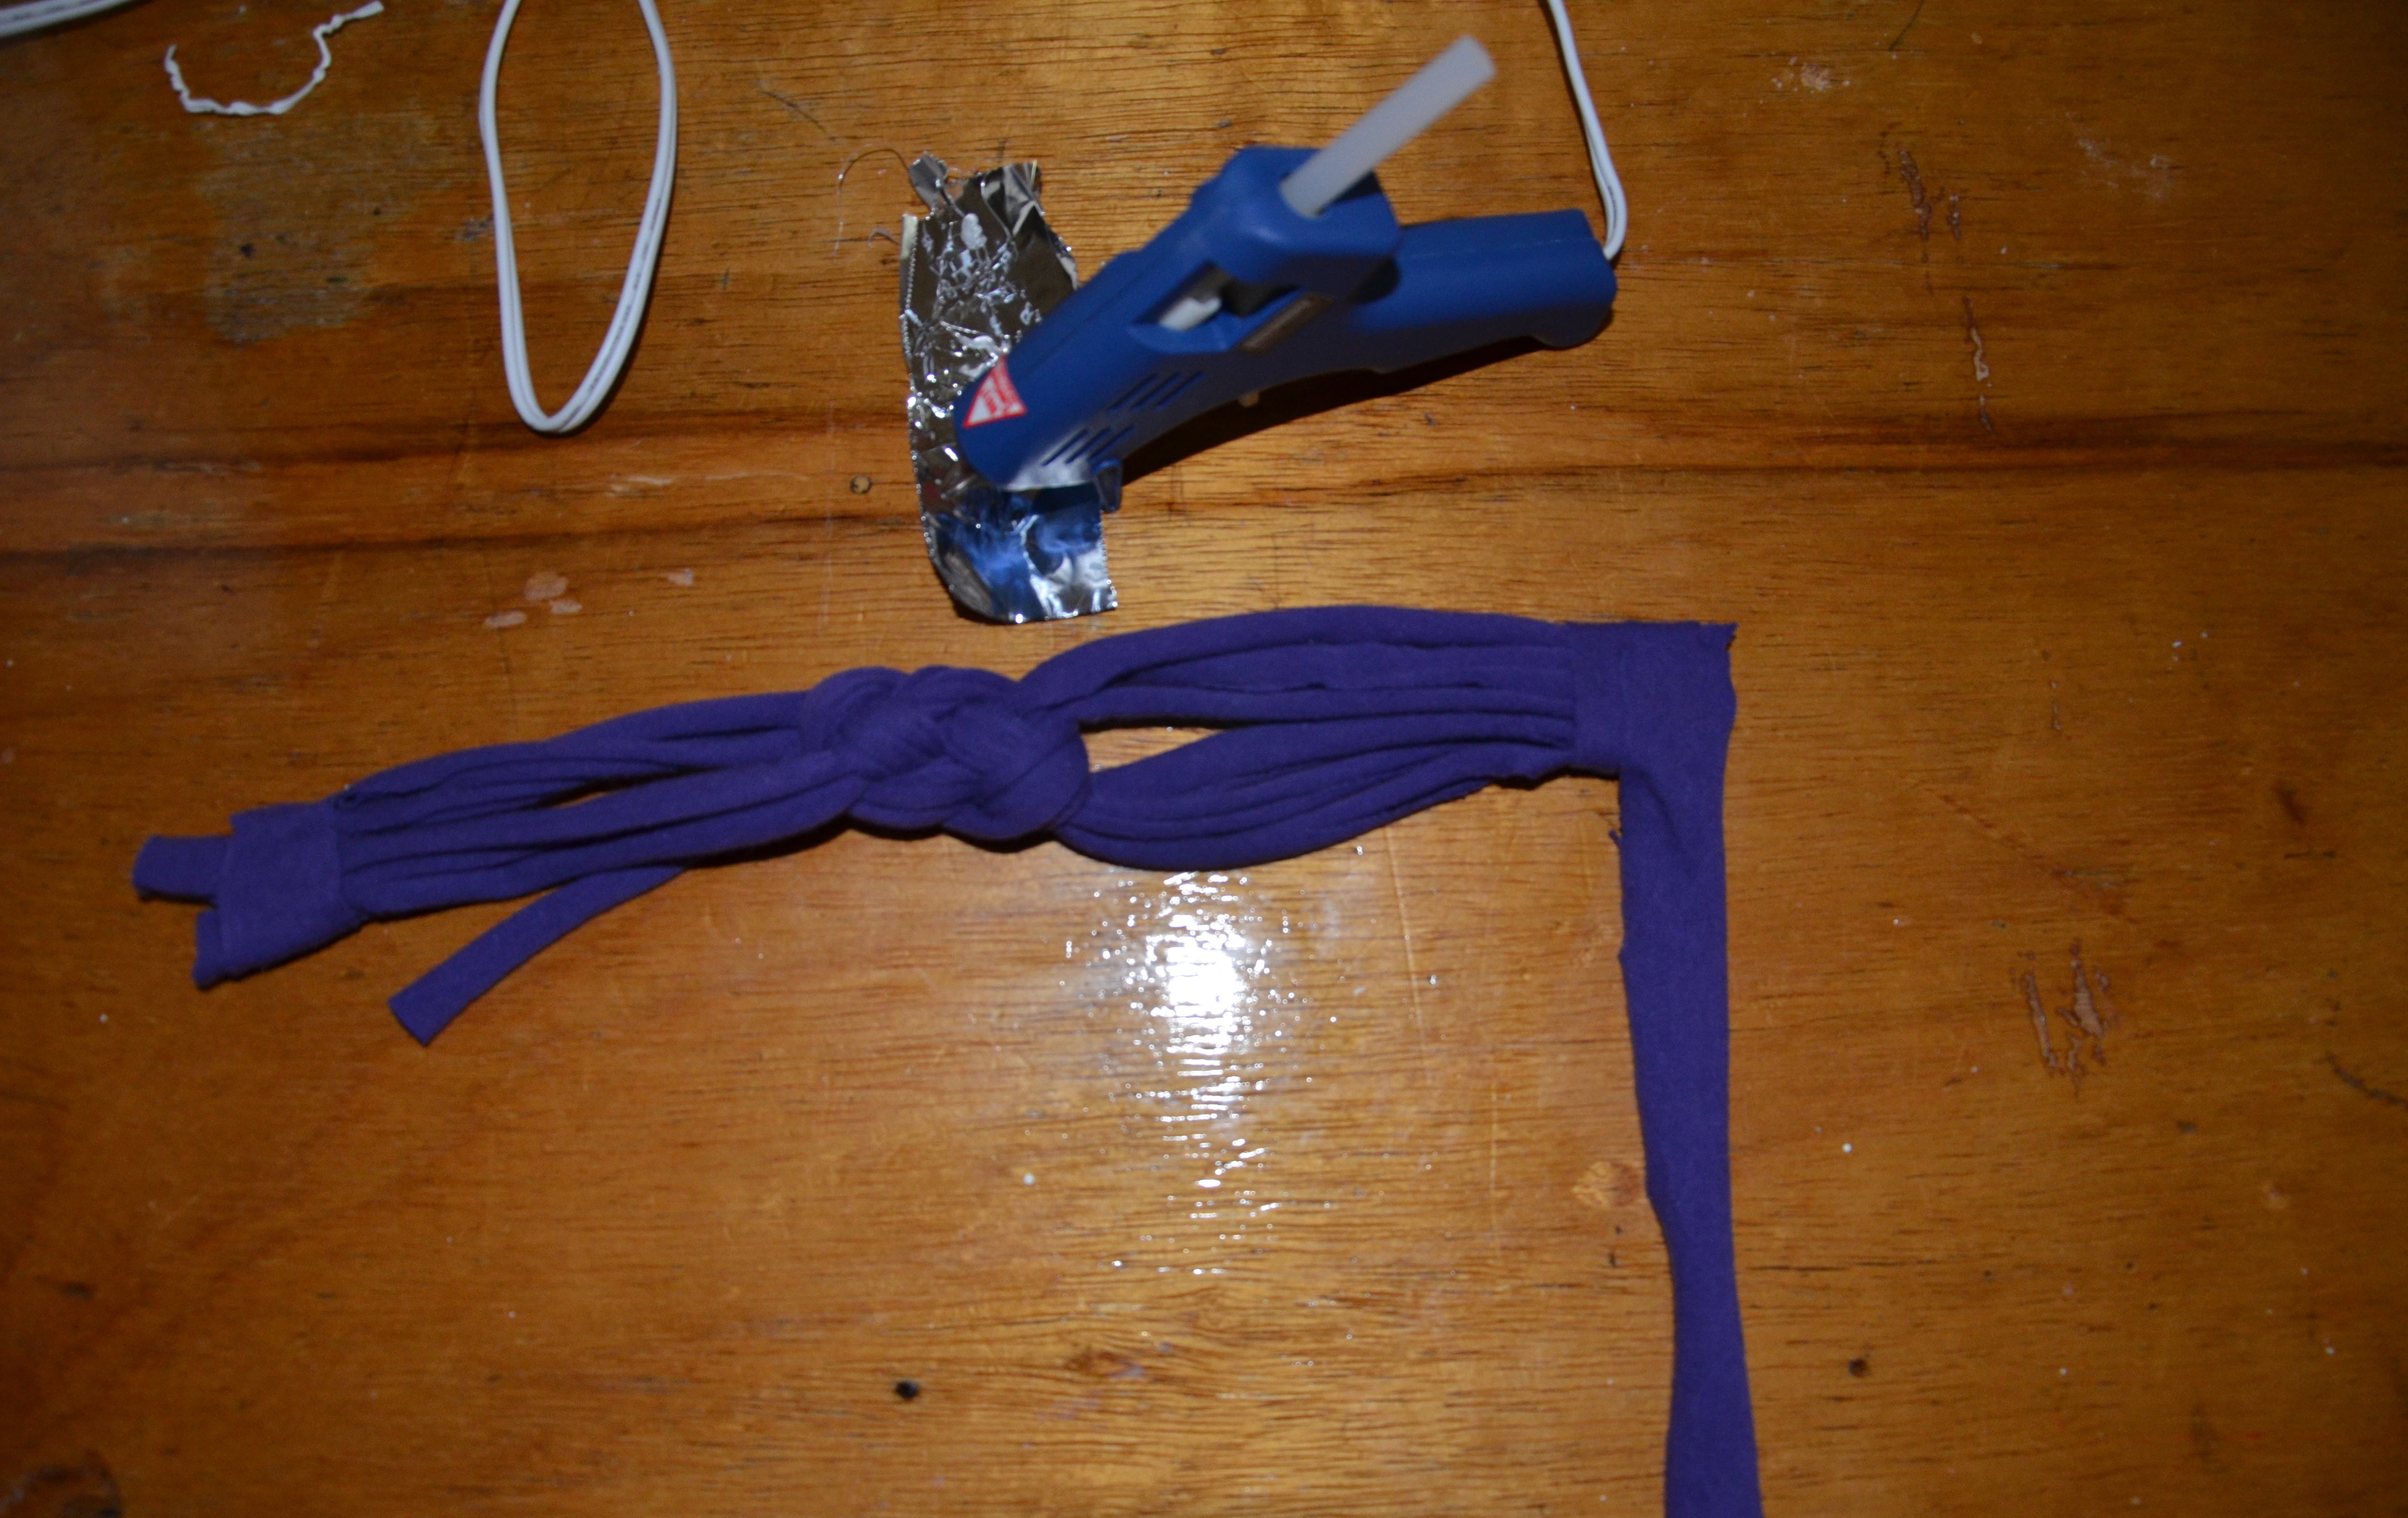
1. Lay your t-shirt flat on your cutting board or a flat surface. Start by cutting off the bottom seam and throw away. Cut 5 one inch strips starting from the bottom of the t-shirt including both the front and the back of the t-shirt in your cuts. You will have 5 t-shirt pieces that are circles when you pick them up. Lay each piece flat with the side seams back on the edges and cut off the side seams, making 2 strips from each original piece. You will need a total of 9 one inch pieces for the headband. Grab each strip one at a time from both ends and stretch so that the fabric curls in on itself. Make 2 piles of 4 strips. Place the last strip to the side- you will need it later.
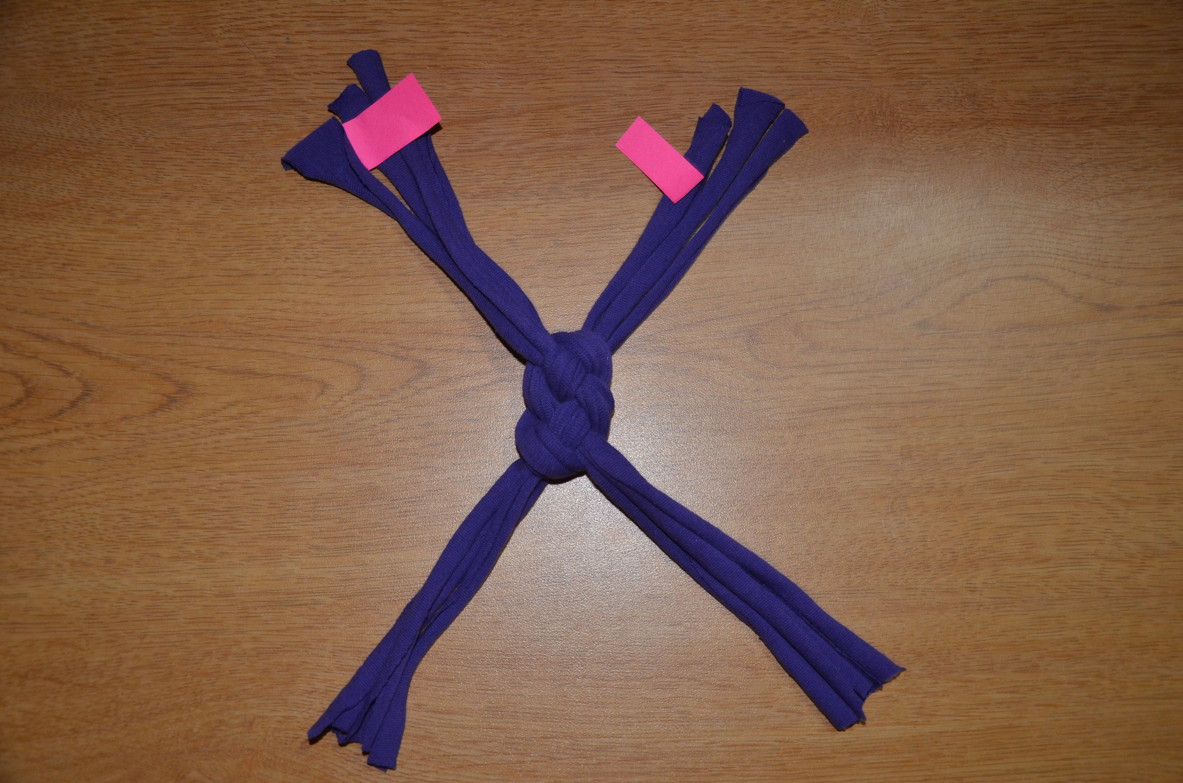
2. Take one pile and wrap the right end on top of the left end- “Pile #1”
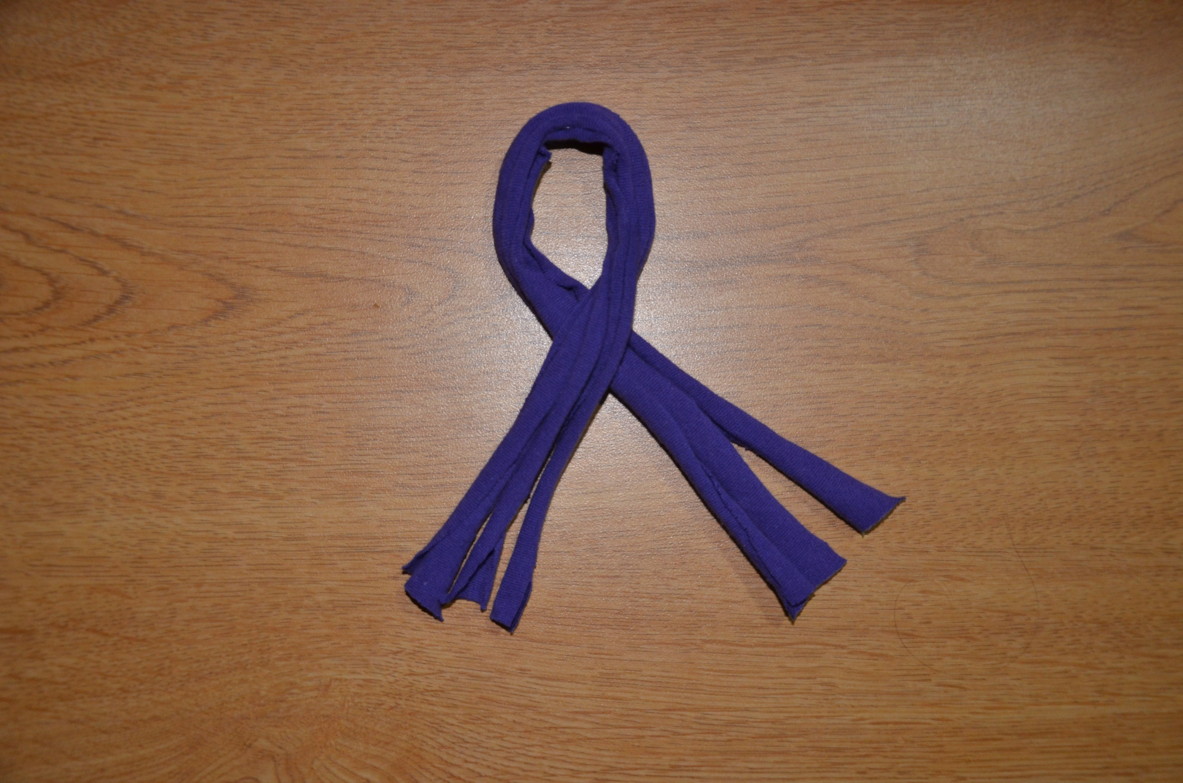
3. Take Pile #2 (indicated with the pink) and put on top of Pile #1 with the right side under the right bottom of Pile #1.
4. Take the left side of Pile #2 and place it under the loop of Pile #1.
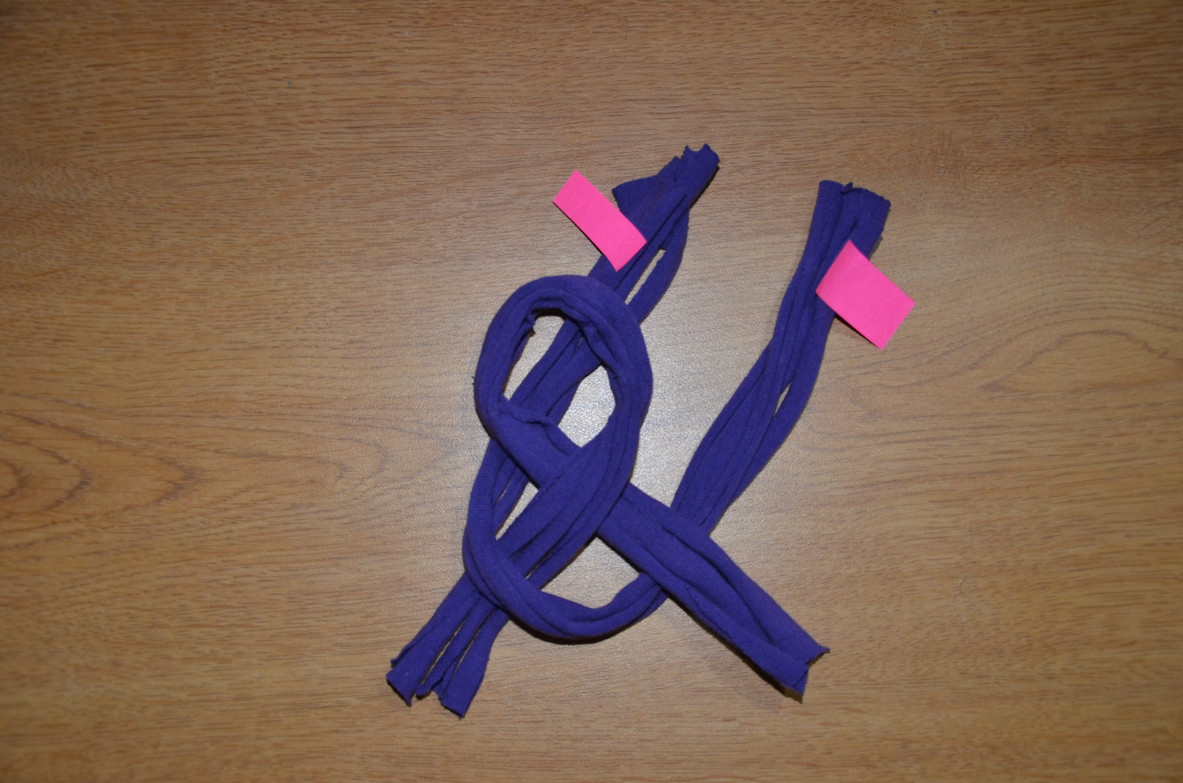
5. (This picture looks a little confusing, but it is not as difficult as it looks!) Place your finger under the left side of Pile #2 and slightly lift it up. Next, take the right side of Pile #2, put it under the fabric that your finger is lifting up and have it lay on top of the loop of Pile #1. You are now beginning to create a braided knot.
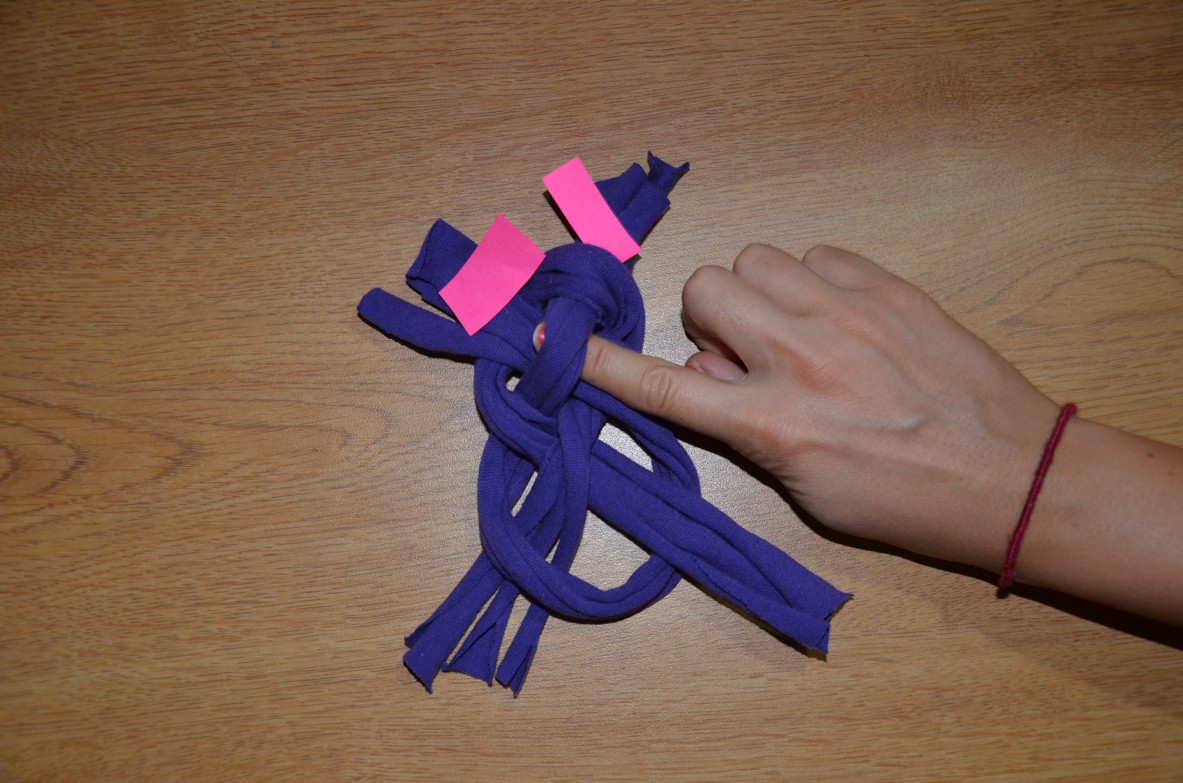
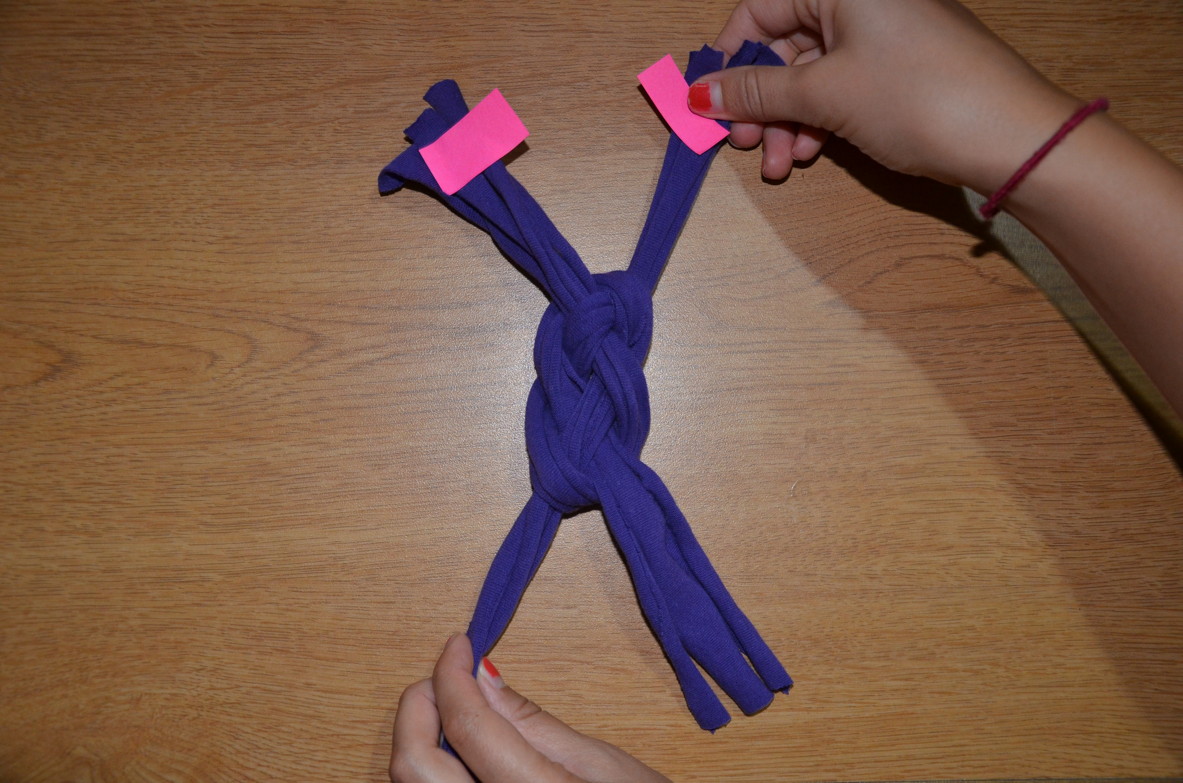
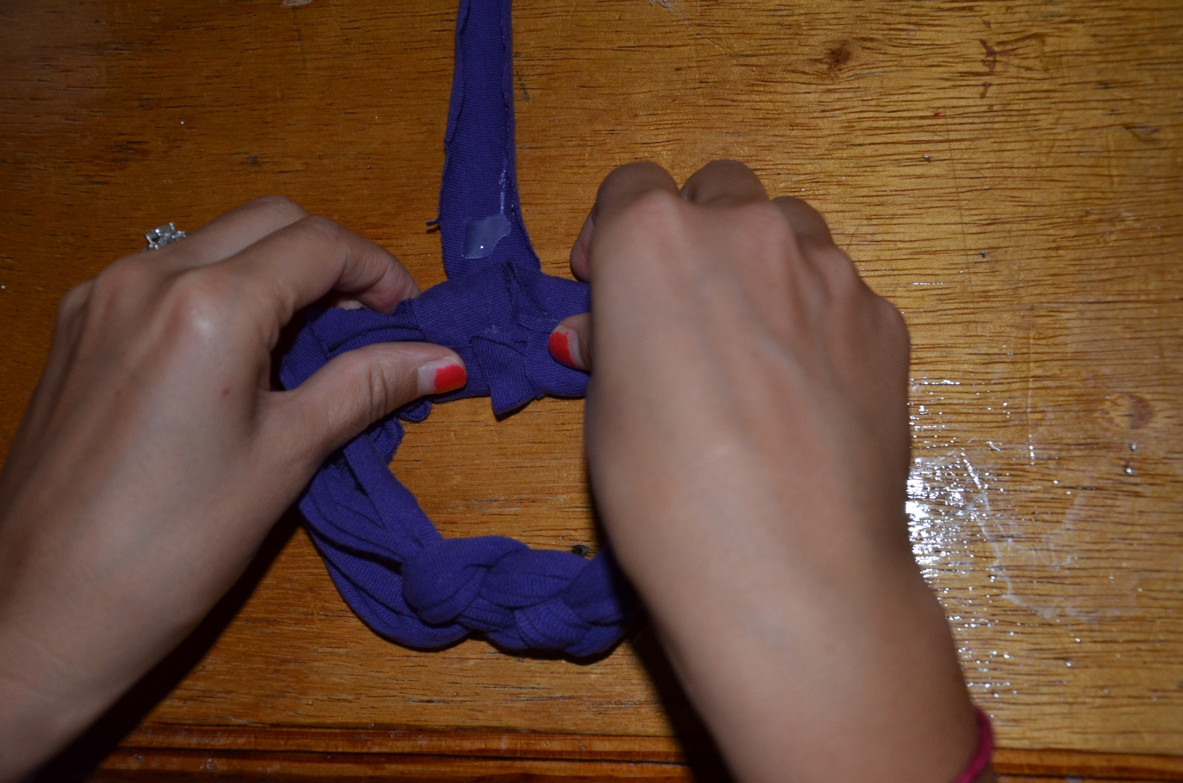
6. Now, you can see the ends of Pile #2 are at the top of the knot. To finish the knot, pull each diagonal end gently until you have a tight knot.
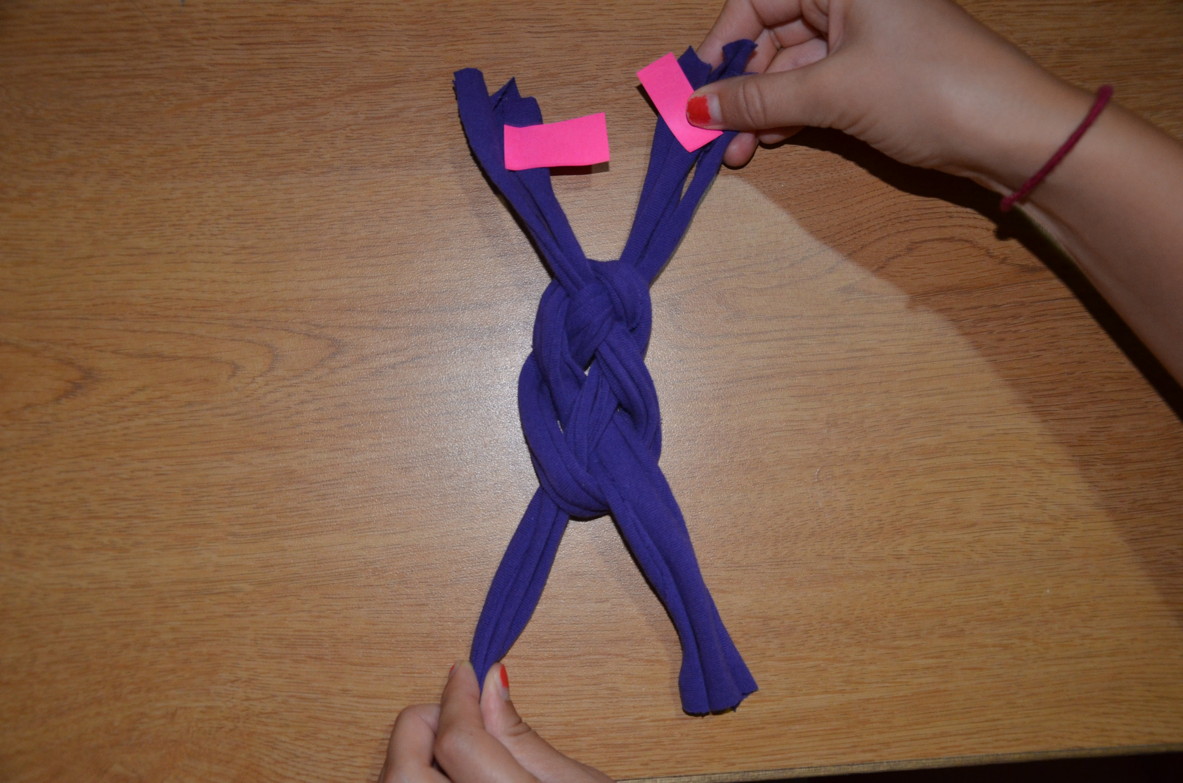
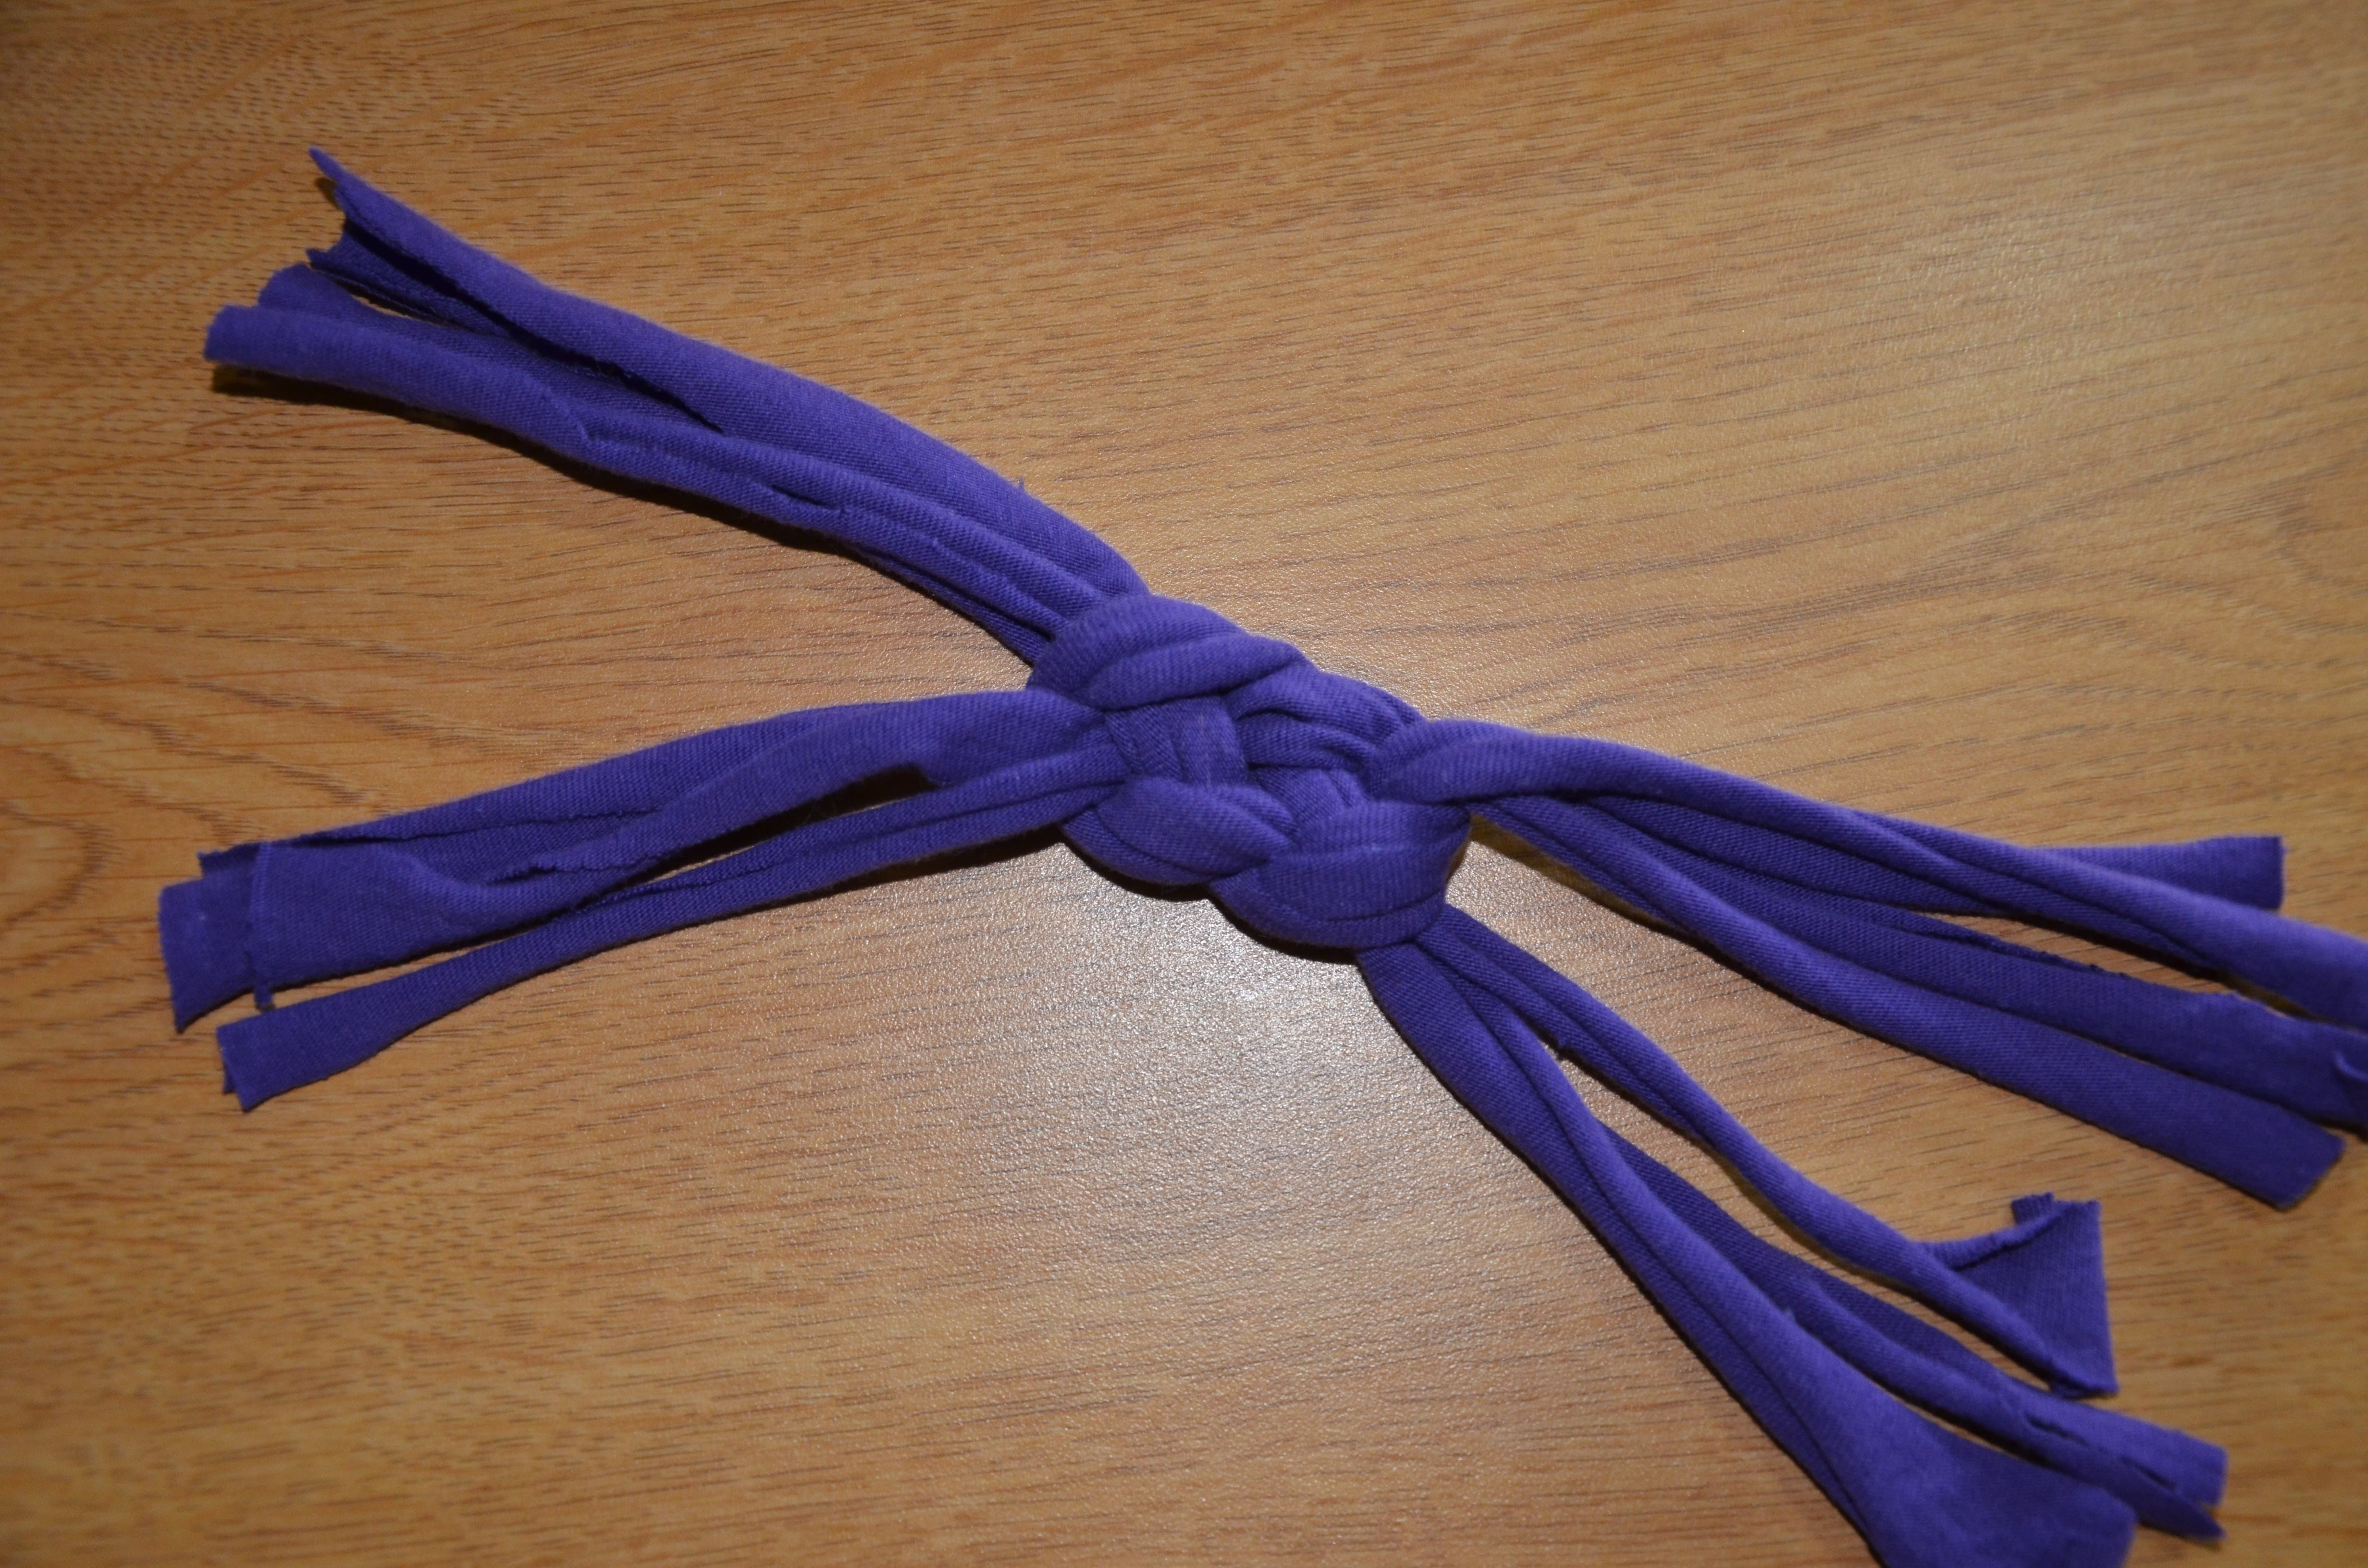
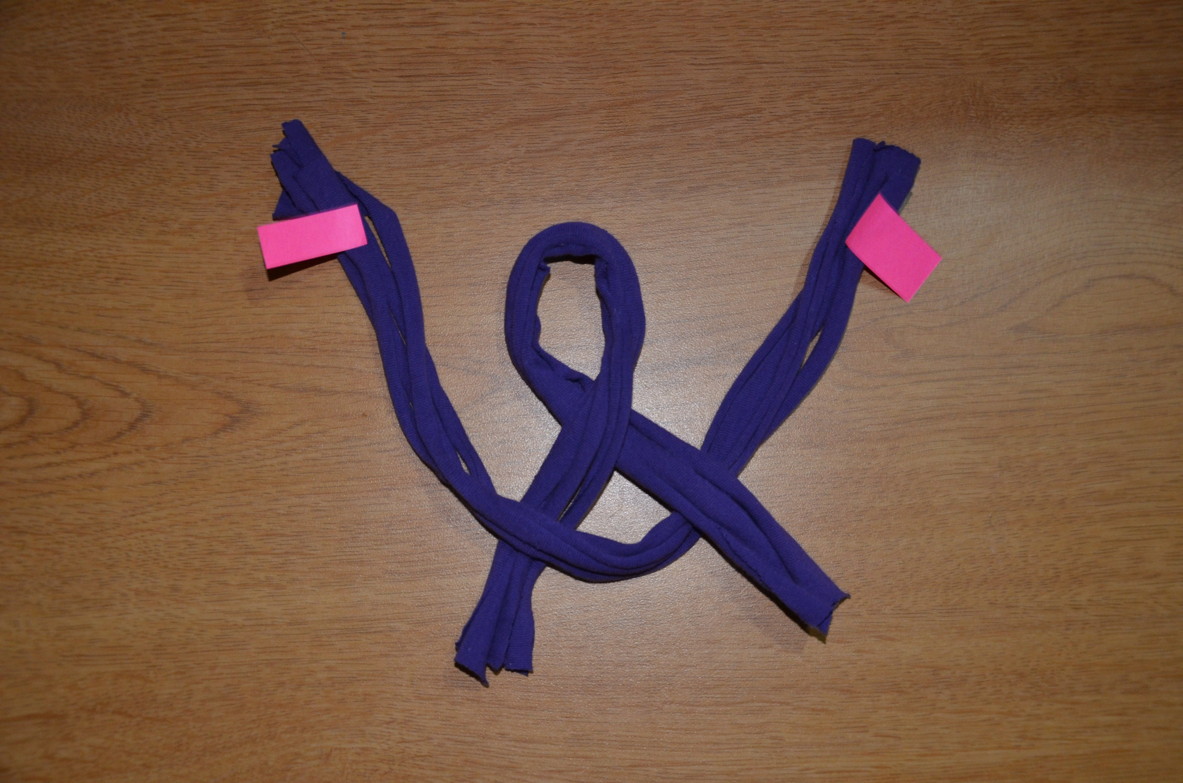
Great job! Now that you have your knot, you will need your hot glue gun and that 9th strip that you put to the side!
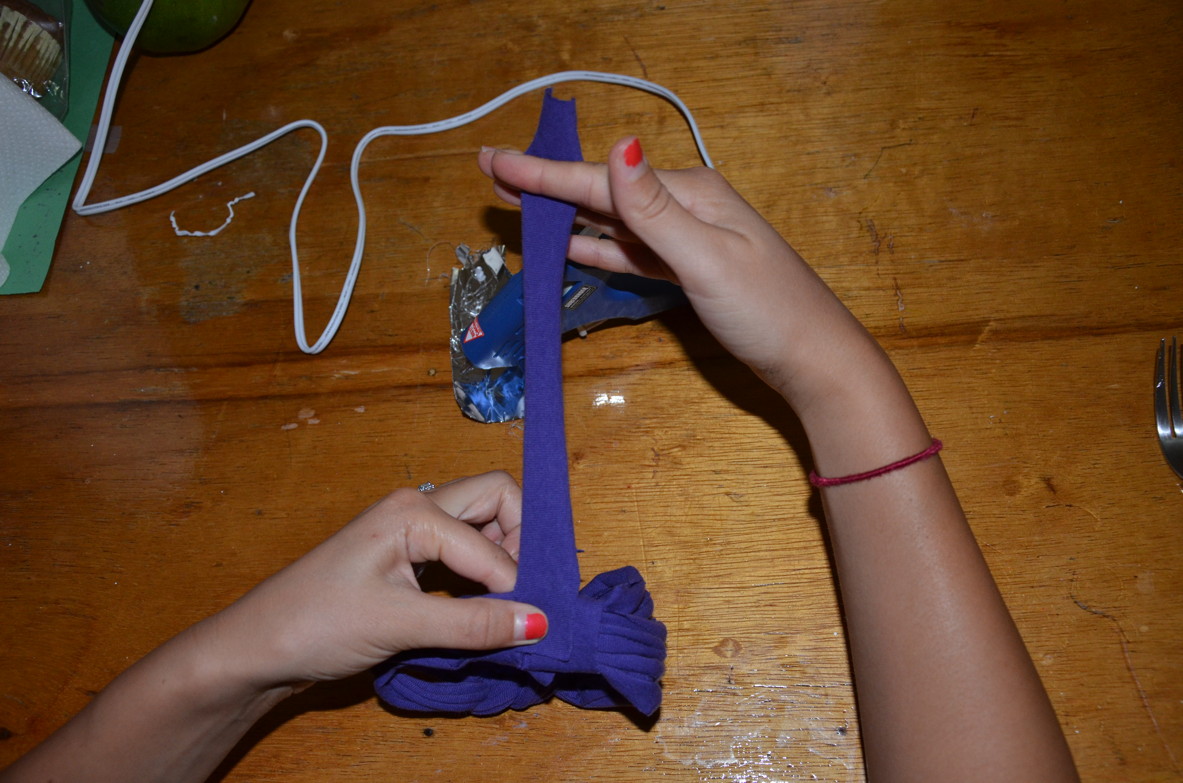
7. Take your 9th strip and cut 2 three inch pieces. You will use these 2 pieces to hold together each side of the headband. And you will use the rest of the 9th strip to attach the 2 sides to finish your headband.
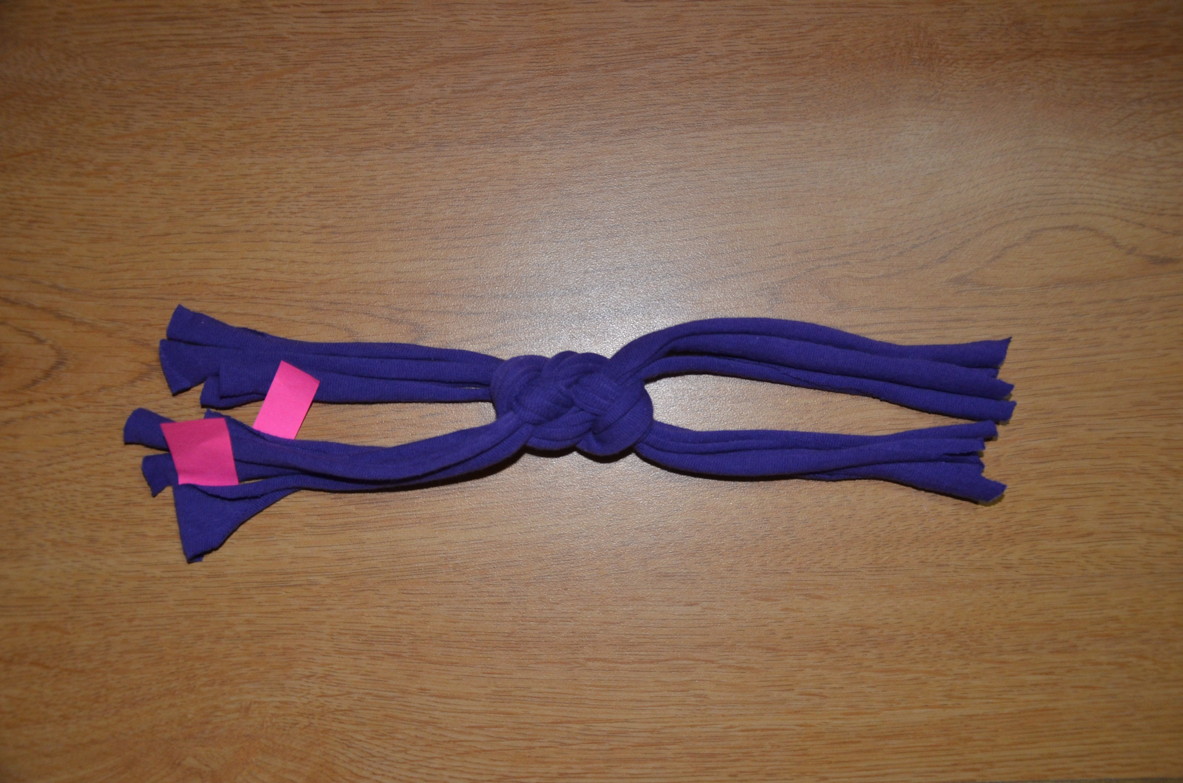
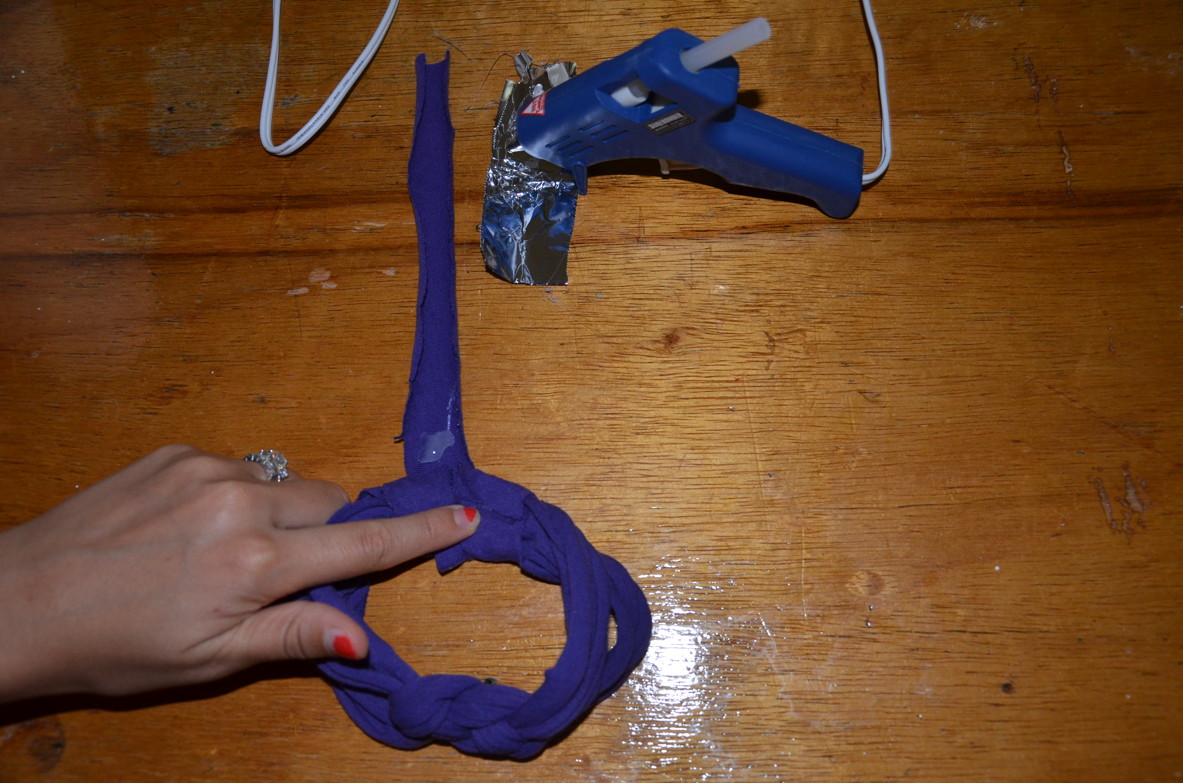
8. At this point, trim the sides of the original knotted headband so that they are even. To alter the length of the headband to fit the head of whomever you are making this for, trim the sides as needed. Depending on where you want the knot to fall on your head, you may want to keep one side of the strips longer than the other. This will place the knot to the side of your head, which I like best 🙂
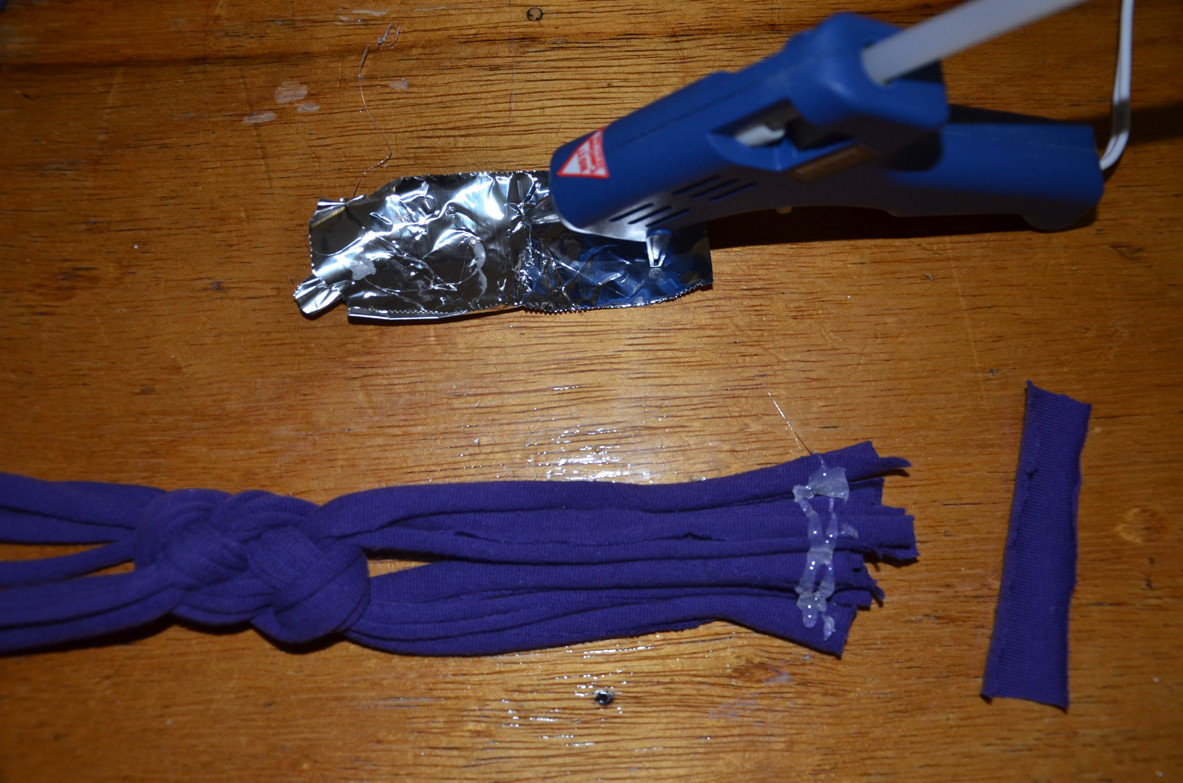
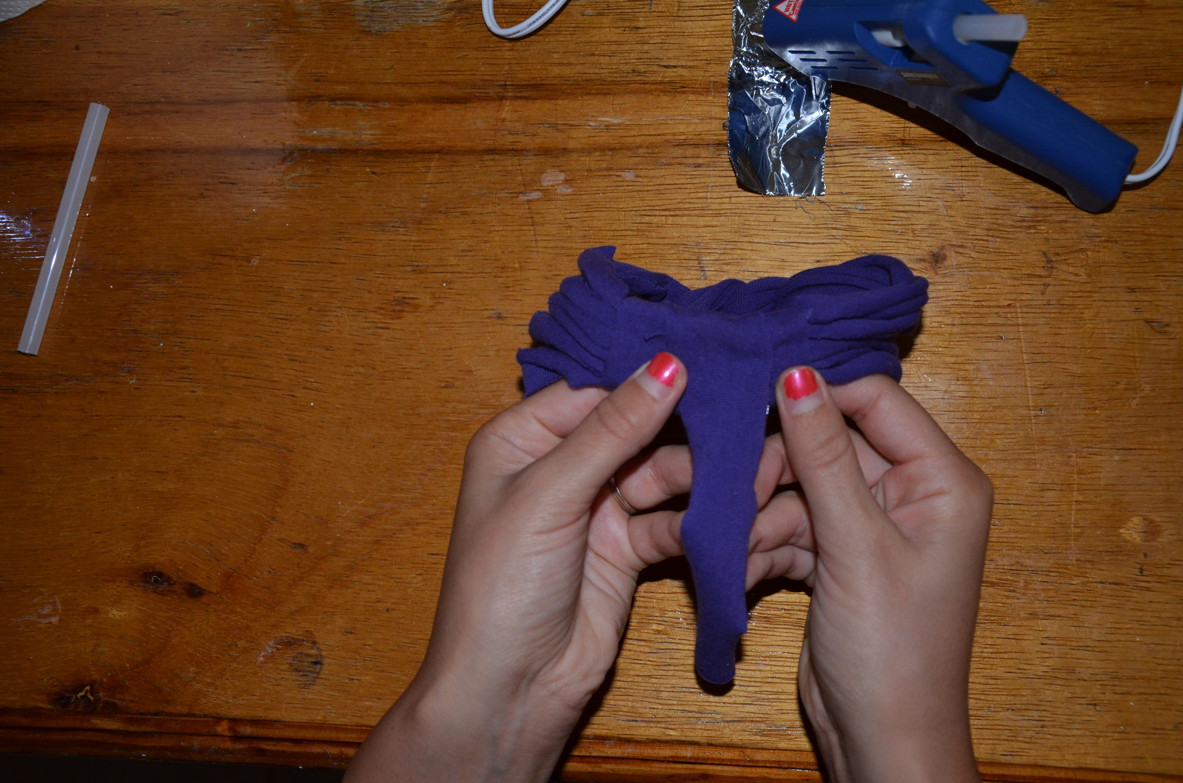
9. Hold together the 4 strips on one side and place the hot glue onto all the strips. Place the middle of one of your 3 inch pieces over the glue and wrap around to the back with more glue to secure your 4 strips. Repeat on the other side.
10. Once you have finished gluing the 3 inch strips, take what is remaining of the 9th strip and glue it to one side of the headband.
11. Bring both sides of the headband together and continue wrapping it around with the glue, overlapping the strip so that it continues connecting one side to the other.
ALMOST DONE!

Let the glue fully dry before stretching it. This should take a few minutes. Then, TRY IT ON!! 🙂
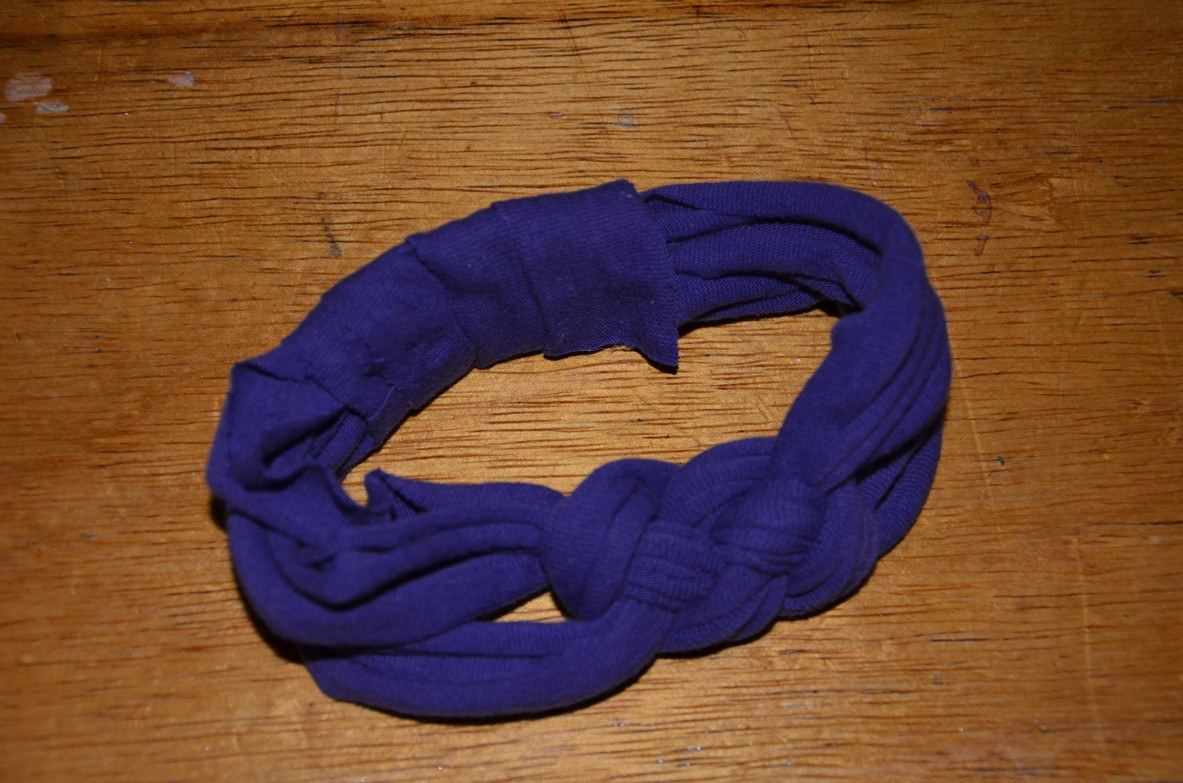
And there you have it! A t-shirt turned into a headband!!
You can also do different variations of this craft. Use different colors so that the colors are intertwined in the knot of the headband. Make holiday headbands with special colors! Make different sizes. Try using a different number of strips on each side to make it thinner or thicker. Also, instead of using the remaining 9th strip to finish it off, you can use 2 thin strips attached to each side so that you tie a bow at the bottom to keep it on. (If you would like to do this and need further instructions or pictures, let me know!)
Hope you enjoyed the craft, as well as doing a little closet cleaning 🙂 Stay tuned for more New Crafts for Old Things! Send in your requests or suggestions!!
