Fun with DIY Costumes
This Halloween I decided on some fun Do-It-Yourself (DIY) costumes for my family. I like that the DIY approach can offer a chance to tailor the costumes to your liking, and depending on the route you go can also save some money. I chose ease over cost this year with my two littles and very limited crafting time. However, I feel like I made good purchases because most costumes are made on clothes that can be re-worn!
I am not an expert at crafts or sewing, so this post is more about encouraging you to go for it when it comes to DIY projects. Especially with a fun holiday like Halloween!
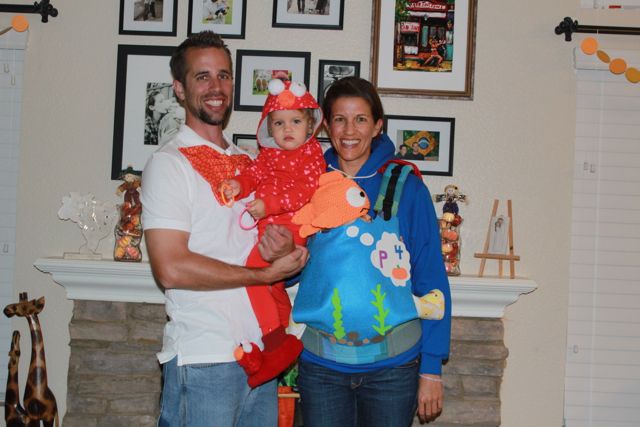
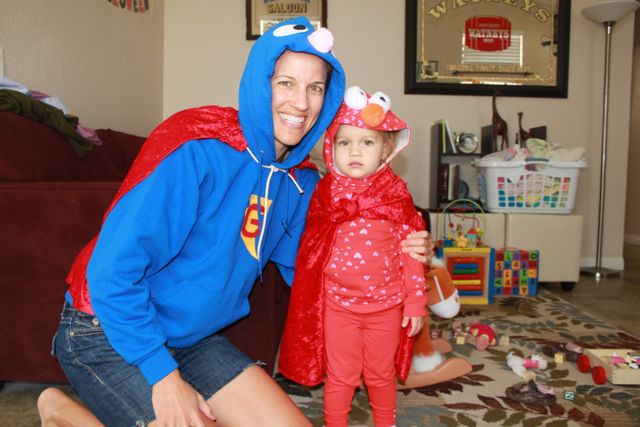
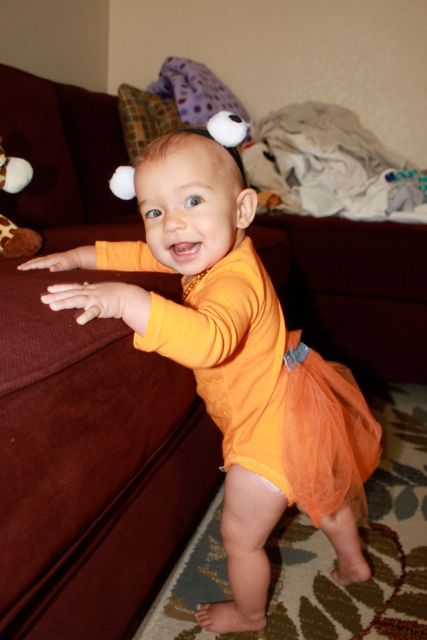
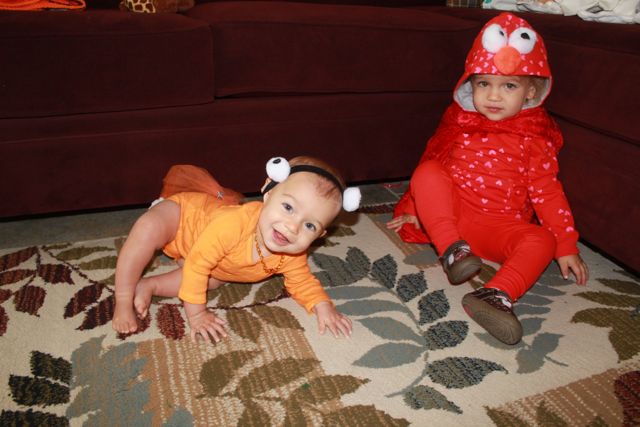
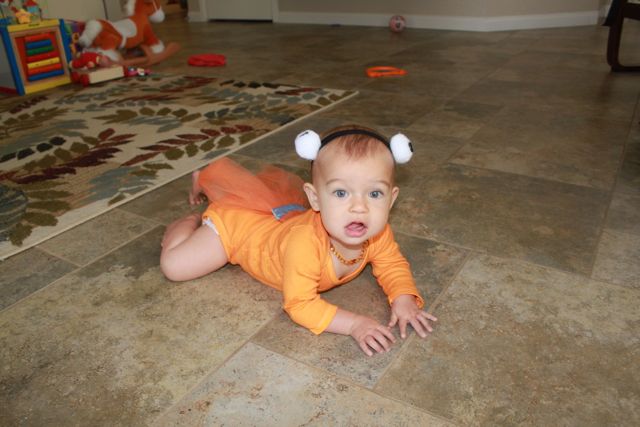
We dressed up as Elmo’s World characters: Elmo, Dorothy the Goldfish, Mr. Noodle, and Super Grover
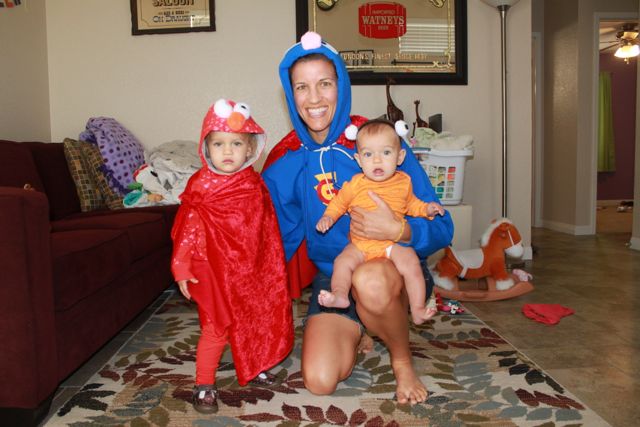
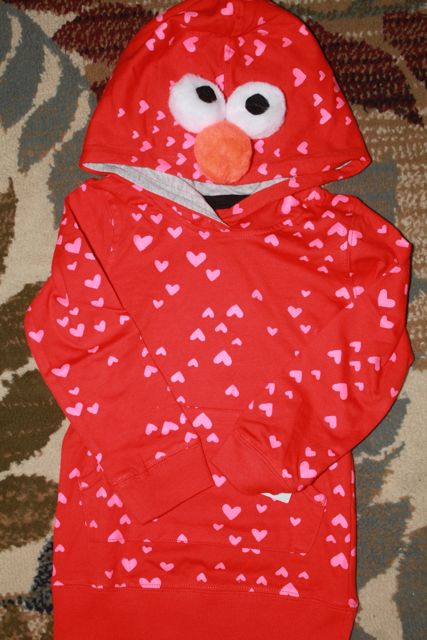
Costume #1 Elmo:
Supples: Red Hoodie (Carter’s), Red leggings (Carter’s), 2 white puff balls, one orange puff ball, black felt, hot glue gun, needle and thread.
What to Do: Cut out small black circles from black felt. Affix to white puff balls using hot glue. Hand sew nose and eyes to hoodie.
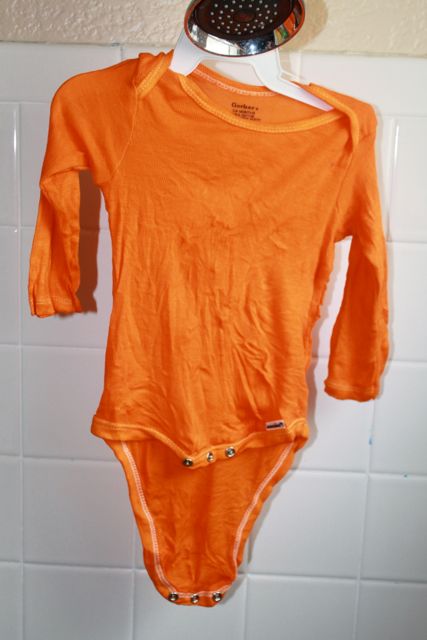
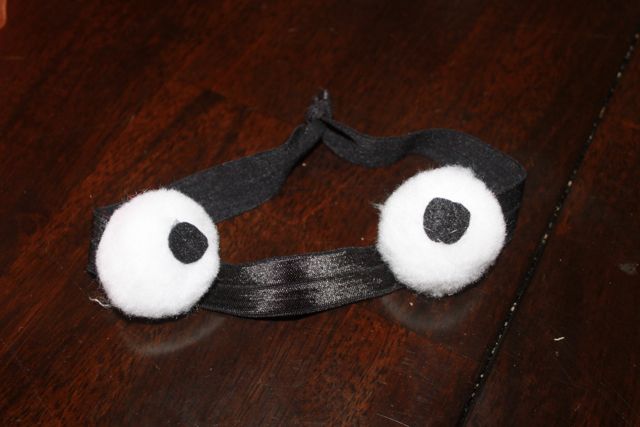
Costume #2: Dorothy
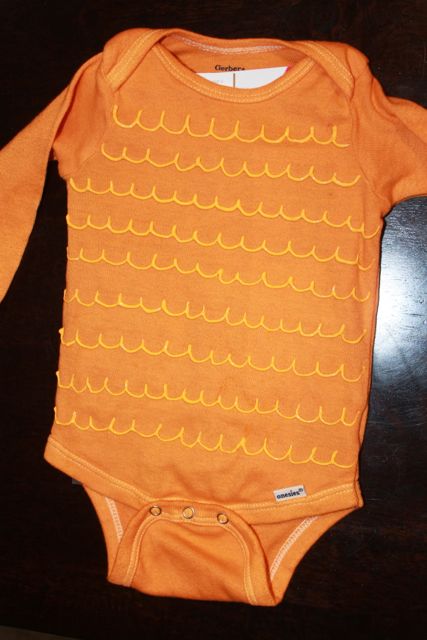
Supplies: White long-sleeved onesie, Rit dye, orange puff paint, headband, white puff balls, black felt, orange tulle, ribbon, sewing machine, needle and thread.
What to Do: First I dyed the onesie using Rit dye. It was my first time dying and went quite well. I used the stove pot method on the packaging.
After the onesie air dried for a bit I dried it in the dryer and then puff painted scales on the front.
Next I made a tail using tulle. I bunched up the tulle and sewed a ribbon around it to make it easier to attache to the onesie. I did two rows of stitching on the ribbon and then hand stitched it onto the onesie. As you can see I didn’t have the proper color of ribbon, but I did my best.
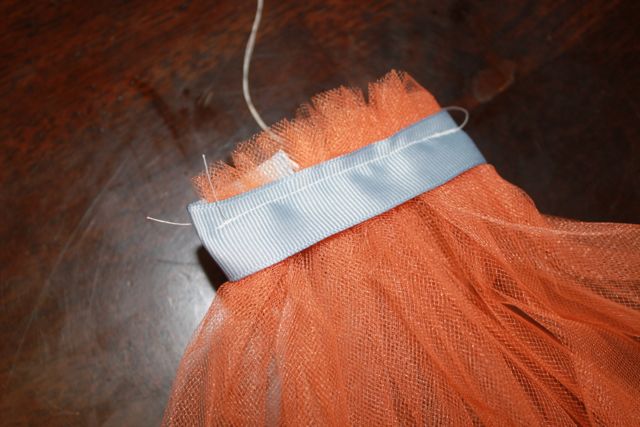
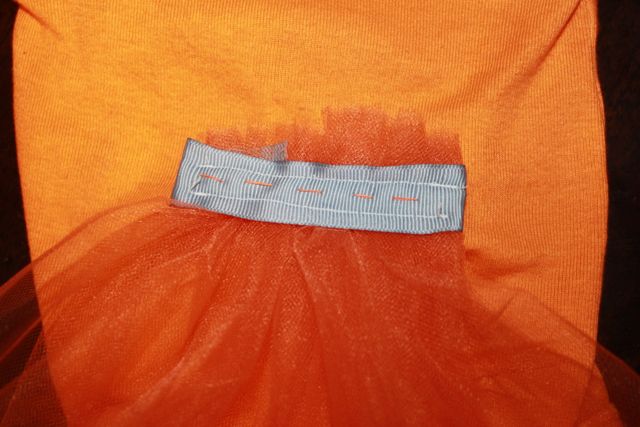
This project stretched my sewing skills to the limits, so I decided to quit while I was ahead and opted to not make a fin. I think it will still look great.
Finally, I made a headband for her fish eyes. I hot glued black felt for the pupils onto the white puff balls and hot glued the white puff balls directly onto the headband.
I also have a goldfish crochet hat that I found on Amazon for Hanna to wear so that she is still in costume when I’m wearing her. I also made a fish bowl cover for my carrier so that she isn’t a “fish out of water!”
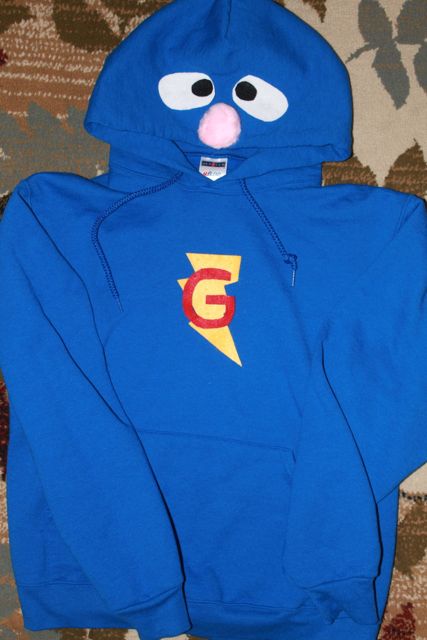
Costume #3: Super Grover
Supples: Royal Blue Hoodie (purchased on Amazon after many failed attempts to find the right color at Target), white puff balls, black felt, red felt, yellow felt, hot glue gun, red velour, rope, sewing machine, needle and thread, hat materials.
What to do: Grover has flat eyes, so I made his eyes from felt that I hot glued together and used a pink puff ball for his nose. I hand stitched the eyes and nose to the hoodie. I then made the Super Grover logo with yellow and red felt. I hot glued the pieces together and hand stitched them onto the hoodie.
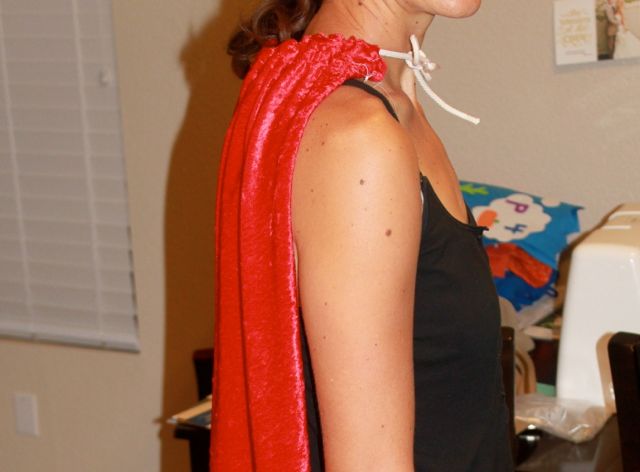
Next, I made the cape from red velour. I chose this fabric because it had a nice sheen and did not require hemming. I did loose stitching so that I could gather the fabric. I did two rows of stitching, then I gathered the fabric. Next, I folded over the fabric to sew it around my rope. Ta Da! Cape complete!

I am still working on ideas for Grover’s Hat. My crafting skills are running low.
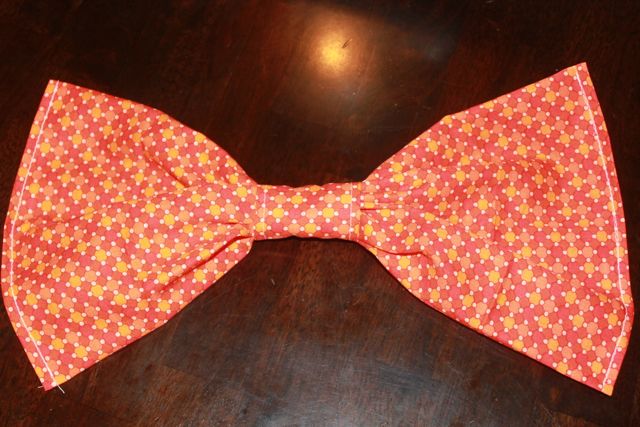
Costume #4: Mr. Noodle
Supplies: White polo shirt (purchased on clearance at Target for $7!), Orange Fabric Square, sewing machine, needle and thread
What to Do: I very loosely followed these directions here. I hand stitched the fabric around the bow tie to gather the fabric together. I plan to safety pin the bow tie on Mr. Noodle’s shirt to save myself the work of attaching the bow tie to Velcro.
I’d love to hear your ideas for DIY Halloween costumes, or even some of your favorites you have seen online!