DIY Personalized Photo Valentine
This is my daughter Ellie’s first year in school, so our very first Valentine’s Day exchange is coming up. I wanted to attempt something special, and then take Ellie to the store to pick out Valentine’s as a back up. My attitude towards Pinterest projects is I love them if I can confidently complete them.
So, I got to Pinning. There were a lot of great ideas, but sometimes I get frustrated with Pinterest because a Pin takes you to the wrong link, only a photo, or a post with no tutorial!!
I decided to do the photo card where you pose the child to look like they are holding a lollipop, so when you add the REAL lolipop to the card, it looks like they are presenting their friend with a GIANT lollipop!
I found a lot of adorable DIY photo Valentine’s, but only one with a tutorial and it required an application (Google Photo) that I don’t have. A little searching on Google, and I found I could do everything I needed with the Apple application, “Preview.”
DIY Personalized Photo Valentine:
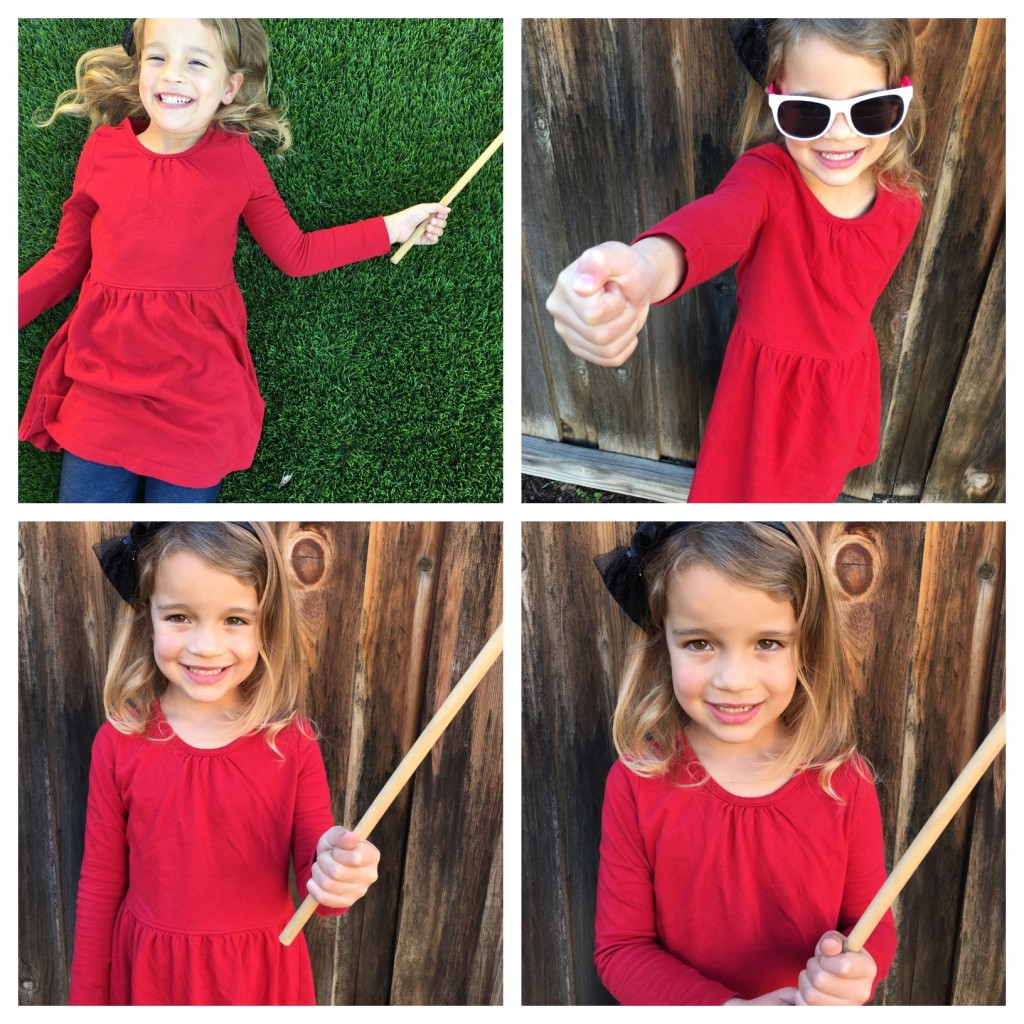
Step 1: Take your photos
We tried a few different poses so I could pick a favorite. I ended up liking 4 of them, and used them all so there would be a variety of cards to give her classmates.
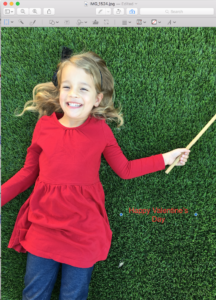
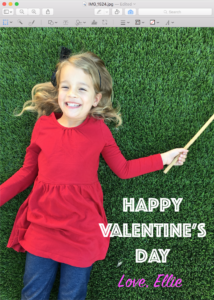
Step 2: Add text
On an Apple computer, open the application, “Preview.” I recommend duplicating the photo before editing so you have an original copy of the photo and a second to edit. Once the photo is open in Preview, click the icon that looks like a brief case to show “markup toolbar.” Click the “T” to add a text box. Write your text. Change the font, size, and color to your liking and move around on the photo as needed.
The fonts I used are called “Phosphate” and “Sign Painter.”

Step 3: Save as a jpeg
Step 4: Order Prints
I uploaded my photos to the Costco Photo Center and purchased for $.17 each. 30 photos were a little over $5 total.
**I DEFINITELY recommend looking at the photos before checking out. Mine were cropped badly and the text would have been ruined. So check each photo individually and edit the cropping as needed!**
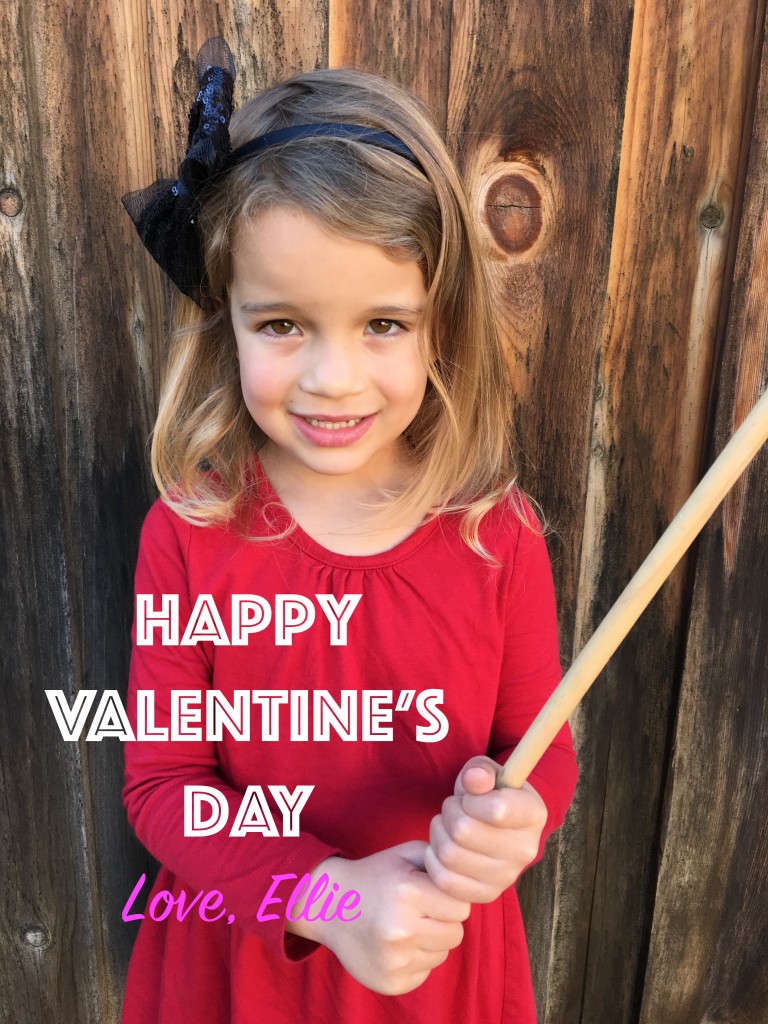
Step 5: Add the Lolipop
Use an x-acto knife to make a small cut above and below the hands in the photo. Carefully insert the lollipop. DONE!!
Don’t want to cut the photo? Attach the lollipop with scotch tape.
My photos are currently processing. I will update with a finished product SOON!!
Step 6: GIVE WITH LOVE
Give with love and enjoy your Valentine’s Day!
What are your favorite DIY Valentine’s projects?