Crafting
Resurrection Eggs-DIY with your Kids or Grandkids
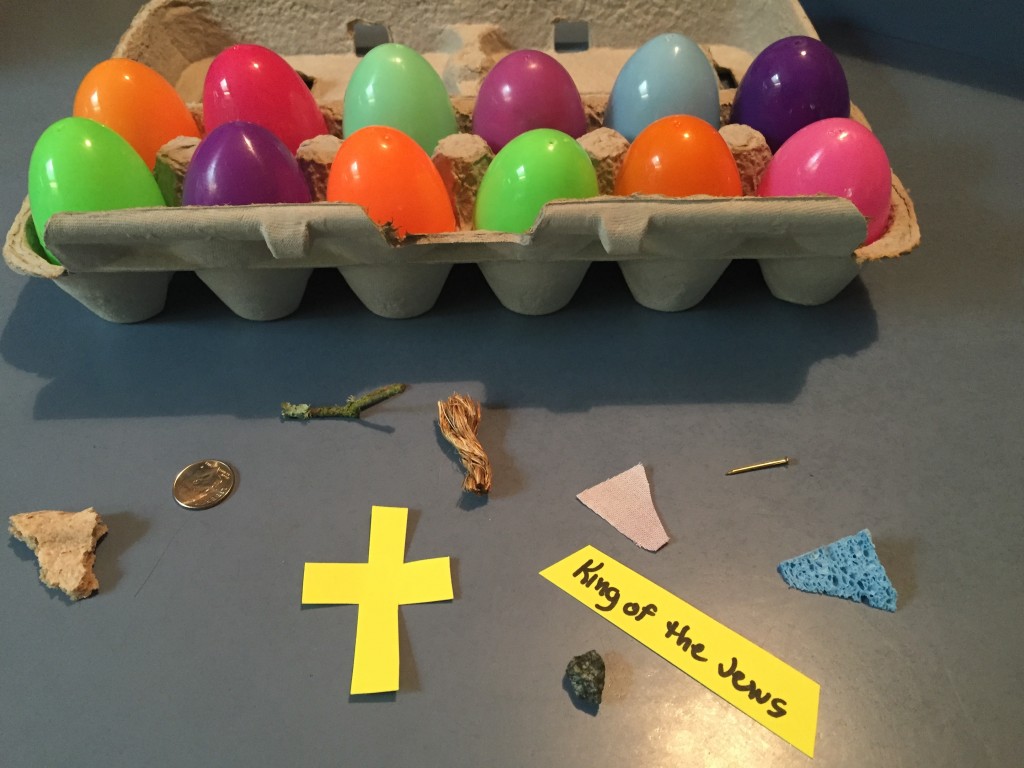
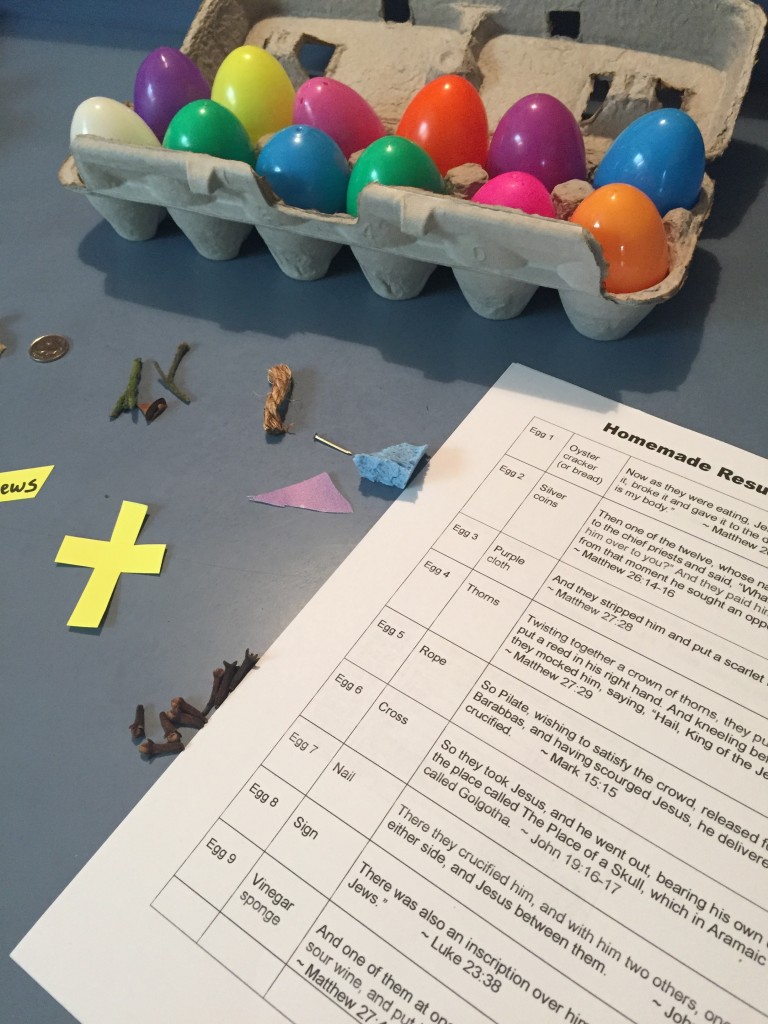
I am always looking for creative ways to incorporate the gospel message into activities with my grandchildren. When my own girls were young, I listened to Family Life Today and Focus on the Family faithfully every day. Often times they had great ideas of how to teach your kids about important bible concepts in fun ways. I remember buying a set of Resurrection Eggs and using them every Easter to remind all of us of the significance of this season and to remind us of all that Jesus went through as He suffered and died for us. Now that I have a little bit more time to get creative…I thought it would be fun to put together homemade Resurrection Egg Kits for the grandkids and take them with me to do together as a fun activity. I started by printing this Resurrection eggs free printable and then gathered my supplies and the next time I see the kiddos, I will have my DIY Resurrection kit all ready to be assembled. Here is what you need.
1 empty egg carton
12 small plastic eggs
resurrection eggs free printable
silver coin
piece of rope
thorn
stone
piece of purple fabric
small sign “King of the Jews”
cross
nail
cloves
sponge
small piece of bread or oyster cracker
scissors
sharpies
extra construction paper in various colors
Print your own verses to put into your resurrection eggs. Gather your supplies. Pick one of the children to cut the printable verses up into 12 individual slips of paper. Have another child fold the paper slips up so they fit into the eggs. Have one of the children write numbers 1 through 12 on the eggs. Engage the children in the activity of filling the eggs with the supplies and match the verses with the …
Read MoreCookie Cutter Puppets
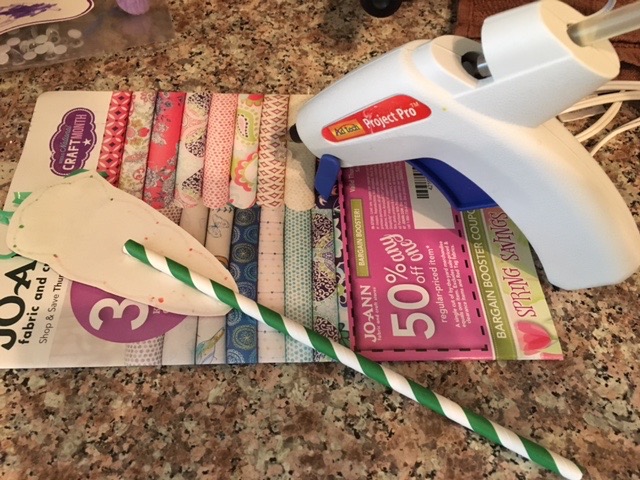
Last week the girls wanted to do a craft on a rainy day. I gathered all my craft supplies too see what we could make at the last minute. (You know I’m a “last minute mom” crafter!). I LOVE Pinterest, but sometimes it stresses me out and I get lost in the rabbit hole of ideas. This month we are focused on PEACE, this fun last-minute craft was easy and easy = peaceful in my house!
We came up with these fun cookie cutter Easter puppets.
Supplies:
Paper
Easter Shaped Cookie Cutters
Markers and Crayons
Fun paper straws
Hot glue gun
Any fun crafty things to decorate your puppet
Instructions:
- First we traced our cookie cutters. If we had more time for drying it would have been fun to paint and stamp with the cookie cutters first.

2. Color your shape.
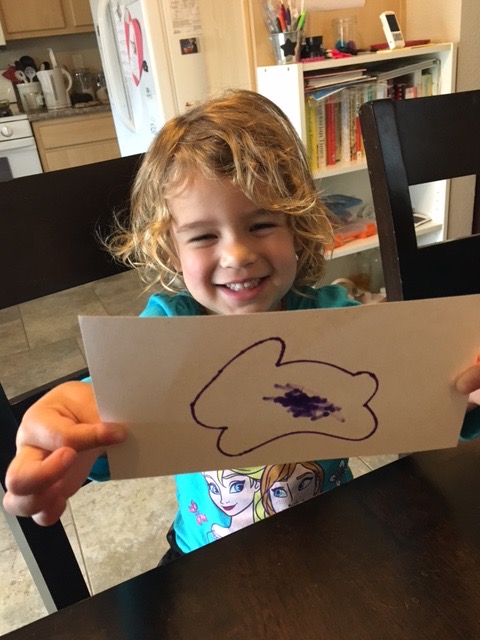
3. Cut out your shape and add decor. Big kids would have fun cutting out their shapes by themselves.

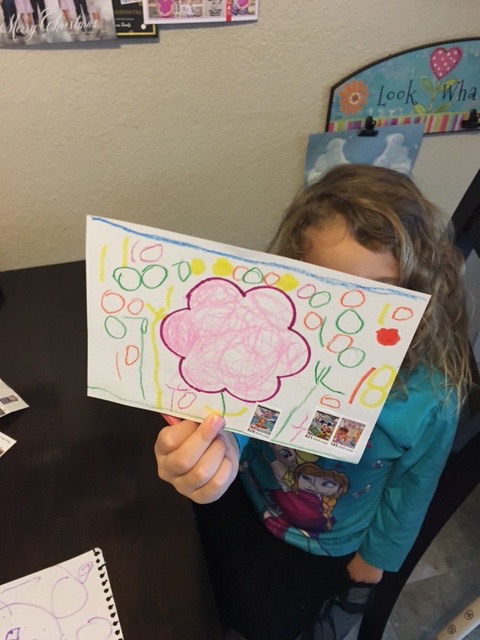
4. Use your hot glue gun to glue your puppet shape to the straw.
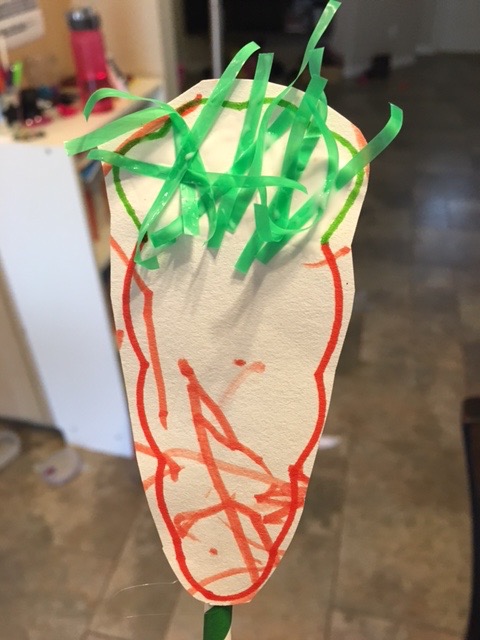
5. After your puppet has dried it is time to enjoy and play! My girls turned their puppets into fairy wands.
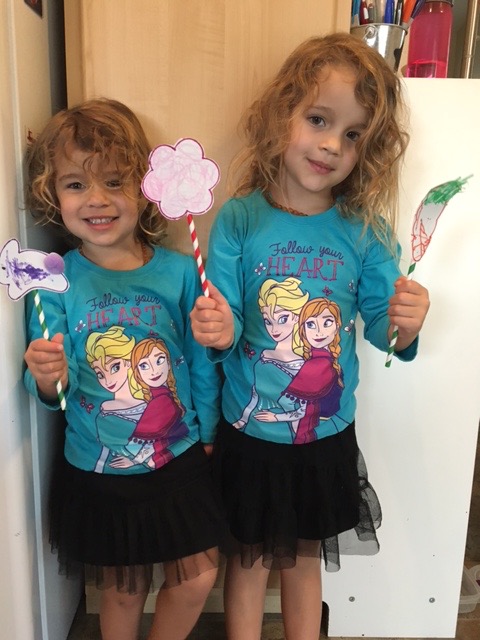

We had a lot of fun with this craft and I hope you do too!

…
Read MorePlanting Jelly Beans in Home Grown Easter Grass
Here is an Easter project that is easy and fun for your family and can utilize some learning concepts outside of the typical “Easter Bunny” activities.
Supplies needed
Jelly beans or M & Ms in assorted pastel colors
tootsie roll pops, colored lollipops, blow pops or peeps
small metal, clay or glass containers
potting soil
small pebbles
wheat seed (hard red wheat is best for growing grass)
saran wrap
To grow your home grown wheat grass, select your container and gather your other supplies. You can get creative with choosing your containers. Look around your house and garage and see what you have. Or make a quick trip to Goodwill, the Dollar Store, your local hardware store or Target to pick up some containers.
Metal containers or clay pots found in the gardening section work great. Clay pots have a hole in the bottom so you will need some type of plastic liner in the bottom so you don’t have to worry about the water or the dirt getting on your table. You can purchase it in the bulk food section of the grocery store. Hard red wheat works best.
After selecting your container, add a layer of pebbles in the bottom of each container. Because your Easter grass grows for such a short time, drainage isn’t crucial but I do like to add a layer of small pebbles in my containers to help with drainage. Nest, fill each container with potting soil and then a layer of wheat seeds. Sprinkle the top of each container with water (don’t drown the poor little seeds). Then cover each container with some plastic wrap and then place in a sunny window. You will want to make sure that the soil stays moist, (not wet) so that the seeds can germinate. The plastic …
Read MoreDIY Valentine’s
I love holidays. LOVE holidays. BUT…
I also have a huge panic attack when I realize that holidays = parties = expectations that I’m a super awesome Pinterest mom who can whip out the cutest ever gifts to exchange. (This expectation is 100% self-imposed).
Well, I’m here to tell you that you can be SUPER AWESOME without braking the bank or losing your mind trying to come up with crafty crafts because there are super-talented moms that have done all the work for you. GOD BLESS PINTEREST (sometimes).
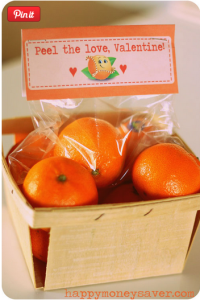
We have 3 different exchanges to prepare for, so I picked 3 seemingly easy to prep DIY Valentine’s with free printables and allergy-free snack options.
How cute is this CUTIES Valentine from Happy Money Saver? I love cuties. They are good for all occasions, right?!!
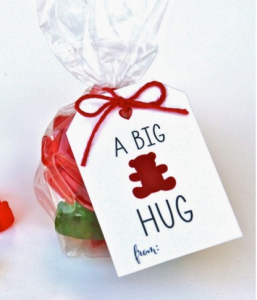
I instantly fell in love with this BEAR HUG Valentine from Bloom Designs
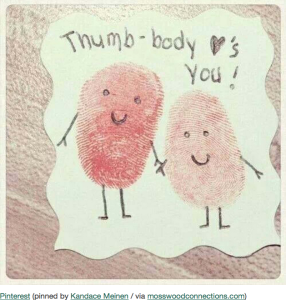
And how cute is this DIY craft? I’m totally going to have the girls make this for family members!
I am feeling 100% better and more prepared after my search and I am glad I was able to find some ideas that fit my needs.
What Valentine’s do you plan to make this year?
…
Valentine’s Day Crafts and Friendship
Celebrating Valentine’s Day can extend to giving and sharing more love than just the love you have for your spouse, kids, grandkids and extended family. Tonight we spread the love around as we gathered for a Valentine’s craft night. I personally love crafts of all kinds so I will clear my schedule anytime for a gathering of women who want to do crafts. One dear friend opened her beautiful home for us to gather, another friend found some projects on Pinterest that we could make and she brought all the supplies. I sent out an email invitation and encouraged people to bring friends. We each contributed some money to cover the cost of the supplies. Add some delicious and nutritious snacks and you have the perfect Ladies Night Out!!! The extra treat of fellowship time with a group of beloved girl friends adds a bonus that can’t be beat!
And LOOK WHAT WE MADE!!!!
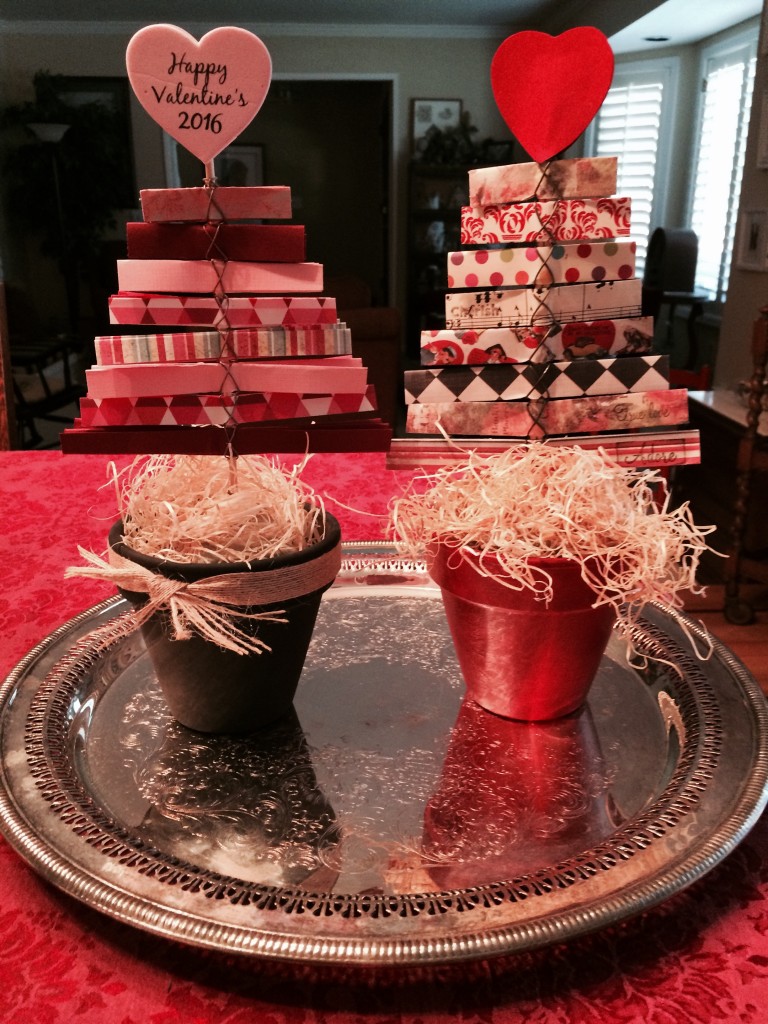
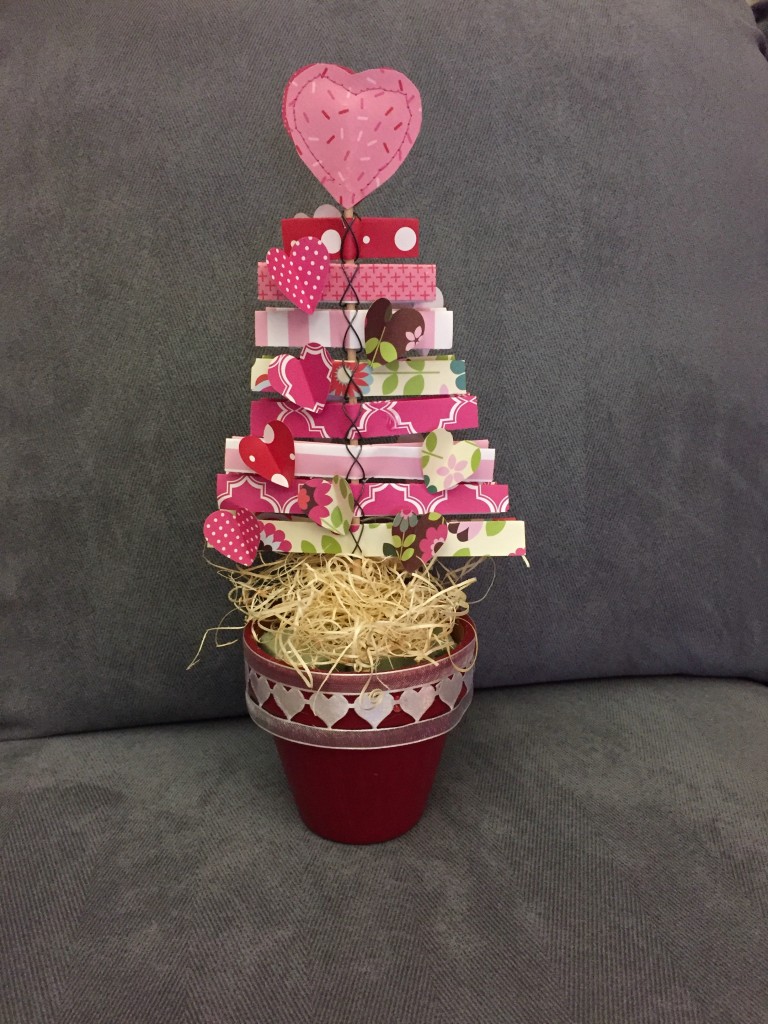
What you will need to make the Valentine’s Tree:
-A variety of colored and patterned scrapbook paper
– A small pot
– Floral foam
– Wire
– Wire cutters or scissors you don’t mind cutting wire with
– Glue gun
– BBQ skewer sticks
– Fabric
– Wooden heart or make one from cardboard.
– Moss or rafia
– Ribbon
What you do:
Fun With Grandparents
My girls are SO blessed to have in-laws that live close by and a large loving family to care for them so that I can get some much needed breaks and date nights with my husband. Mommy breaks are so important for a mom’s well-being and it is so important for kids to foster a relationship with their family or other caregivers.
My in-laws are THE BEST. They are so creative and willing to do whatever the girls want.
I wanted to help out and set up a little fun for everybody for today when I sneak off to Disneyland with my girlfriends…SHHHH!! Don’t tell.
A friend shared a DIY play dough recipe and I figured it was the PERFECT time to try it. 2016 is all about stepping out of my comfort zone to try and learn new things! I decided to put this Play Dough recipe from Imagination Tree to the test!
Ingredients:
2 cups plain all purpose flour
2 TBS vegetable oil
1/2 cup salt
2 TBS cream of tartar
Up to 1.5 cups hot water plus food coloring
Directions:
Mix the flour, salt, cream of tartar and oil in a large mixing bowl. Add food coloring to the boiling water. (I definitely could have used A LOT more color!! So don’t be shy). Stir continuously until it becomes a sticky dough. Allow the dough to cool. (This only took a few minutes). After the dough is cool take it out of the bowl and knead until all of the stickiness is gone. THIS IS THE MOST IMPORTANT STEP SO KEEP ON KNEADING! Add a touch of flour if the stickiness doesn’t go away. ENJOY your new creation!!
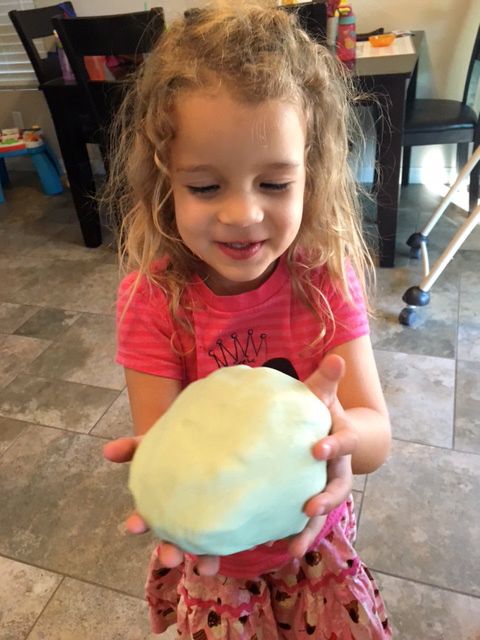
It truly was FUN and as easy as promised. Nothing like a successful Pinterest craft to make you feel …
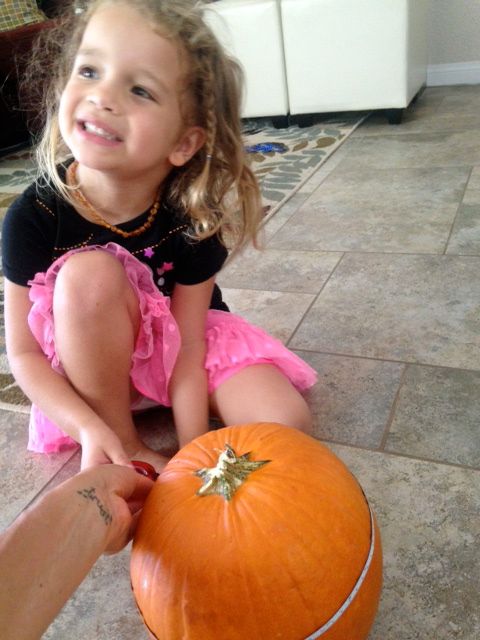
Read MorePumpkin Preschool Activities
I had the pleasure of teaching a pumpkin themed lesson today for our preschool coop. We had so much fun!
Here are some of the fun things we did today with pumpkins:
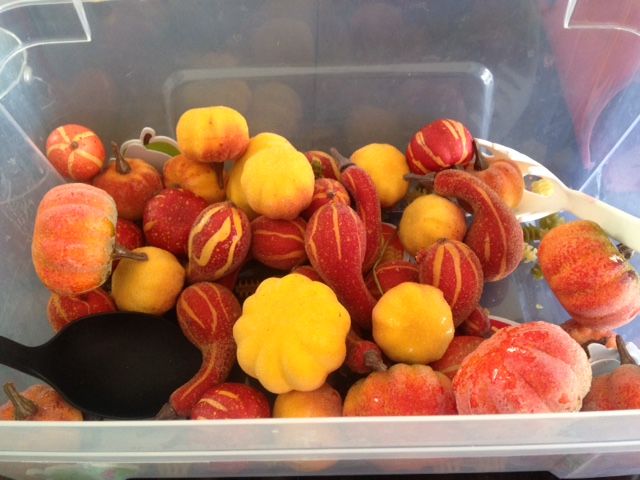
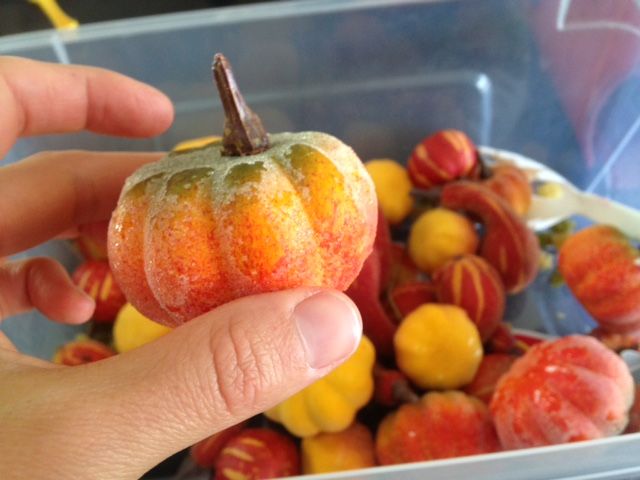
Pumpkin Sensory Bin
I filled a plastic bin with decorative pumpkins and gourds, pasta, and Fall foam characters. Hanna enjoyed scooping things out of the bin and putting them in other things. Ellie discovered that when you rubbed two pumpkins together they made a cool sound. We also measured some of the items in the bin.
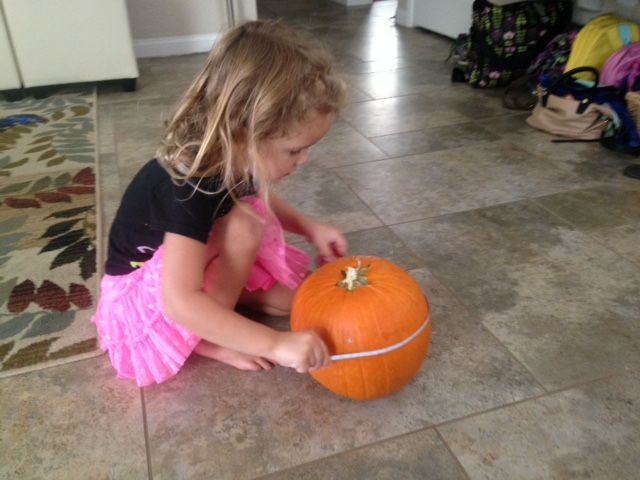
Pumpkin Measuring
I put mini pumpkins out on the table with different kinds of measuring tapes and rulers so that the kids could measure. Ellie also had fun measuring the items in the sensory bin. We even measured one of our giant pumpkins.
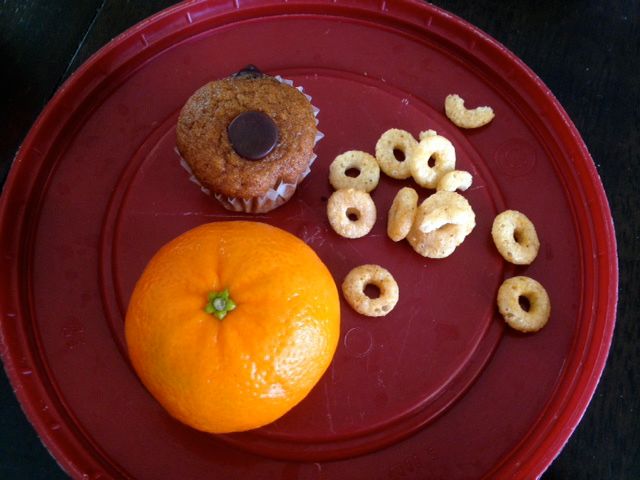
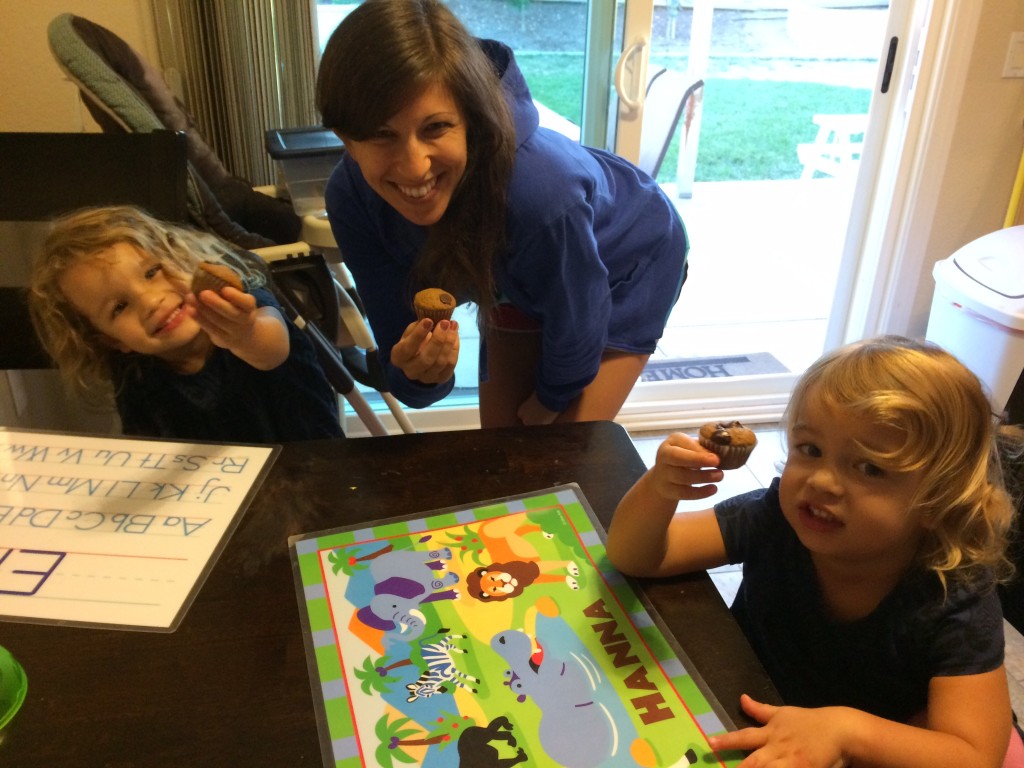
Pumpkin Snack
I served pumpkin chocolate chip mini muffins, cuties (because they look like pumpkins!), and pumpkin O’s from Trader Joe’s.
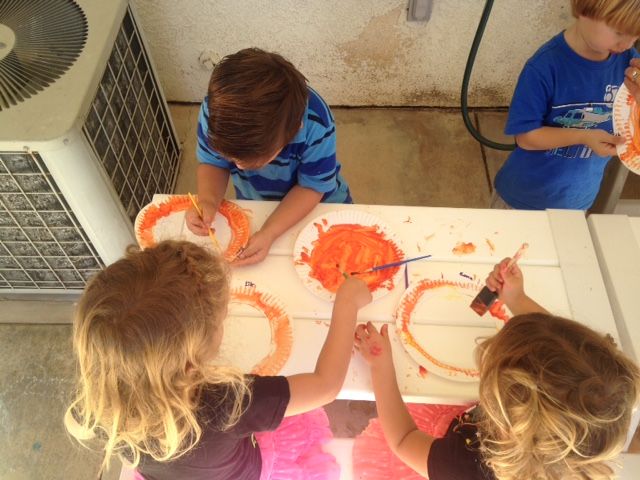
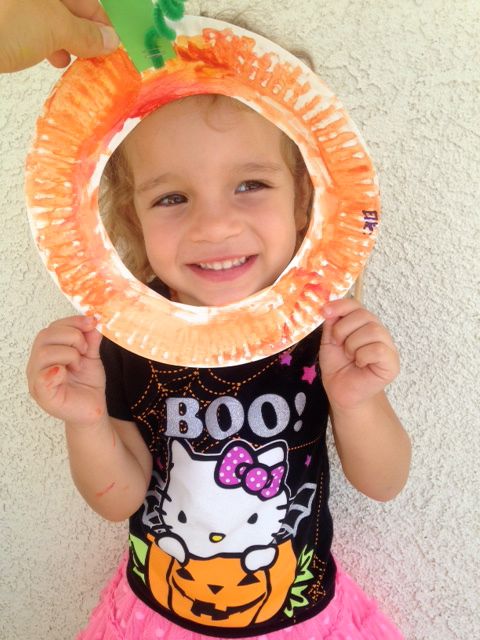
Pumpkin Painting Craft
Paper plates, red and yellow paint, paint brushes, green paper, green pipe cleaners, pencil, stapler.
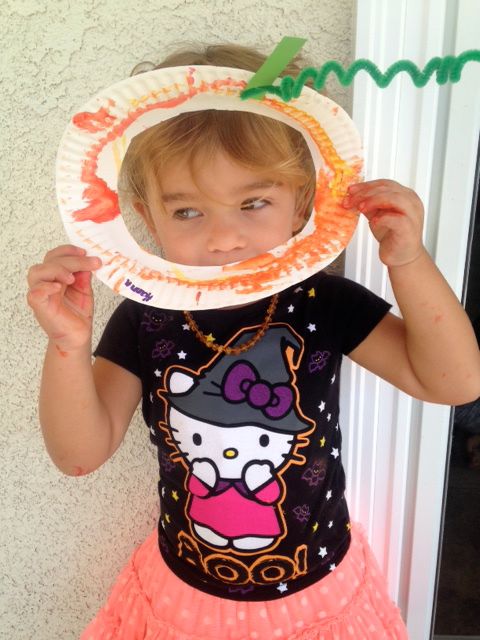
I showed the kids how red and yellow mix to make orange then we painted our pumpkins with washable paints. I cut the center out of a paper plate to make a circle. After the kids painted their pumpkins I wrapped a green pipe cleaner around a pencil to make it curly and stapled the pipe cleaner and a green paper stem to the top of their pumpkin. The pumpkins were a perfect fit for silly pumpkin face pictures.
Pumpkin Observations
2 pumpkin pie pumpkins, an ice cream scooper, zip lock bag.
I precut and hollowed on pumpkin and put the seeds and pulp in a clear zip lock bag. I pre cut the top of the second pumpkin but did not scoop it out.
I asked the kids to …
Read MoreFun Fall Crafts for Kids
Crafting with kids is so much fun! These ideas are so great and simple – and each had a bonus learning skill! The girls really enjoyed doing these crafts and they were fun for me to do with them, too!
- Baking Pumpkin Muffins
WHAT YOU NEED:
Pumpkin Muffin Baking Mix from Trader Joe’s (we used Gluten-Free)
–The box called for Eggs, Water and Oil, as well–
Chocolate Chips
Mixing Supplies
Muffin Tins
This project was very simple because we started with a mix. All we had to do was add Eggs, Water and Oil. The girls learned how you crack eggs, about washing hands after cracking eggs, and mixing amounts. They also got to stir which was fun! We practiced our counting when stirring, too! After their Mamae filled the muffin tins, the girls got to drop 2 chocolate chips into each muffin. While we waited for the muffins to bake, we started on our next craft!
2. Pumpkin O’s Bracelets
WHAT YOU NEED:
Pipe Cleaner
Pumpkin O’s
This craft practiced the girls’ COUNTING (and snacking :D).
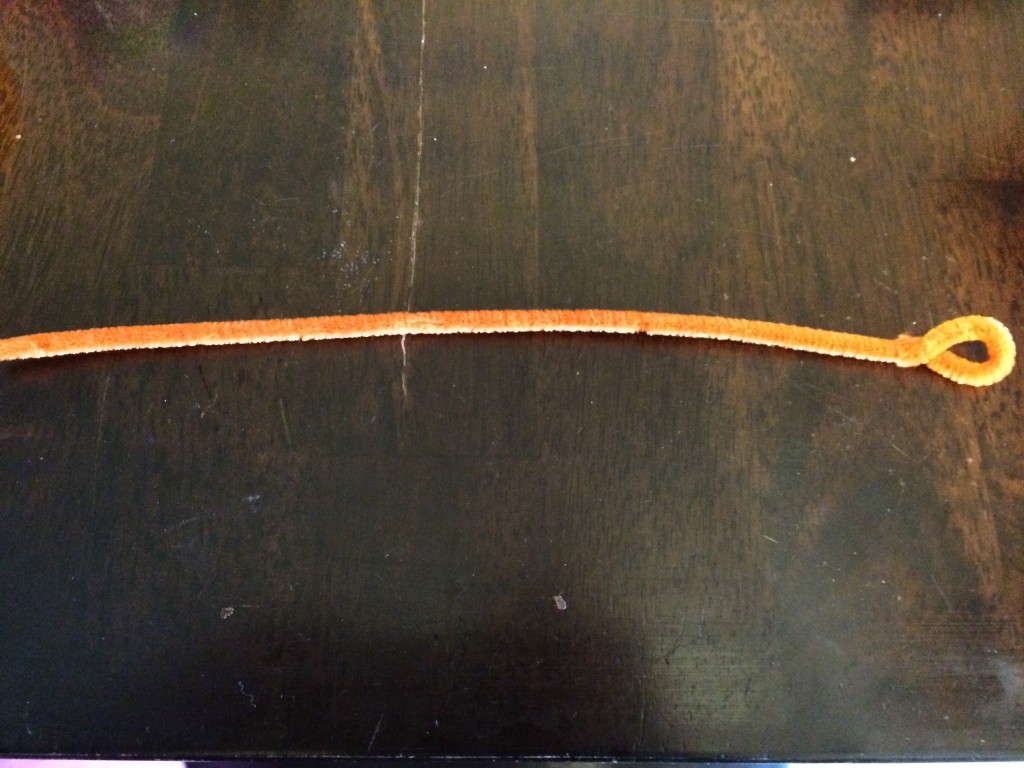
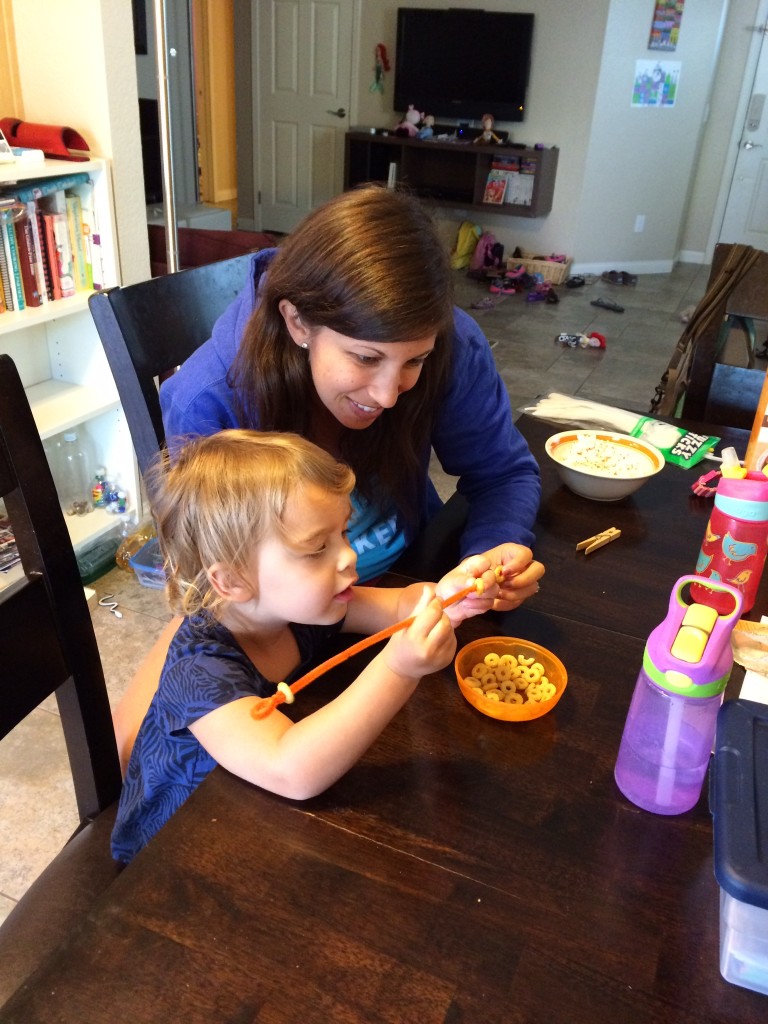
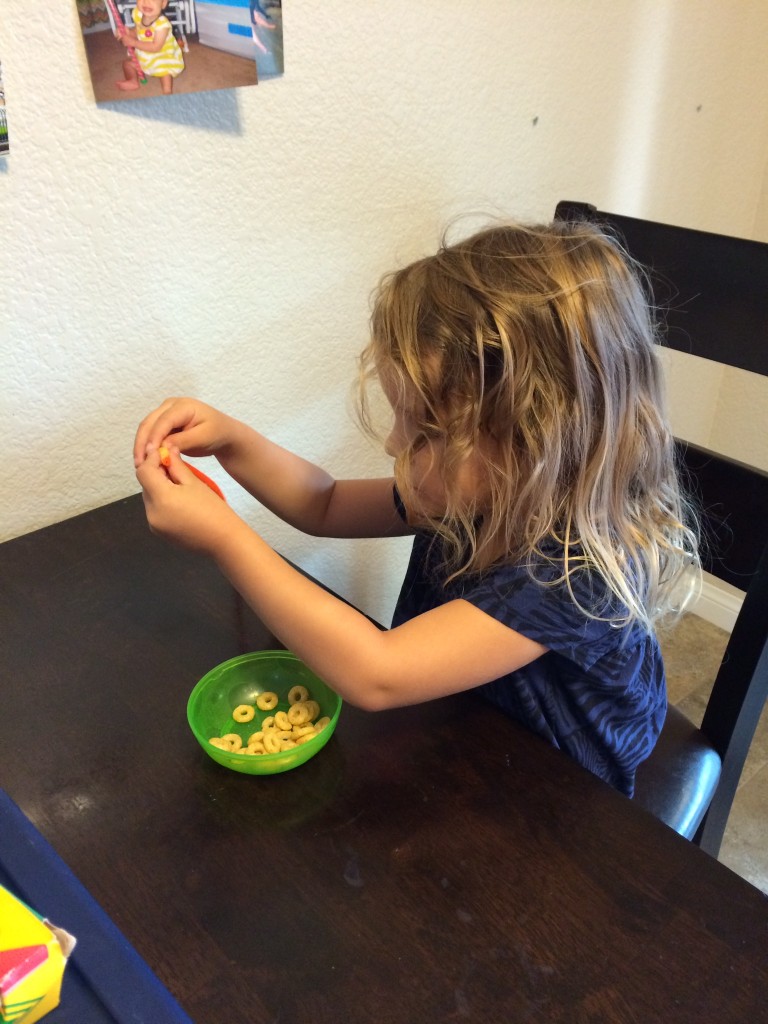
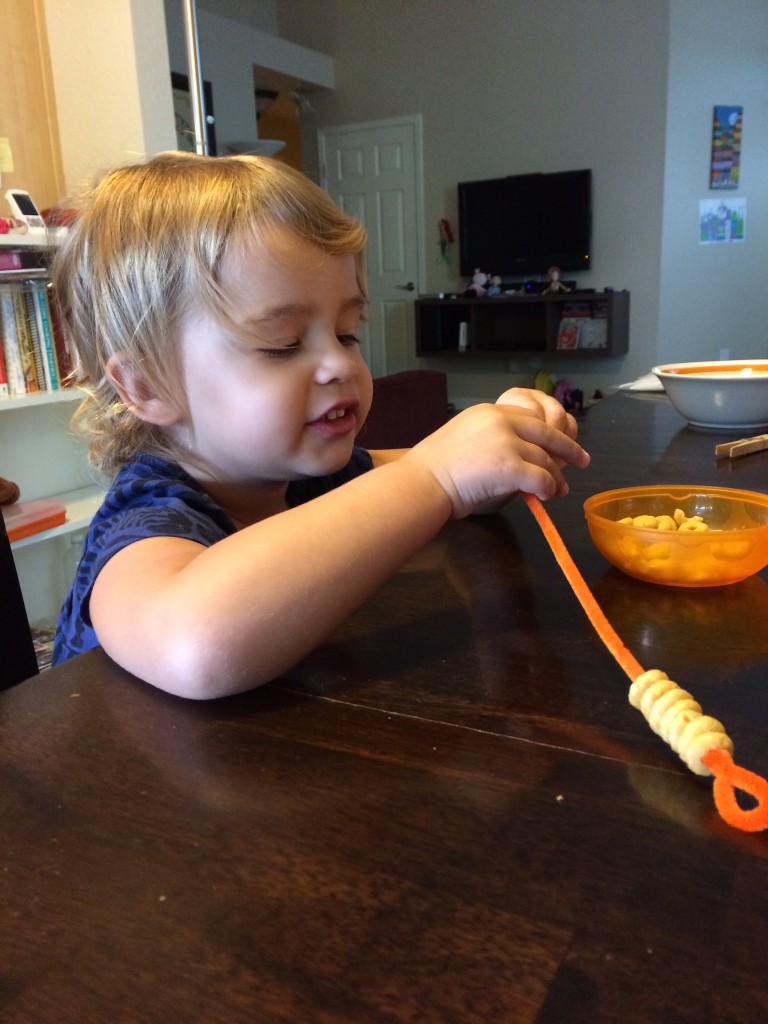
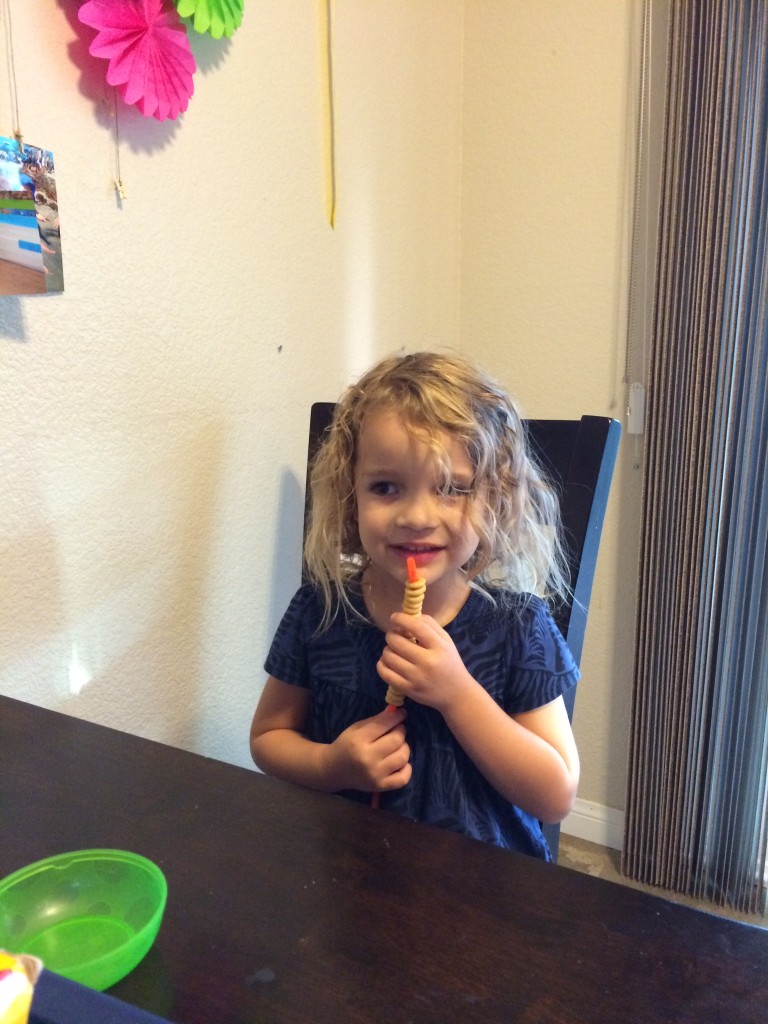
After looping the pipe cleaner at one end, the girls put 20 O’s onto their bracelet – practicing their counting throughout the project. 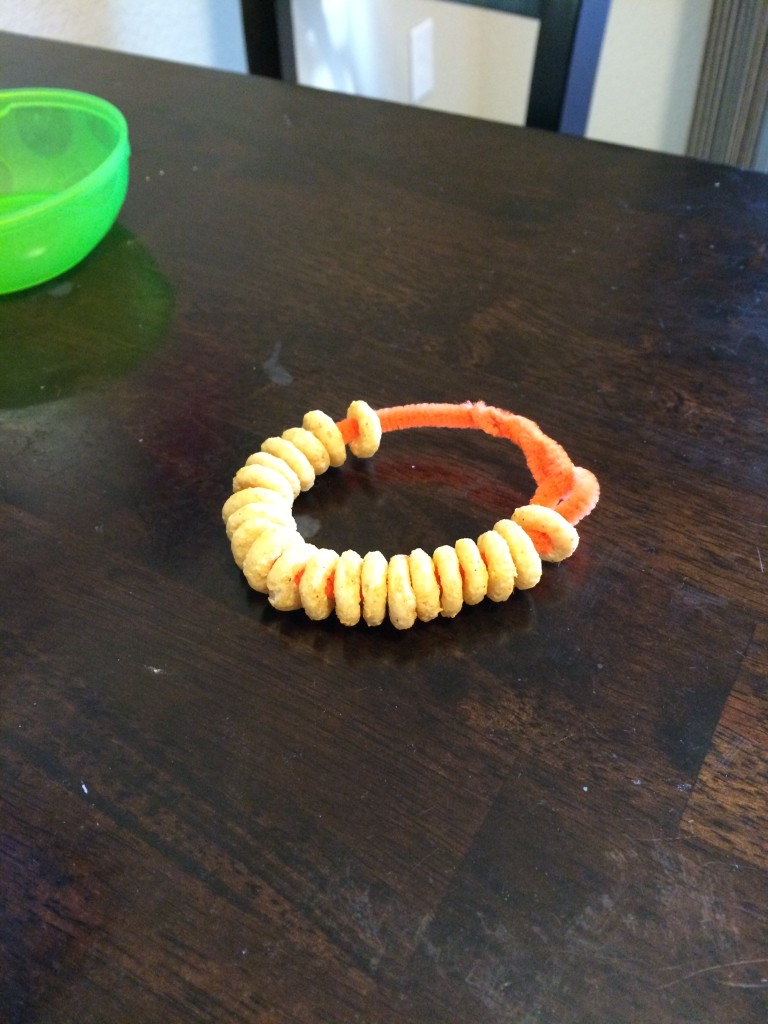
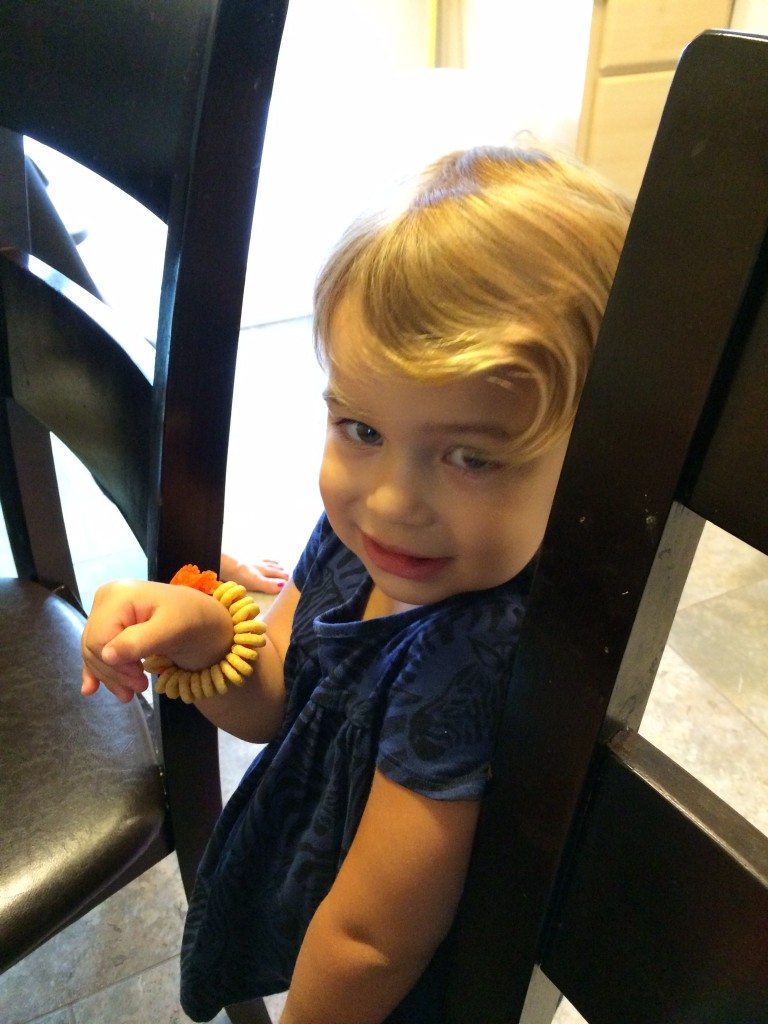
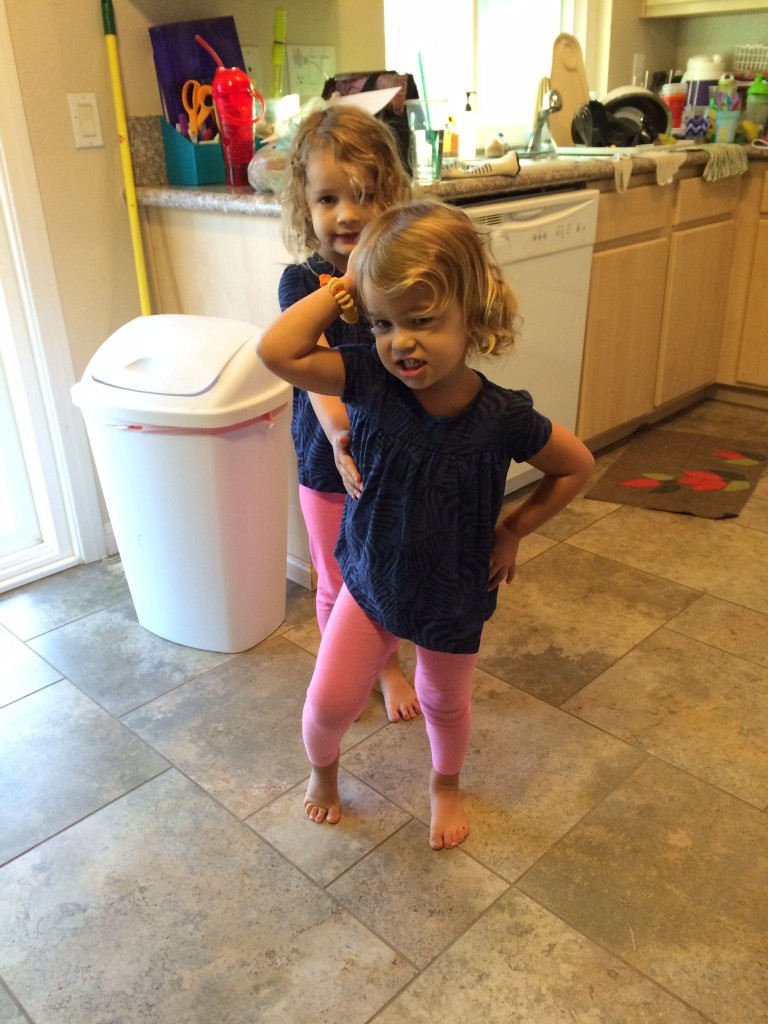
Once the 20 O’s are in place, tie off the end of the pipe cleaner to the looped end to make a bracelet. And, don’t forget to POSE with your new jewelry 😉
3. Pumpkin Stamping
WHAT YOU NEED:
1 Small Apple
Yellow and Red Washable Paint
Green Washable Paint
White Craft Paper
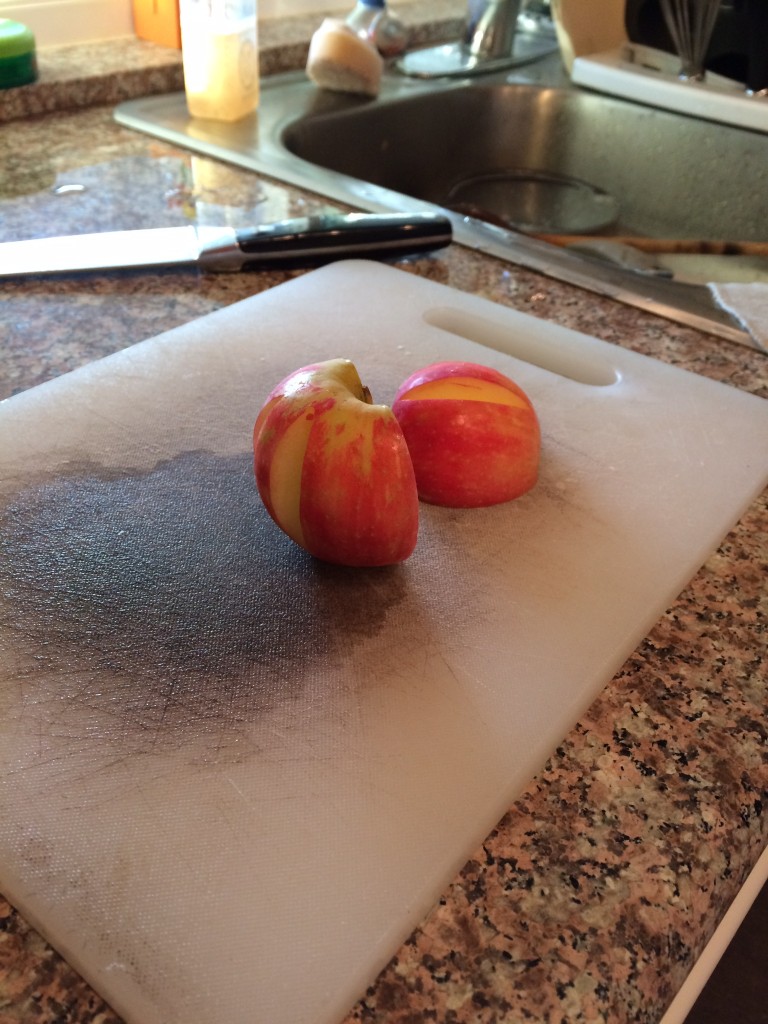
Cut a small apple in half to make the pumpkin stamp. Then for each piece of the apple, slice a triangular slit in the middle of the first half and do the sam on the other half to create a handle.
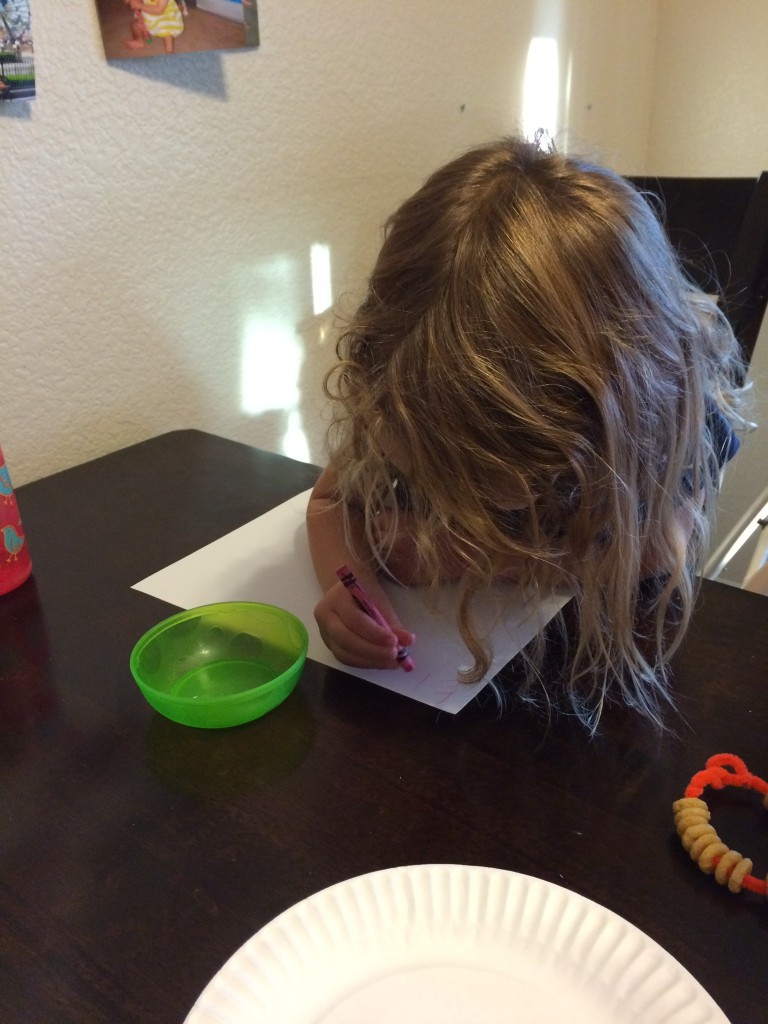
LETTER LESSON – Practice letters by …
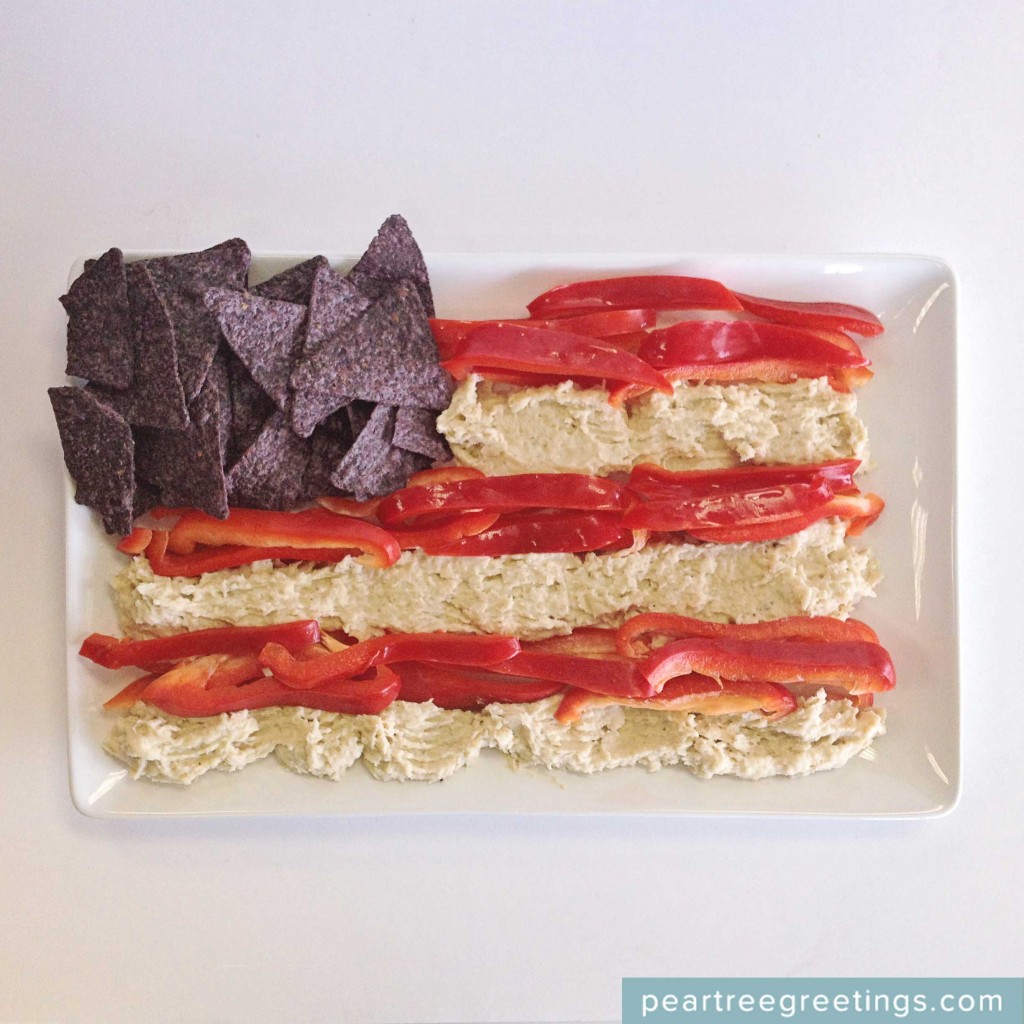
Read More4th of July Crafts
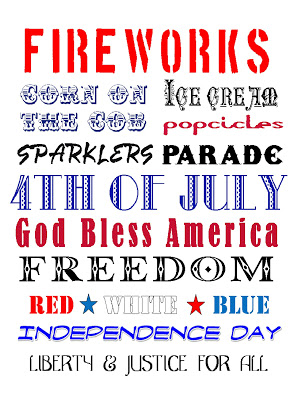
I love 4th of July! I love seeing the American flag waving, being reminded of the amazing freedom we have, and seeing the red, white and blue worn proudly! There are such fun crafts to decorate for your 4th of July celebration or to make apart of your day! I am sharing with you some of my favorite 4th of July crafts from fellow blog friends! Since food can be art, I have added some delicious 4th of July food ideas to make your treat SPARKLE! Check them out below…
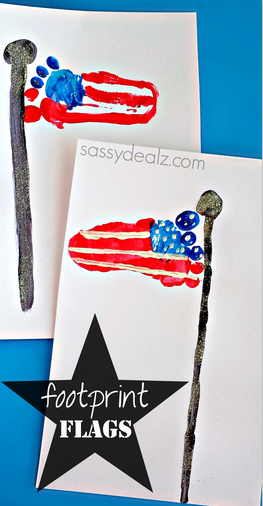
1. Handprint Flag or Footprint Flag
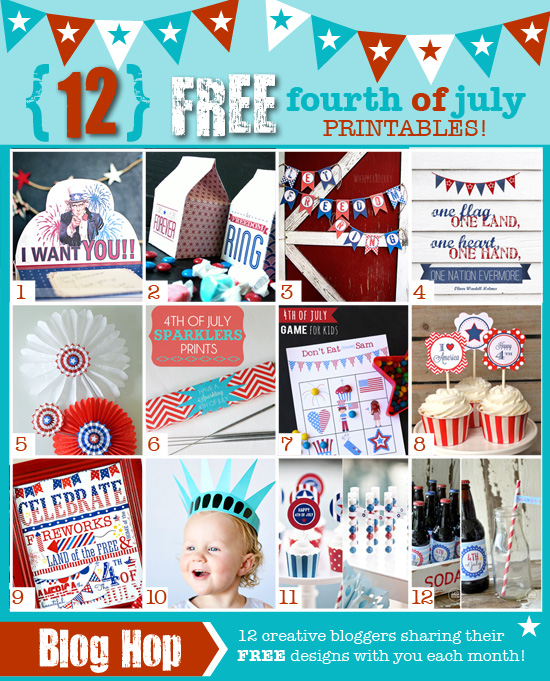
2. Free Printables Compilation put together by The Dating Divas!
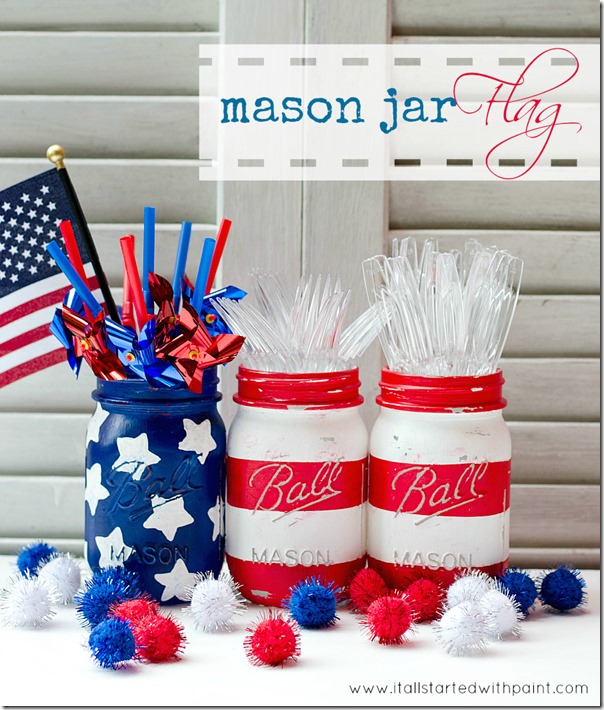
4. Red, White, and Blue Mason Jars
![]()
6. 4th of July Rice Krispie Treats from Lil’ Luna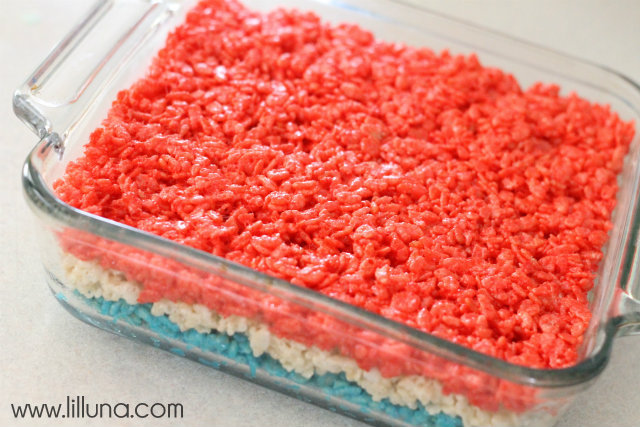
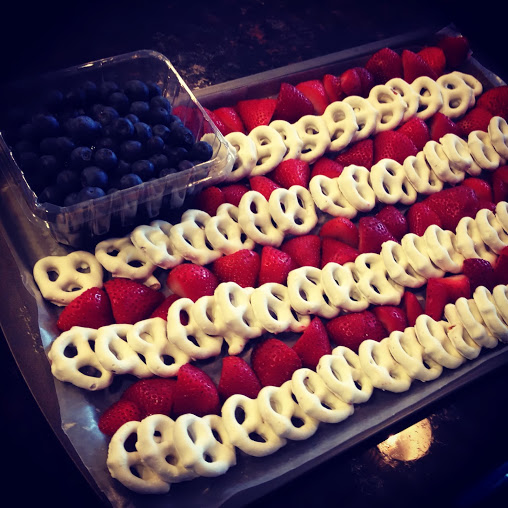
7. Red, White, and Blueberries
10. Check out some of our Growing Weisser Crafts…
Use these Memorial Day crafts and Snacks for your 4th of July Celebration!
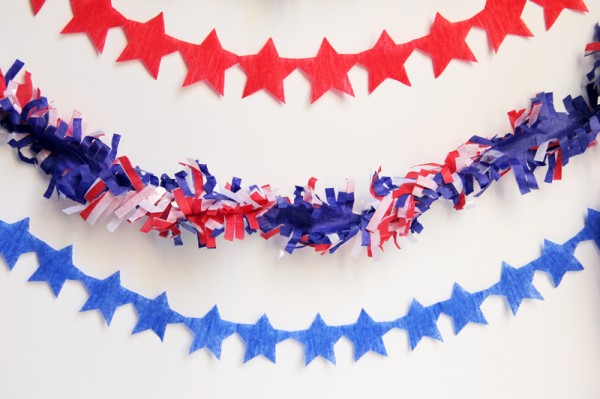
Red, White & Blue Felt Garland to make your 4th of July decor complete!
Take this fun Christmas decor post and use it with 4th of July Fabric to make a Fabric Garland!
Hope your 4th of July is full of fun, great food, and creative crafts! And, don’t forget what it’s all about…
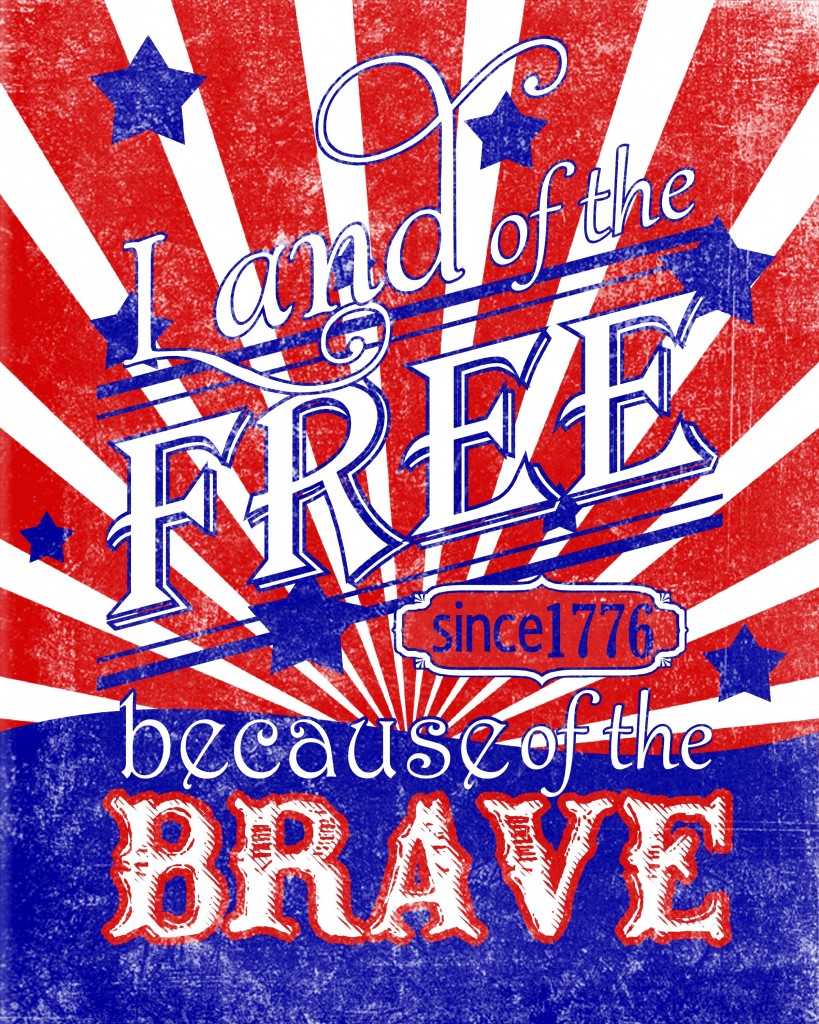
GOD BLESS AMERICA!!

…
Read MoreModify Ink – Allowing a Creative Release For All Types REVIEW
A couple weeks ago, I wrote a post about an amazing company that we discovered at Build Your Blog Conference 2015 named Modify Ink! I just received my order yesterday – “US Map” – and the product is such great quality! The colors are bright and vibrant, which I love! The process is fun, too! Once I chose the design that I wanted, I was able to customize all of the colors with solids, patterns, bright and muted colors; there were so many options! I could also customize each individual section of a print. I decided to stay simple with a coral background and off-white text. I love how it turned out! I feel like, even though I wasn’t the one who created the design, I still had a part in creating the artwork! Here is a picture of my final print!
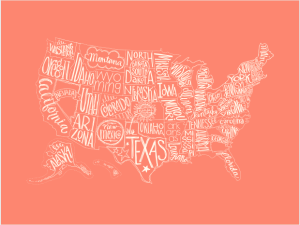
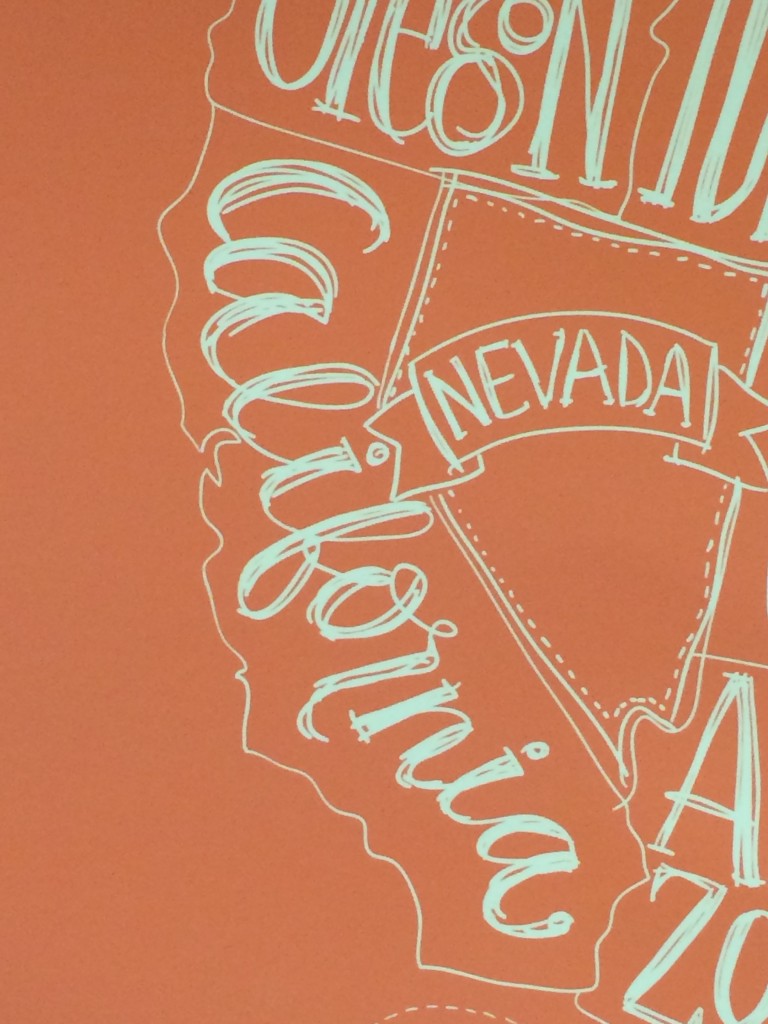
I am planning to frame my print and use it to mark the places my husband and I travel to in the United States! I am excited for my print and my new project, as well as, using Modify Ink for future decor! Great artwork, easy to use, and an amazing, innovative idea taking digital print images to a higher standard!
Stay tuned Growing Weisser Followers for an EXCLUSIVE COUPON CODE for Modify Ink COMING SOON!!
The original post about Modify Ink is below!
————————————————————————————-
It’s time to release the idea that YOU ARE NOT AN ARTIST! You may not be able to paint, your idea of a self-portrait may be a stick figure, or your clay lion may look like a worm. But it doesn’t matter because with Modify Ink EVERYONE can be an artist!
“We want everyone to
have the ability to customize art, to create
art, to collect art, and to love art.” -Modify Ink…